Chapter 3
Servicing Customer-Replaceable Devices
3-7
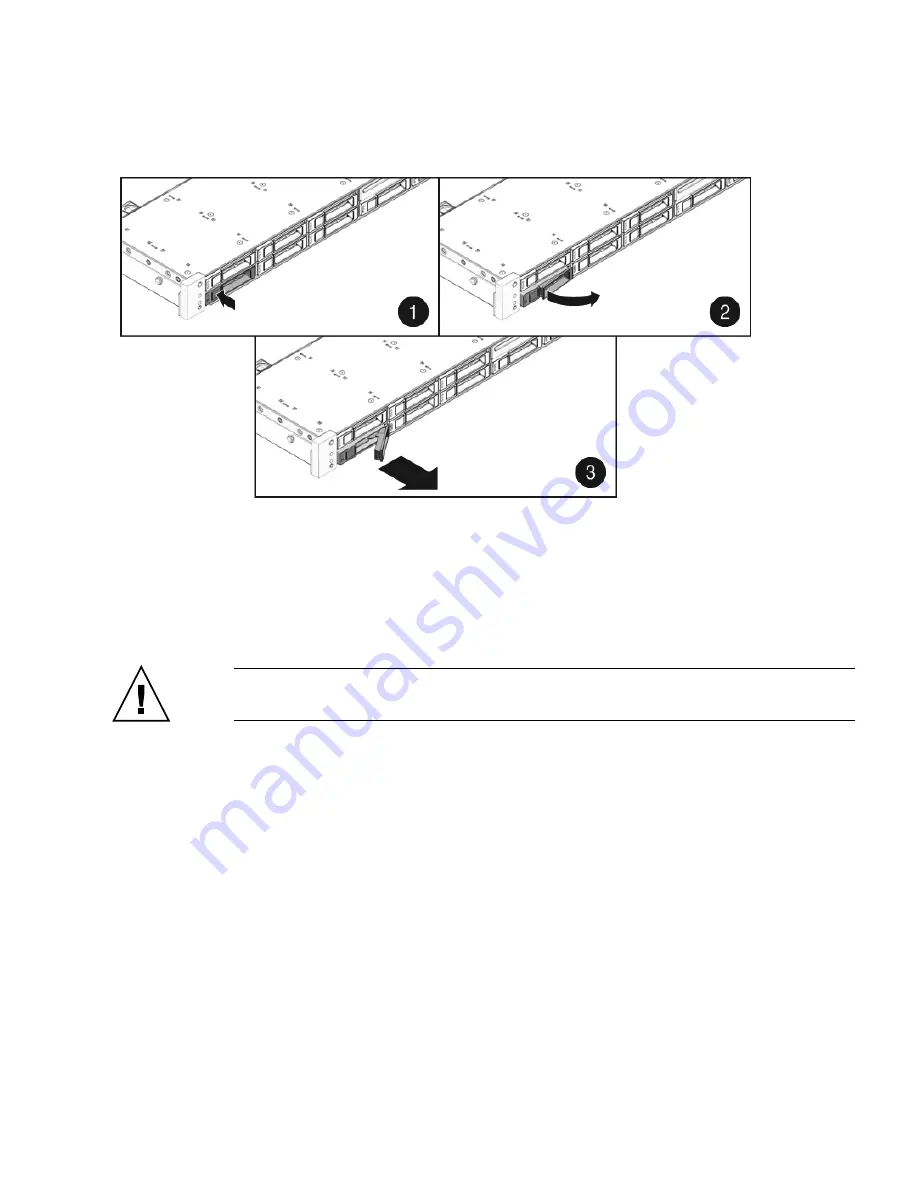
FIGURE 3-3
Locating the Drive Release Button and Latch
3.2.5
Installing a Hard Drive or SSD
Installing a drive into the Sun Fire X4140 Server is a two-step process. You must first
install a drive into the drive slot, and then configure that drive to the server.
Caution –
Before inserting a replacement drive, wait 15 seconds, and verify that
your monitoring/administration application has detected the missing/failed drive.
To install a drive into a Sun Fire X4140 Server:
1. If necessary, remove the drive fillers from the chassis.
The Sun Fire X4140 Server might have as many as eight drive fillers covering
unoccupied drive slots.
2. Determine the drive slot location for the replacement drive.
If you removed an existing drive from a slot in the server, you must install the
replacement drive in the same slot as the drive that was removed. Drives are
physically addressed according to the slot in which they are installed. See
TABLE 3-1
for drive locations.
3. Slide the drive into the drive slot until it is fully seated (
FIGURE 3-4
).
Содержание Sun Fire X4140
Страница 1: ...Sun Fire X4140 Server Service Manual Part No 820 2401 14 September 2010 Revision A...
Страница 24: ...1 12 Sun Fire X4140 Server Service Manual September 2010...
Страница 35: ...Chapter 2 Preparing to Service the System 2 11...
Страница 36: ...2 12 Sun Fire X4140 Server Service Manual September 2010...
Страница 94: ...4 40 Sun Fire X4140 Server Service Manual September 2010...
Страница 126: ...6 6 Sun Fire X4140 Server Service Manual September 2010 FIGURE 6 5 Front Panel Power OK LED...
Страница 140: ...C 4 Sun Fire X4140 Server Service Manual September 2010 FIGURE C 1 BIOS Utility Menu Tree...


