Chapter 4. Installing the Command Console Agent On Your Host System
EK–SMRAB–IG. B01
4–11
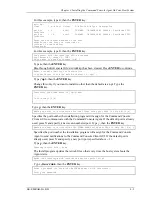
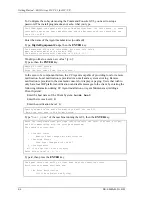
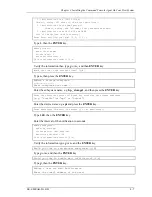
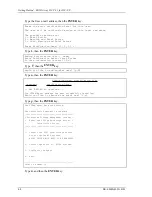
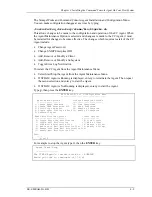
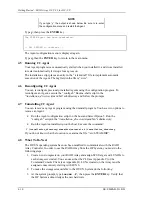
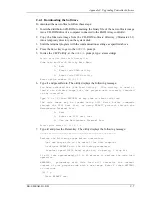
4. Type
insf -e,
then press the ENTER key. The HP system will create the device
special files needed to communicate with each storageset. (Use
ioscan -nf
to
verify).
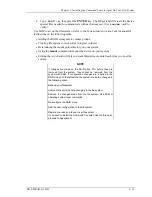
Use SAM to set up the filesystem or refer to the System Administration Tasks manual for
instructions on the following tasks:
•
Adding the RAID storageset to volume groups
•
Creating file systems or swap area in logical volumes
•
Determining the mount point directory on your system
•
Using the mount command to mount the device on your system
•
Editing the /etc/checklist file if you want this device mounted each time you boot the
system.
NOTE
If changes are made on the RAID Array 310 before they are
removed from the system, they cannot be removed from the
system with SAM. If configuration changes are required in the
RAID Array 310 that affect the file system, make the changes in
the following order:
Back up your filesystem.
Unmount the units that are changing in the file system.
Remove the changed areas from the file system. Use SAM or
operating system level commands.
Re-configure the RAID array.
Add the new configuration to the file system.
Restore your back up to your new file system.
If you wish to install the Command Console Client at this point,
proceed to Appendix B.
Содержание EK-SMRAB-IG
Страница 6: ......
Страница 8: ......
Страница 12: ......
Страница 16: ......
Страница 22: ...Getting Started RAID Array 310 V3 1 for HP UX 1 6 EK SMRAB IG B01 Figure 1 4 Subsystem AC Power Receptacles...
Страница 50: ......
Страница 54: ...Getting Started RAID Array 310 V3 1 for HP UX A 2 EK SMRAB IG B01 Date_____________ LUN Uses...
Страница 56: ......
Страница 72: ......
Страница 84: ......

