Getting Started – RAID Array 310 V3.1 for HP–UX
2–8
EK–SMRAB–IG. B01
2.7.2 Add the RAIDset as a Logical Unit
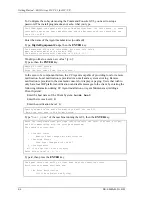
To make a RAIDset available to the host computer, you must add it as a host logical unit with a
unique unit number. The unit number is a one or three digit number preceded by “D”, such as
“D0” or “D102”. The unit number consists of the controller’s target ID and the Logical Unit
(LUN) of the RAIDset for the target. Each target ID can have up to eight LUNs, numbered 0–7.
•
Units identified with controller target ID 0 have a single digit number which corresponds to
the LUN number. For example, D5 would be target 0, LUN 5.
•
Units identified with all other controller targets (1–7) use a 3 digit number. The first digit
corresponds to the controller target number, the second digit is always 0 and the third digit is
the LUN number. For example, D205 would be target 2, LUN 5.
The steps to be taken to configure a partitioned storageset are as follows:
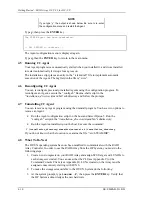
HSZ20> create_partition RAIDS0 blocks=1
HSZ20> add unit d0 RAIDS0 partition=1
This creates a partition with the size of one block on a storageset named RAIDS0. D0 means
SCSI ID 0 LUN 0, which may be different for your particular situation.
This new unit can now by used as a communications LUN during the installation of the agent as
described in Chapter 4.
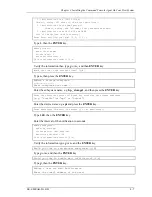
Now create a data partition:
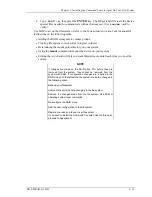
HSZ20> show RAIDS0
Using this output, you can see the remaining free blocks available for the data part of the
storageset.
HSZ20> create_partition RAIDS0 blocks=xxxx
Where
xxxx
represents the number of free blocks of RAIDS0 identified by the show command:
HSZ20> add unit D1 RAIDS0 partition=d
Where
d
represents the partition number created in the previous command
D1 means SCSI ID 0 LUN 1, which may be different for your situation.
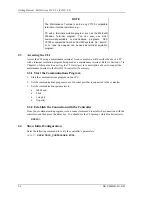
2.7.3 Set Writeback Cache
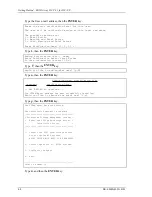
The final step in creating a RAIDset is to enable the writeback cache. A single CLI command
enables that feature for the each RAIDset:
HSZ20> SET D0 WRITEBACK_CACHE
Where D0 represents the host logical units of the RAIDsets created above.
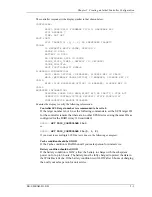
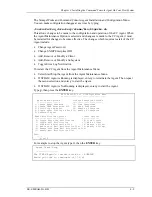
2.7.4 Verify and Record Your Configuration
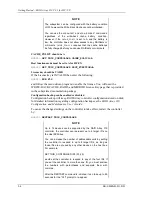
NOTE
Your configuration may be saved on disk using the SAVE
CONFIGURATION command. Refer to the
RAID Array 310
Configuration and Maintenance Guide for a detailed
description of this command.
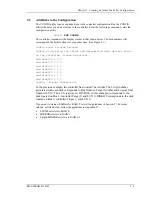
You have now completed all the steps required to create an initial configuration on your
controller.
Содержание EK-SMRAB-IG
Страница 6: ......
Страница 8: ......
Страница 12: ......
Страница 16: ......
Страница 22: ...Getting Started RAID Array 310 V3 1 for HP UX 1 6 EK SMRAB IG B01 Figure 1 4 Subsystem AC Power Receptacles...
Страница 50: ......
Страница 54: ...Getting Started RAID Array 310 V3 1 for HP UX A 2 EK SMRAB IG B01 Date_____________ LUN Uses...
Страница 56: ......
Страница 72: ......
Страница 84: ......

