EK–SMRAB–IG. B01
1–1
1
Unpacking and Setting Up Your RAID Array 310
Subsystem Components
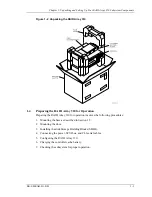
This chapter describes the site preparation and unpacking procedures for the RAID Array 310 Subsystem.
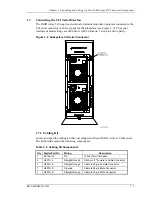
It also describes the procedure to recharge the controller write-back cache battery and making the CLI
interface connection between the subsystem and the host system or maintenance terminal.
1.1
Introduction
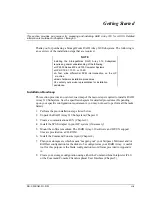
The installation of your RAID Array 310 subsystem is accomplished by performing the
following seven major steps:
•
Unpacking and setting up the mechanical configuration (Chapter 1)
•
Connecting ac power and recharging the controller cache battery (Chapter 1)
•
Making the serial interface connection between the RAID Array 310 and the host
system or maintenance terminal (Chapter 1)
•
Creating an initial RAID array controller configuration (Chapter 2)
•
Preparing the HP9000 for use with the RAID Array Controller (Chapter 4)
1.2
Site Preparation
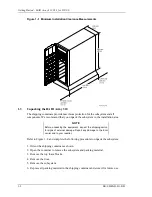
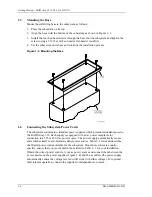
Before installing the subsystem, make sure that adequate space is available in front of the
enclosure for opening the front door (10 inches clearance) and around the enclosure for
adequate airflow. See Figure 1–1 for specific space requirements.
Содержание EK-SMRAB-IG
Страница 6: ......
Страница 8: ......
Страница 12: ......
Страница 16: ......
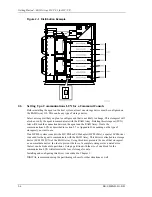
Страница 22: ...Getting Started RAID Array 310 V3 1 for HP UX 1 6 EK SMRAB IG B01 Figure 1 4 Subsystem AC Power Receptacles...
Страница 50: ......
Страница 54: ...Getting Started RAID Array 310 V3 1 for HP UX A 2 EK SMRAB IG B01 Date_____________ LUN Uses...
Страница 56: ......
Страница 72: ......
Страница 84: ......

