Getting Started – RAID Array 310 V3.1 for HP–UX
4–2
EK–SMRAB–IG. B01
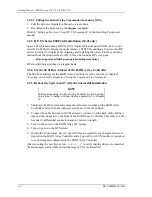
Table 4
−
1 Minimum System Requirements
Host Feature
Requirement
Architecture
HP 9000 Series 800, 735, 755, C, D, J, or K-class
computer, 2 MB free space in /tmp directory, and
4 MB free space for Agent installation directory
Operating System
HP-UX version 10.01, 10.10 or 10.20
Controller Compatibility
StorageWorks 2 or 6-port controller running
operating firmware Version 3.0, 5.0 or higher.
4.3
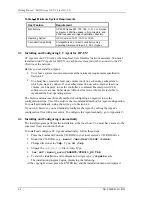
Installing and Configuring CC Agent for HP-UX
®
CC Agent is the CC Client’s ( the Graphical User Interface) network assistant. You must
install and run CC Agent for HP-UX on each host system you wish to connect to the CC
Client over the network.
Before you can install an Agent:
•
Your host’s system resources must meet the minimum requirements specified in
Section 4.2.
•
You must have created at least one volume (unit) on each storage subsystem to
which you want to connect. If your subsystems do not each contain at least one
volume, see Chapter 2 to use the controller’s command line interpreter (CLI)
software to create one. Subsystems without at least one volume are invisible to
Agent and the host operating system.
The fastest and most user-friendly method of configuring an Agent is to use the
configuration script. Use of the script is the recommended method for Agent configuration.
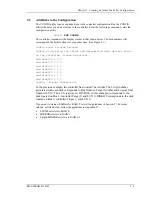
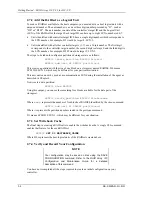
To install automatically, using the script, go to Section 4.4.
If you wish, however, you can manually configure the Agent by editing the Agent’s
configuration files with a text editor. To configure the Agent manually, go to Appendix C.
4.4
Installing and Configuring Automatically
The install program performs the installation at the local host. You must have access to the
superuser (root) account on the host.
To install and configure CC Agent automatically, follow these steps:
1. Place the Command Console CD–ROM in your local system’s CD–ROM drive.
2. Mount the CD-ROM. (e.g.,
mount /dev/dsk/c1t2d0 /cdrom)
.
3.
Change directories to
/tmp.
Type,
cd /tmp
.
4.
Unpack the
stm_hp.tar
file in /tmp. Type,
5.
tar xvf /
mount_point/AGENTS/STM310_HP.TAR
6.
To start the installation and configuration scripts, type, .
/stgwrks.sh
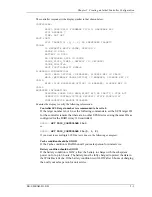
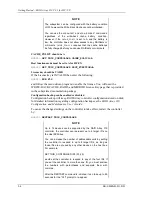
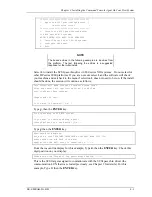
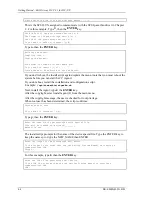
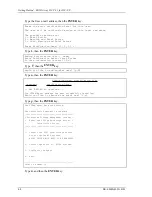
The installation program begins, displaying the following:
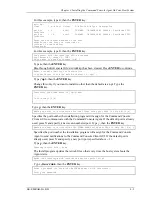
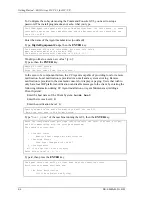
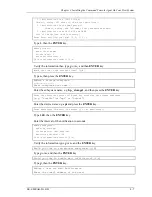
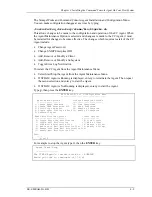
At the copyright screen, press the ENTER key and the installation menu is displayed.
Содержание EK-SMRAB-IG
Страница 6: ......
Страница 8: ......
Страница 12: ......
Страница 16: ......
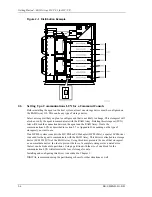
Страница 22: ...Getting Started RAID Array 310 V3 1 for HP UX 1 6 EK SMRAB IG B01 Figure 1 4 Subsystem AC Power Receptacles...
Страница 50: ......
Страница 54: ...Getting Started RAID Array 310 V3 1 for HP UX A 2 EK SMRAB IG B01 Date_____________ LUN Uses...
Страница 56: ......
Страница 72: ......
Страница 84: ......

