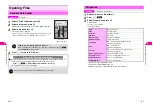
8-18
8
Managing Files (Data F
older)
2
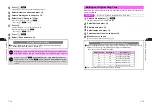
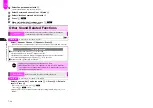
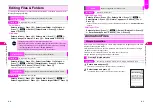
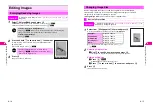
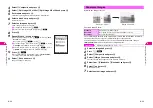
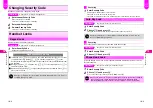
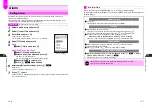
Select an effect and press
b
^
Decoration Effects:
3
Press
b
Image is saved as a new entry.
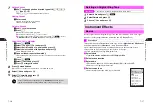
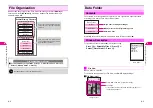
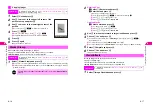
Make smiley, angry or sad faces.
^
Apply to JPEG images.
^
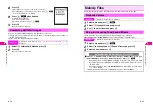
Face Arrange may not fit all images. Adjust position and size as required (see
P.8-19
).
^
Face Arrange
can be selected only for compatible files.
1
Select a type and press
b
^
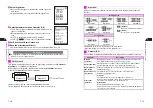
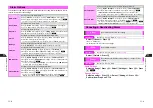
Face Arrange Types:
C
To start over, press
e
W
.
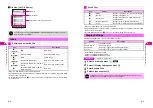
Sepia
Renders image in sepia tones
Sparkling
Adds sparkling effect to bright portions of an image
Soap Bubbles
Superimposes bubbles over an image
Kaleidoscope
Renders an image as a kaleidoscopic image
Emboss
Renders images in black and white relief
Scrunch
Renders image as a pencil sketch
Aluminum Can
Superimposes image onto a 3D can image
Round Frame
Adds a round, opaque frosting to the edges of an image
Soft Frame
Adds a soft, opaque edged frame to image
Zigzag Frame
Adds a jagged edged frame around image
,
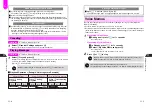
Edited images may be too large to save or send via Long Mail.
Face Arrange
Index Menu
H
My Files
A
Data Folder
A
Open a folder
A
Select a file
A
Menu (
d
)
A
Picture Effect
A
Face Arrange
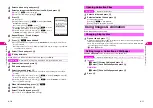
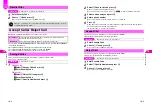
Mirror:
Right-half
Copies right side of face
onto left side
Slender
Stretches face to lengthen
appearance
Mirror:
Left-half
Copies left side of face onto
right side
Crush Face
Shortens distance between
top and bottom of face
Grin
Pulls eyes down & mouth up
Dark
Darkens skin tone
Mad
Pulls eyes up & mouth down
Fair
Brightens skin tone
Sad
Pulls eyes & mouth down
Angry Mark
Adds a stress mark to face
8-19
Managing Files (Data F
older)
8
2
Press
b
Image is saved as a new entry.
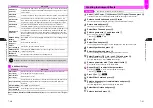
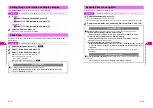
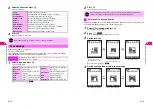
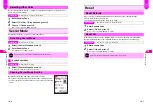
After Face Arrange (Step 1 on
P.8-18
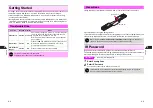
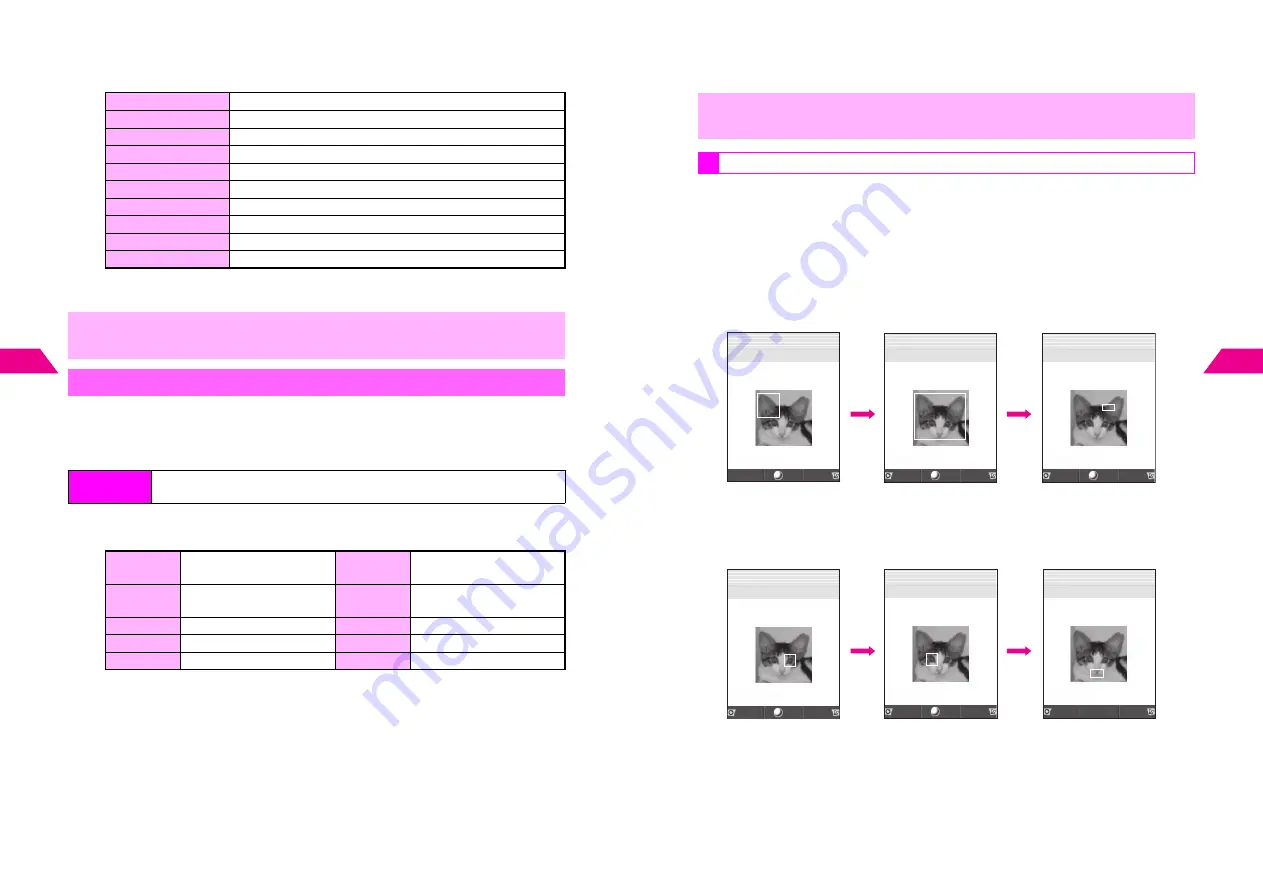
), change the positions and sizes of targets to fit
your images. Changes apply to the current image only.
1
Select
L
Positioning
and press
b
Face Arrange targets appear.
2
Press
d
u
A rectangle appears with
+
in the upper left corner.
3
Set the face line
C
To start over, press
e
W
.
4
Set the eyes and then mouth in the same way
,
When using Face Arrange, take care not to create images that may embarrass or
offend others. Always obtain permission before photographing others.
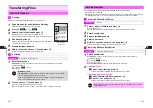
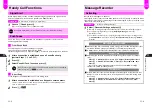
Adjusting Face Arrange Position
Use
G
to move
+
to
the upper left corner
Set Upper Face Line
OK
Set
+
b
b
Use
G
to move
+
to
the lower right corner
Set Lower Face Line
Face line is set
Ri
g
ht Eye/Upper Left
+
OK
Set
Back
OK
Set
Back
OK
Set
J
q
G
Q
n
J
q
G
Q
n
J
q
G
Q
n
+
Eye (Right of Image)
Ri
g
ht Eye/LowerRi
g
ht
+
b
b
Eye (Left of Image)
Left Eye/Lower Ri
g
ht
+
Mouth
Mouth/Lower Ri
g
ht
+
Back
OK
Set
Back
OK
Set
Back
Set
J
q
G
Q
n
J
q
G
Q
n
J
q
G
Q
n
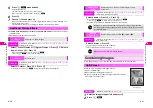
Содержание V201SH
Страница 14: ...1 1 Getting Started...
Страница 27: ...2 1 Basic Handset Operations...
Страница 38: ...3 1 Manner Mode...
Страница 42: ...4 1 Text Entry...
Страница 52: ...5 1 Phone Book...
Страница 61: ...6 1 Display...
Страница 66: ...7 1 Sounds Related Functions...
Страница 78: ...8 1 Managing Files Data Folder...
Страница 91: ...9 1 Infrared...
Страница 94: ...10 1 Handset Security...
Страница 98: ...11 1 Additional Functions...
Страница 115: ...12 1 Vodafone live Overview...
Страница 118: ...13 1 Mail...
Страница 144: ...14 1 Station Japanese Only...
Страница 152: ...15 1 Appendix...

