5-4
5
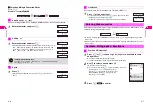
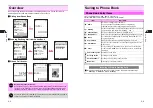
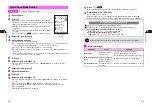
Phone Book
1
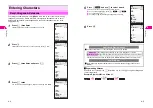
Enter a name
2
Press
b
Characters entered for names (kanji reading) appear after
d
.
^
Reading does not appear for Pictographs, pasted characters and
names entered with Quick Conversion.
^
Katakana, roman letters, numbers and Symbols appear in
single-byte.
C
To correct reading, select
d
A
Press
b
A
Edit reading
A
Press
b
C
To cancel, press
e
3
A
Choose
1
Yes
A
Press
b
3
Select
e
and press
b
4
Enter a phone number
^
Include area code for landline numbers.
C
To correct phone number, press
B
to move cursor
A
Press
i
to delete a digit at the
cursor position
A
Enter a digit (Press
i
for 1+ seconds to clear all.)
C
Press
q
twice to enter
-
between digits. (
-
counts as a digit.)
C
To enter Push Tones, press
q
three times to enter Pause (
u
)
A
Enter numbers or
Symbols
B
Each pause (
u
) indicates a one-second pause. The subsequent numbers or Symbols
are also sent as Push Tones (see
P.11-2
).
5
Press
b
6
Select an icon and press
b
C
To save additional phone numbers, select
e
<Unsaved>
A
Press
b
A
Repeat
Steps 4 - 6
7
Select
i
and press
b
8
Enter a mail address
9
Press
b
10
Select an icon and press
b
C
To save additional mail addresses, select
i
<Unsaved>
A
Press
b
A
Repeat Steps
8 - 10
C
To set a Group, select
k
A
Press
b
A
Select a Group
A
Press
b
C
To enter Personal Data, select
x
A
Press
b
A
Enter information
A
Press
b
C
Photo: see
P.5-6
C
Saving Secret Mode Entries: see
P.5-7
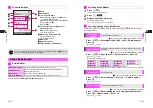
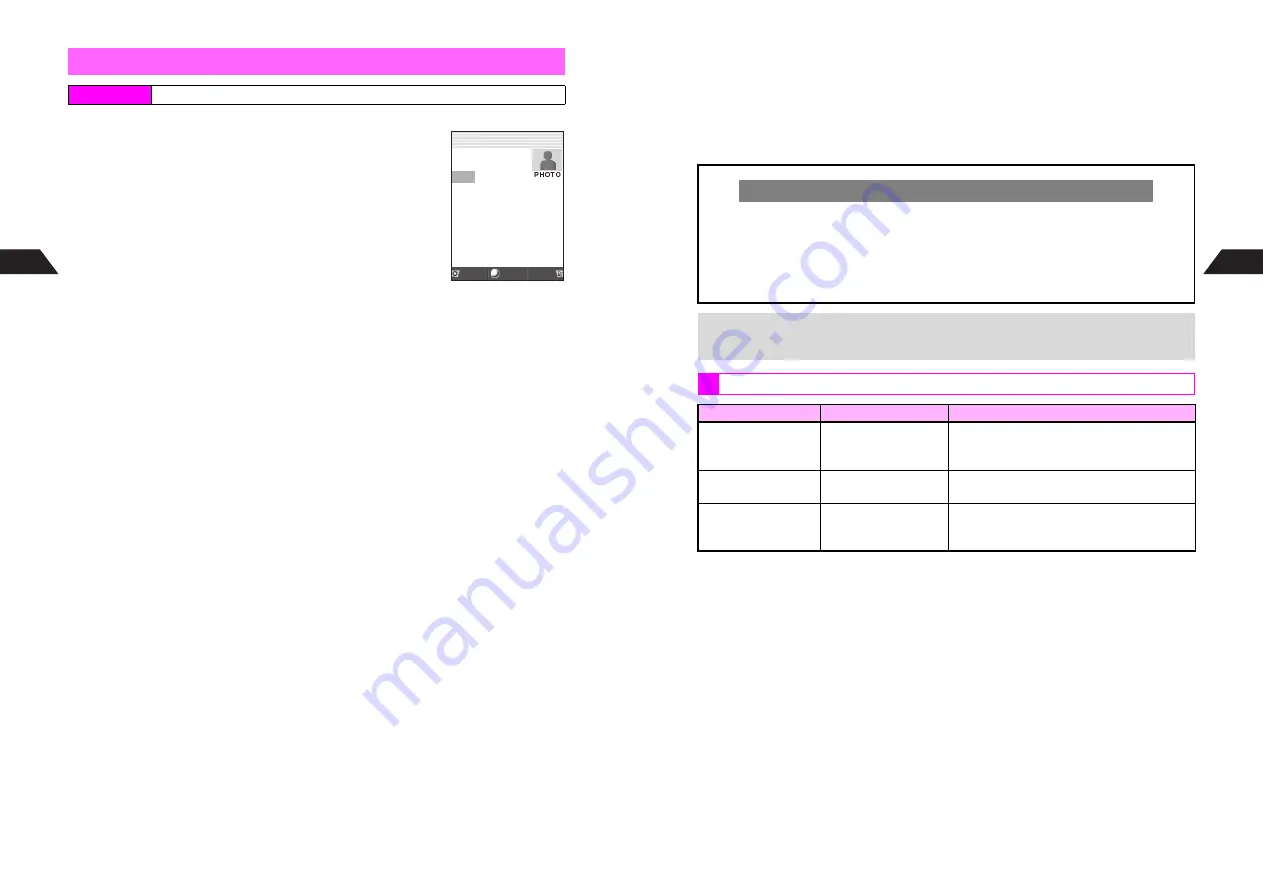
New Phone Book Entries
Index Menu
H
Tel Ops
A
Add to Phone Book
Select
Cancel
Save
Phone Book
Details
c
Ueda Mikio
d
Ueda Mikio
e
<Unsaved>
i
<Unsaved>
k
0
Untitled
l
<Unsaved>
b
Off
m
<Unsaved>
Option Settin
g
s
J
E
Q
n
5-5
Phone Book
5
11
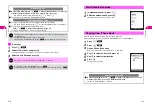
Press
d
q
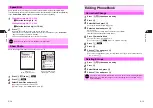
Memory Number entry window opens. Assign a Memory Number to each entry.
12
Enter Memory No. (000 - 499)
Entry is saved to Phone Book.
C
Use Headphones to call the number saved in Memory Number 000 (see
P.11-32
).
C
Use Speed Dial to call numbers saved in Memory Numbers 000 - 099 (see
P.5-14
).
Assign Memory No. Automatically
C
Press
q
to assign the smallest available number.
C
To specify a range of numbers, enter hundreds or tens digit and press
q
.
B
To specify hundreds, enter first digit
A
Press
q
Example: Enter
3
q
. The range is 300 - 399.
B
To specify tens, enter two digits
A
Press
q
Example: Enter
21
q
. The range is 210 - 219.
+
Exchange Phone Book entries via infrared with compatible devices (see
P.9-2
).
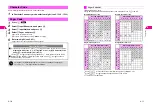
Warning Messages
On Display
Cause
Operation
Overwrite?
Number assigned to
another entry
Press
1
Yes
to overwrite the entry or
press
2
No
to enter another number.
Assign Memory No. automatically (see above).
Memory Full Cannot
Save
All Memory Numbers
have been assigned
Overwrite or delete entries (see
P.5-15
)
Secret Data saved
Number assigned to a
Secret Mode Phone
Book entry
Activate Secret Mode (see
P.10-6
) to overwrite
Содержание V201SH
Страница 14: ...1 1 Getting Started...
Страница 27: ...2 1 Basic Handset Operations...
Страница 38: ...3 1 Manner Mode...
Страница 42: ...4 1 Text Entry...
Страница 52: ...5 1 Phone Book...
Страница 61: ...6 1 Display...
Страница 66: ...7 1 Sounds Related Functions...
Страница 78: ...8 1 Managing Files Data Folder...
Страница 91: ...9 1 Infrared...
Страница 94: ...10 1 Handset Security...
Страница 98: ...11 1 Additional Functions...
Страница 115: ...12 1 Vodafone live Overview...
Страница 118: ...13 1 Mail...
Страница 144: ...14 1 Station Japanese Only...
Страница 152: ...15 1 Appendix...

