Operators Tools
7-10
7SJ63 Manual
C53000-G1140-C120-1
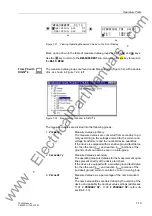
From the
Device Front
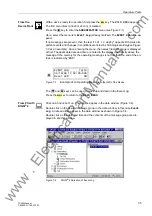
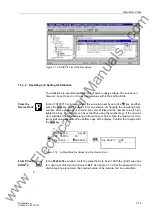
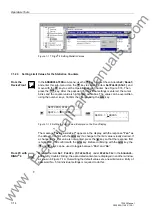
If erasure is desired, first press the
key. The
0$,10(18
appears. The first menu
item
$QQXQFLDWLRQ
is marked.
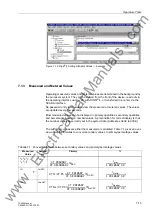
Press the
key to enter the
$1181&,$7,21
menu (see Figure 7-1).
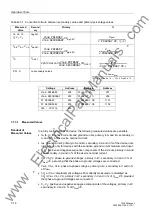
Using the
key, select the item
6HW5HVHW
, and switch to the sub-menu using the
key.
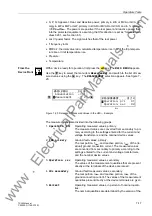
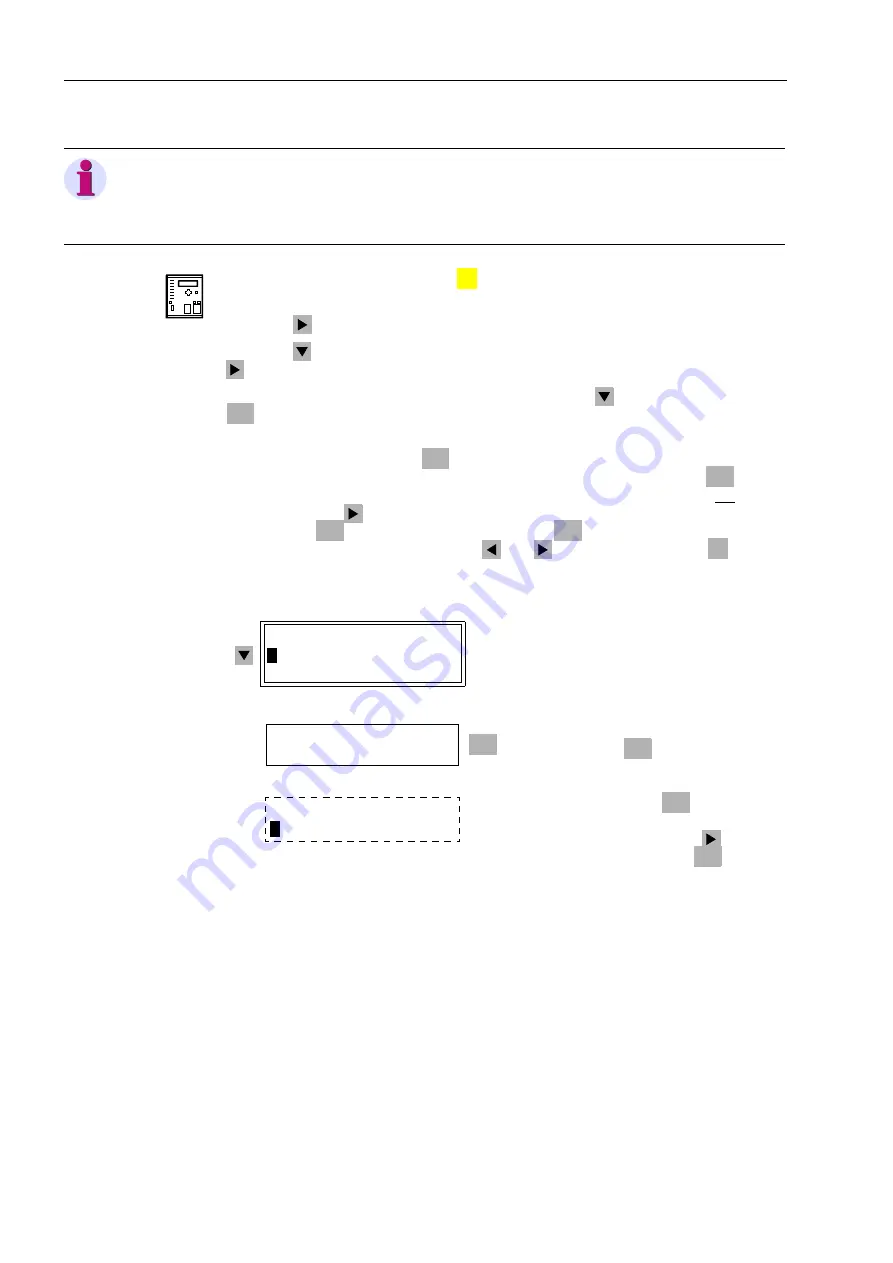
Here, select the message group to be erased using the
key, and then press the
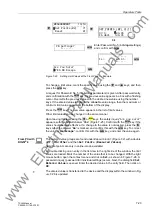
key. See Figure 7-12.
Password No. 5 (for setting changes) is required at this point. After entering the pass-
word and confirming with the
key, the safety question “
$UH\RXVXUH
?” ap-
pears. The response “
<(6
” is the default (Figure 7-12). Confirm with the
key, if
the message group should really be erased. If the message group should not be
erased, press the
key so that the response “
12
” is highlighted, and confirm this an-
swer with the
key. Before confirming with the
key, the responses can be tog-
gled between “
<(6
” and “
12
” using the
and
keys. Alternatively, the
key can
be pressed to cancel the erasure procedure.
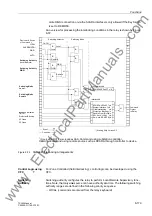
Figure 7-12
Erasing Messages from the Operator Control Panel
From PC with
DIGSI
®
4
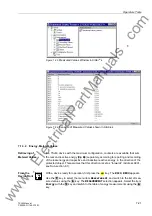
When operating with DIGSI
®
4, the device messages can be saved on the hard drive
of a personal computer before they are erased from the device. To do this, follow ex-
actly the same steps taken to retrieve the messages. Instead of double clicking on the
message group in the message list to open the group, select the option
)LOH
→
6DYH
in the DIGSI
®
4 window menu bar. DIGSI
®
4 then automatically creates a directory for
the messages — if one does not exist — and saves the message group in this direc-
Note:
When Trip Log is erased, the fault records and counters for network fault number and
indication data number are set to zero. If, however, a fault record is erased, the
counters are unaffected.
MENU
ENTER
ENTER
ENTER
ENTER
ENTER
ESC
6(75(6(7
!
(YHQW/RJ
!
7ULS/RJ
Etc
Press the associated number key to se-
lect the messages to be erased.
$UH\RXVXUH"
!
<(612
Confirm “
<(6
” with the
key and com-
plete the erasing of the selected messag-
es, or switch to “
12
” with the
key and
cancel the erasure with the
key.
ENTER
ENTER
ENTER
3:3DUDPHWHU&KDQJH"
Enter Password No. 5 (for setting change)
and confirm with
ENTER
:
www
. ElectricalPartManuals
. com
Содержание siprotec 7SJ63
Страница 16: ...xiv 7SJ63 Instruction Manual C53000 G1140 C120 1 w w w E l e c t r i c a l P a r t M a n u a l s c o m ...
Страница 28: ...Introduction 1 12 7SJ63 Manual C53000 G1140 C120 1 w w w E l e c t r i c a l P a r t M a n u a l s c o m ...
Страница 112: ...SIPROTEC 4 Devices 4 38 7SJ63 Manual C53000 G1140 C120 1 w w w E l e c t r i c a l P a r t M a n u a l s c o m ...
Страница 346: ...Functions 6 182 7SJ63 Manual C53000 G1140 C120 1 w w w E l e c t r i c a l P a r t M a n u a l s c o m ...
Страница 494: ...Technical Data 10 48 7SJ63 Manual C53000 G1140 C120 1 w w w E l e c t r i c a l P a r t M a n u a l s c o m ...
Страница 604: ...Index Index 6 7SJ63 Instruction Manual C53000 G1140 C120 1 w w w E l e c t r i c a l P a r t M a n u a l s c o m ...

