Make a copy and remove a specific area of an original
Introduction
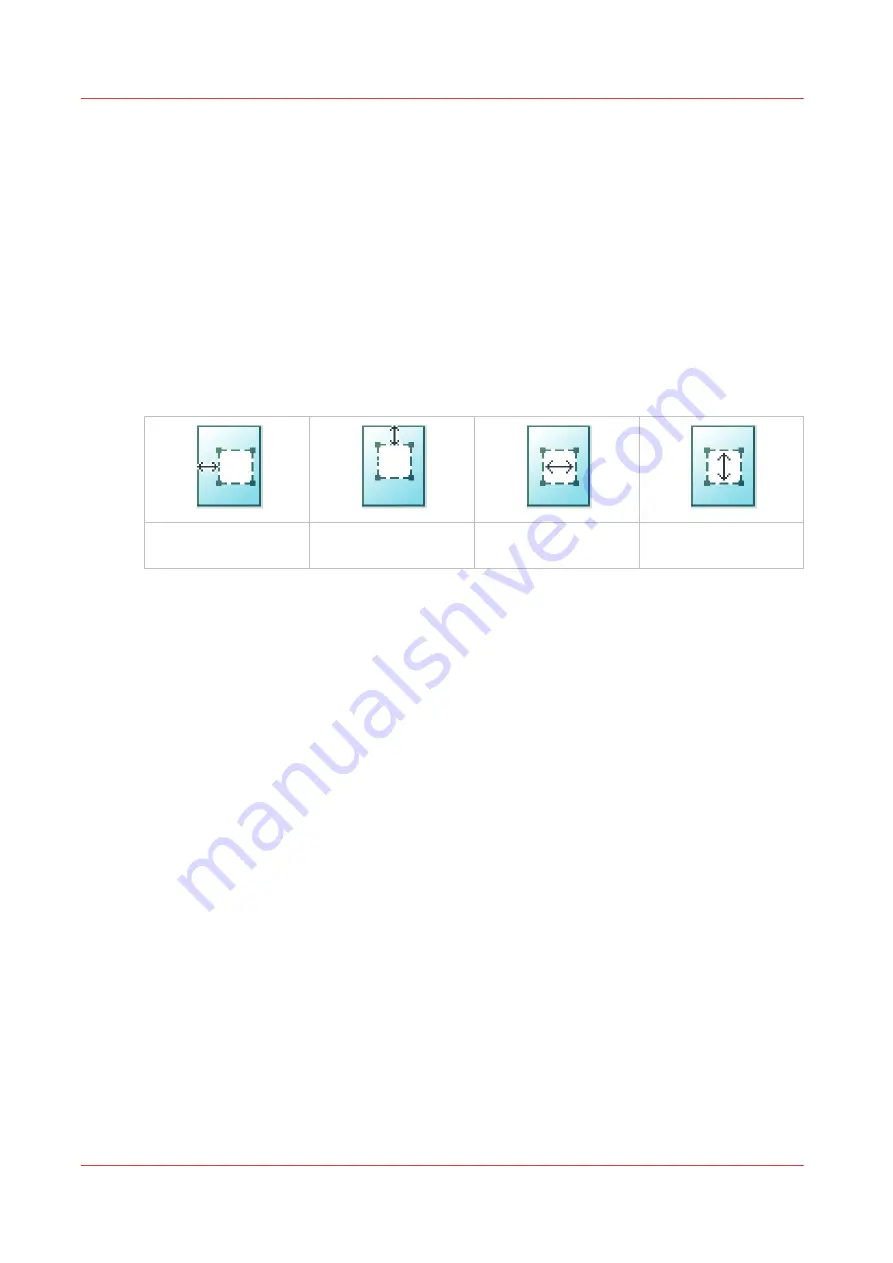
You can make a copy and delete a specific area of an original. You can use two settings: [Area to
erase: width] and [Area to erase: length] to define the dimensions of the delete area. And you can
use two settings: [Area to erase: X origin] and [Area to erase: Y origin], to define the relative
position of the delete area on the sheet.
Procedure
1.
Feed the original face up and centered on the original feeding table.
2.
Tap the copy tile. A window with a list of presets opens.
3.
Tap [Show all settings]. A list with settings opens.
4.
Tap [Area to erase] under the [Image] preset.
[Area to erase: X ori-
gin]
[Area to erase: Y ori-
gin]
[Area to erase: width]
[Area to erase: length]
5.
Select [Area to erase: X origin], [Area to erase: Y origin], [Area to erase: width], or [Area to erase:
length] and define the values for your specific area.
6.
Make your settings and tap [OK].
7.
Define the number of copies and tap the green button.
Make a copy and remove a specific area of an original
228
Chapter 4 - Use the Printing System
Содержание ColorWave 500
Страница 1: ...Operation guide Océ ColorWave 500 ...
Страница 4: ......
Страница 10: ...Contents 10 ...
Страница 11: ...Chapter 1 Introduction ...
Страница 16: ...Available documentation 16 Chapter 1 Introduction ...
Страница 17: ...Chapter 2 Get to Know the Printing System ...
Страница 49: ...Chapter 3 Define your Workflow with Océ Express WebTools ...
Страница 177: ...Chapter 4 Use the Printing System ...
Страница 253: ...Chapter 5 Maintain the Printing System ...
Страница 282: ...Calibrate the scanner 282 Chapter 5 Maintain the Printing System ...
Страница 283: ...Chapter 6 License Management ...
Страница 289: ...Chapter 7 Account Management ...
Страница 297: ...Chapter 8 Solve Problems ...
Страница 310: ...Print a test print 310 Chapter 8 Solve Problems ...
Страница 311: ...Chapter 9 Support ...
Страница 317: ...Chapter 10 Contact ...
Страница 329: ......


