Chapter 4 - Understanding the Chart Screen
961 Operations and Reference Manual Rev. D
Page 4-27
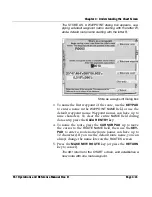
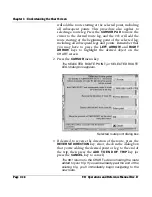
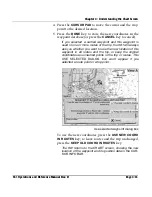
The
SELECTED TRIP POINT
dialog box appears. (If you
chose a past trip point, this dialog box is named
SELECTED COORDINATE
.)
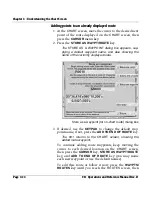
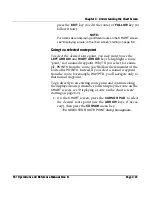
Selected trip point dialog box
2. To go directly from your present position to this point,
press the
GO NOW
key (or press the
CANCEL
key to can-
cel).
The 961 returns to the
CHART
screen showing a track
line to the selected point.
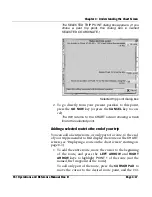
Adding a selected route to the end of your trip
You can add an entire route, or only part of a route, to the end
of your trip (remember to first display the route on the
CHART
screen; see ”Displaying a route on the chart screen” starting on
page 8-3):
1. To add the entire route, move the cursor to the beginning
of the route, and press the
LEFT ARROW
and
RIGHT
ARROW
keys to highlight
POINT 1
of the route (not the
named, first waypoint of the route).
To add only part of the route, press the
CURSOR
PAD
to
move the cursor to the desired route point, and the 961
Содержание 961X
Страница 1: ...961 961 GPS Chart Navigator Operations and Reference Manual P N GM1700 Revision D X XD ...
Страница 8: ...Page viii 961 Operations and Reference Manual Rev D ...
Страница 10: ...Page x 961 Operations and Reference Manual Rev D ...
Страница 58: ...Chapter 2 Introducing the 961 Page 2 16 961 Operations and Reference Manual Rev D ...
Страница 140: ...Chapter 5 Understanding Position Coordinates Page 5 12 961 Operations and Reference Manual Rev D ...
Страница 172: ...Chapter 7 Creating Avoidance Points Page 7 16 961 Operations and Reference Manual Rev D ...
Страница 198: ...Chapter 8 Creating Routes Page 8 26 961 Operations and Reference Manual Rev D ...
Страница 262: ...Chapter 12 Alarms TideTrack and Currents Page 12 16 961 Operations and Reference Manual Rev D ...
Страница 348: ...Chapter 14 Service and Maintenance Functions Page 14 20 961 Operations and Reference Manual Rev D ...
Страница 374: ...Index Page I 12 961 Operations and Reference Manual Rev D ...


