4-52 Configuring Your Server
(5) "Span: Sets Span.
Parameter
Remarks
SPAN=NO
Does not set span.
SPAN=YES
Sets span.
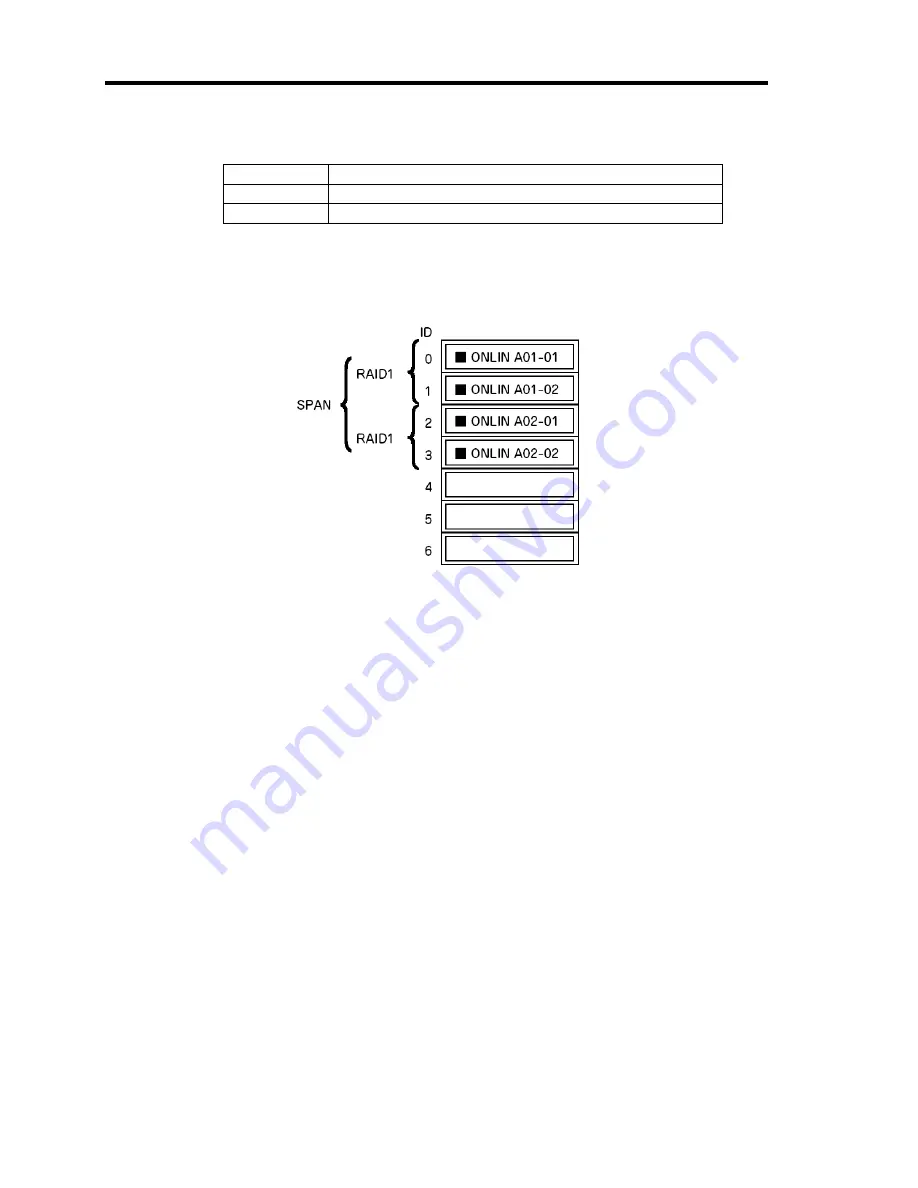
When performing SPAN, create two or more sets of the same pack at pack creation,
as shown in the figure below.
STRIPING of RAID1
9.
When all settings are completed, select "Accept" and then press
Enter
to create virtual
drive.
The created virtual drive is displayed in the "Virtual Drive Configured" screen.
10.
After creating virtual drive, press
Esc
to close the screen.
Go back to the "Save Configuration?" screen and then select "Yes" to save the
configuration.
11.
When the confirmation message shows that the configuration has been saved, press
Esc
to return to the TOP menu screen.
12.
On the TOP menu screen, select "Objects"
→
"Virtual Drive"
→
"View/Update
Parameters" to check virtual drive information.
13.
Select "Initialize" in the TOP menu screen.
14.
When the "Virtual Drives" screen appears, move the cursor to the virtual drive to be
initialized, and press
Space
.
The virtual drive is selected.
15.
After selecting virtual drive, press
F10
to start initialization.
A confirmation screen for execution appears. Select "Yes" to start initialization.
When the progress bar in the "Initialize Virtual Drive Progress" screen indicates 100%,
initialization is completed.
Содержание N8100-1668F
Страница 60: ...2 28 General Description This page is intentionally left blank ...
Страница 146: ...5 8 Installing the Operating System with Express Setup Flow of Setup ...
Страница 173: ...Installing the Operating System with Express Setup 5 35 Flow of Setup ...
Страница 242: ...5 104 Installing the Operating System with Express Setup This page is intentionally left blank ...
Страница 251: ...Installing and Using Utilities 6 9 4 Click Parameter File Creator Parameter File Creator will appear ...
Страница 255: ...Installing and Using Utilities 6 13 Windows Server 2003 ...
Страница 282: ...7 14 Maintenance This page is intentionally left blank ...
Страница 287: ...Troubleshooting 8 5 With Redundant Power Supply Installed REAR LINK ACT lamp Speed lamp Speed lamp LINK ACT lamp ...
Страница 288: ...8 6 Troubleshooting With Non Redundant Power Supply Installed REAR Speed lamp LINK ACT lamp Speed lamp LINK ACT lamp ...
Страница 339: ...Troubleshooting 8 57 When you use a remote console 6 Each tool is selected and it starts ...
Страница 400: ...9 56 Upgrading Your Server 11 Bring down the lever to secure the CPU 12 Remove the protective cover from the heat sink ...
Страница 422: ...9 78 Upgrading Your Server This page is intentionally left blank ...
Страница 440: ...C 2 IRQ This page is intentionally left blank ...
Страница 464: ...D 24 Installing Windows Server 2008 R2 4 Activate Windows The Windows activation is complete ...
Страница 495: ...Installing Windows Server 2008 E 29 4 Activate Windows The Windows activation is complete ...
Страница 558: ...H 2 Using a Client Computer Which Has a CD Drive This page is intentionally left blank ...
Страница 568: ...I 10 Accessing Power and Performance Data This page is intentionally left blank ...
Страница 572: ...J 4 Product Configuration Record Table This page is intentionally left blank ...


