MA Lighting Technology GmbH . Dachdeckerstr. 16 . D-97297 Waldbüttelbrunn . www.malighting.de eMail: [email protected]
70
70
70
70
70
3 . 5 . 4
3 . 5 . 4
3 . 5 . 4
3 . 5 . 4
3 . 5 . 4 FADE and DELA
FADE and DELA
FADE and DELA
FADE and DELA
FADE and DELAY times in the CHANNEL window
Y times in the CHANNEL window
Y times in the CHANNEL window
Y times in the CHANNEL window
Y times in the CHANNEL window
In addition to
In addition to
In addition to
In addition to
In addition to
the standard (basic) FADE times, individual durations can also be set for the individual
functions in the CHANNEL window (not in the FADER CHANNEL window).
These settings are needed when creating Cues, so that you can work with different FADE or DELAY times for indi-
vidual channels.
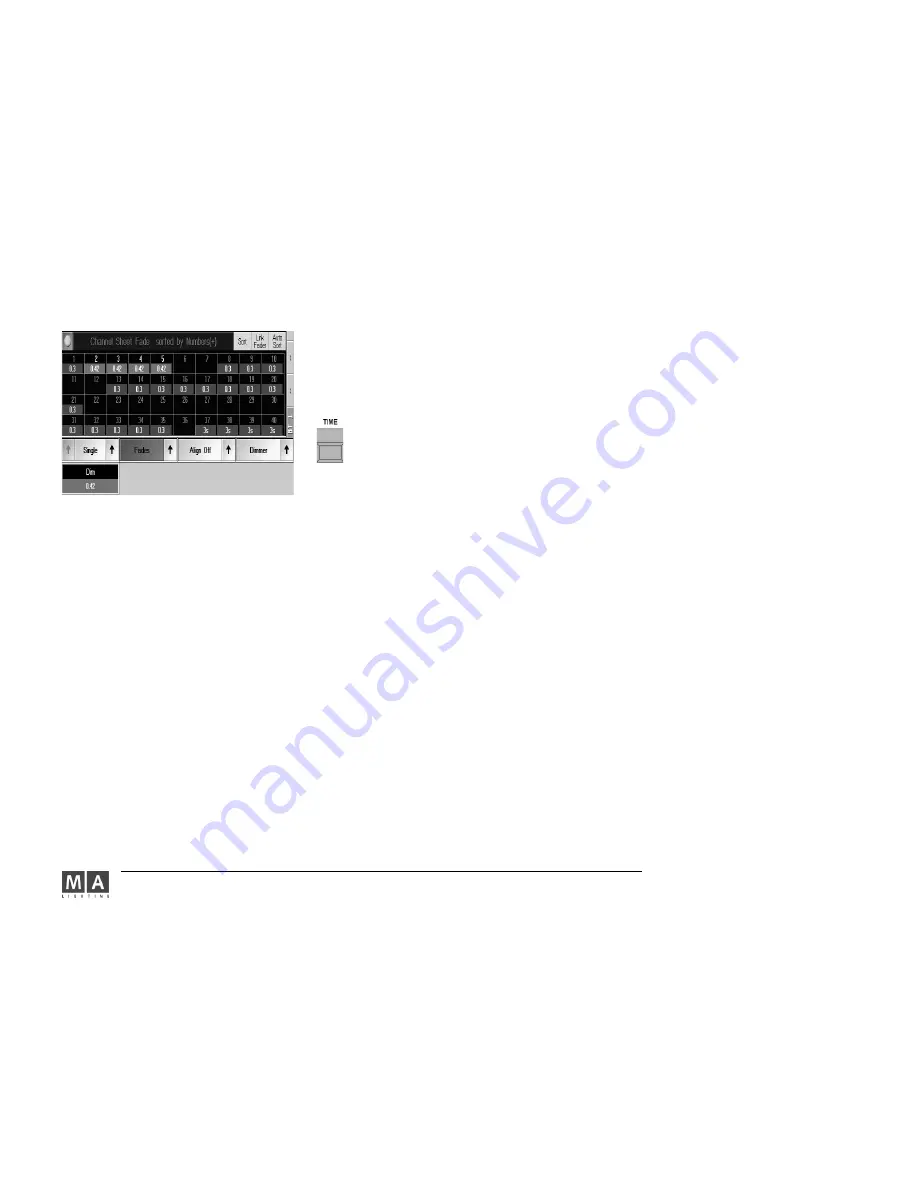
Open CHANNEL Window
Press Values, so that the button displays Fades or Delays.
Or:
Or:
Or:
Or:
Or:
When pressing the TIME key once, this will switch the channel sheet to the
FADE
FADE
FADE
FADE
FADE
time mode. The second time,
this will switch the channel sheet to the DELAY time mode.
If in the Window options Automatic was not selected, the display will not switch over. The currently selected
function of the FADE or DELAY Command Line will be displayed only for the Encoder labels.
3.5.7
3.5.7
3.5.7
3.5.7
3.5.7
Options
within the CHANNEL window
Now you can modify the IND. FADE or IND. DELAY time for the selected dimmer channels using the left encoder
(Individual Fade/Delay Time).
When carrying out modifications, different options can be used. These options can be necessary when times for
Scanners and Dimmers are changed simultaneously.
Selecting options:
Selecting options:
Selecting options:
Selecting options:
Selecting options:
Above the left decoder, a second additional button will be displayed showing the currently selected option.
By pressing this button, you can select the next option available.
Or:
Or:
Or:
Or:
Or:
Pressing on the right arrow will open a menu, in which all options are displayed and can be selected directly.
-
Single (For Active): The time can be adjusted for each individual Function (Attribute). If “Single For Active“ is
chosen, only times for activated values can be changed.
-
Feature (For Active): The time can be adjusted for the chosen Feature (e.g.: Gobo1, containing e.g.: Gobo1
and Gobo1 Rotation). If “Feature For Active“ is chosen, only times for activated values can be changed.
-
All (For Active): All times for all Attributes are adjusted. If “All For Active“ is chosen, only times for activated
values can be changed.
-
Defined (For Active): The time can be adjusted for the fixed Attributes. Pressing the left arrow on the side of
the Defined button will open the “Define Attributes to Set Time“ menu.
Selecting individual Attributes:
Selecting individual Attributes:
Selecting individual Attributes:
Selecting individual Attributes:
Selecting individual Attributes:
In this menu, all Attributes are displayed with a green (selected) or black (deselected) background. Pressing on
one of the functions will select or deselect it, respectively.


