Hotline: +49 5251 688865-99
Hotline: +49 5251 688865-99
Hotline: +49 5251 688865-99
Hotline: +49 5251 688865-99
Hotline: +49 5251 688865-99
. Operating Manual grandMA Version 5.4
43
43
43
43
43
Select the fixture/s, to which you want to clone the data (Fixture Sheet). If you want to clone several fixtures,
you have to observe the sequence in which you select them. Pressing the left Take Selection button will display
the fixtures in the right table (... To Fixtures).
By pressing the >>>! Clone!<<< button, you can clone all data.
Attention:
Attention:
Attention:
Attention:
Attention:
All target fixture data created sofar will be overwritten/deleted.
2.1
2.1
2.1
2.1
2.11.4 Auto Create Effects
1.4 Auto Create Effects
1.4 Auto Create Effects
1.4 Auto Create Effects
1.4 Auto Create Effects
Press
Auto Create Effects button (green background) to open the Auto Create Effects menu.
By pressing the
Create Built-in Dafault Effects
Create Built-in Dafault Effects
Create Built-in Dafault Effects
Create Built-in Dafault Effects
Create Built-in Dafault Effects
menu, you can create preset effects that will then be
available in the EFFECT pool.
66666
Effects
By pressing the
Import Effects
Import Effects
Import Effects
Import Effects
Import Effects
button, you can load saved effects from floppy.
By pressing the
Export Effects
Export Effects
Export Effects
Export Effects
Export Effects
button, you can save the created effects to a floppy.
2.1
2.1
2.1
2.1
2.11.5 ASCII Show Import
1.5 ASCII Show Import
1.5 ASCII Show Import
1.5 ASCII Show Import
1.5 ASCII Show Import
If the Ascii Show button is pressed (green background), you are in the ASCII Show Import menu.
Before you load an ASCII Show, you should save the Current Show, as it could be overwritten.
If the FDD contains a floppy with a Show in ASCII format (file with the .ALQ extension), you can load the Show by
pressing the button. It is not possible to transfer Scanner data. The Default User Settings (
2.8
2.8
2.8
2.8
2.8
Saving or Loading
Profiles) will be loaded. The Show will be saved under the name AssciiShow and should be renamed and saved
again.
1111111111
Saving and Loading a Show
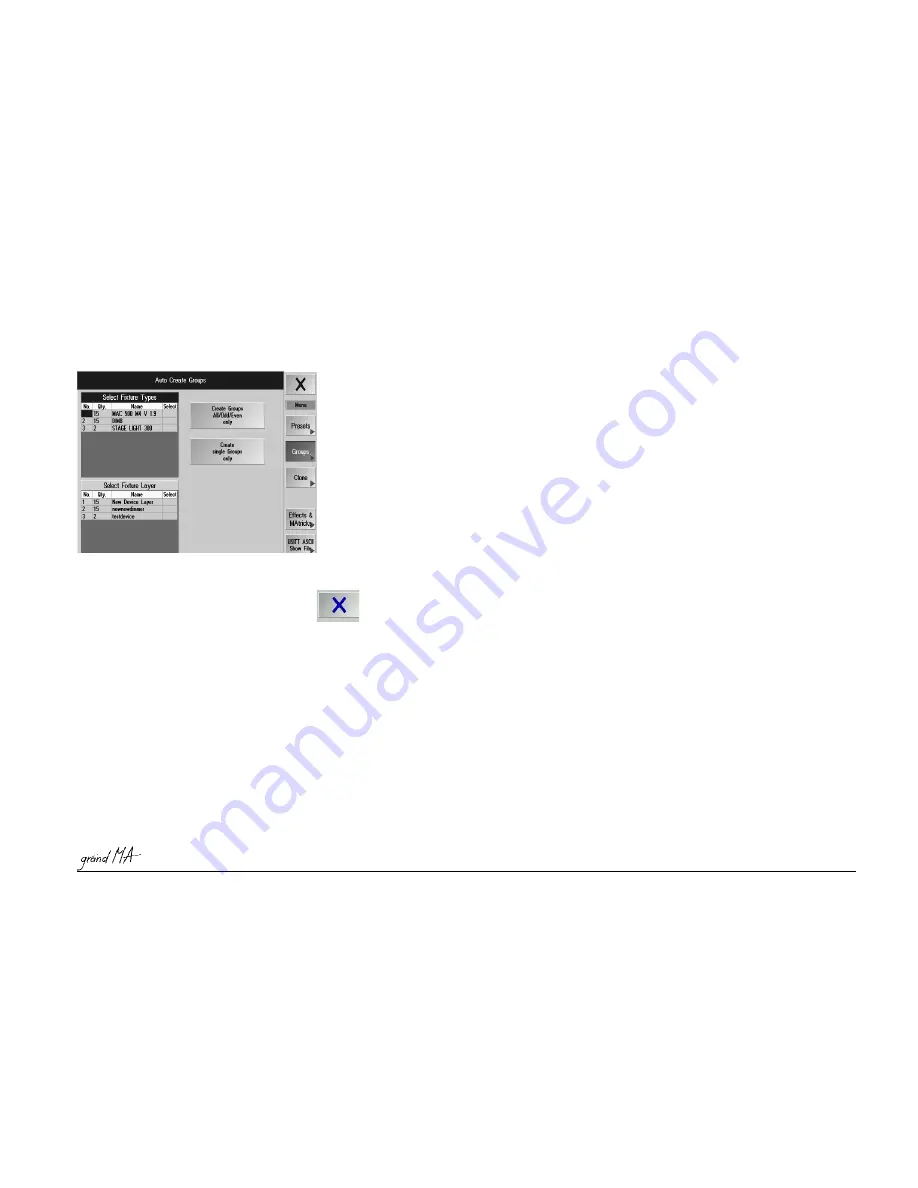
Use the
XXXXX
button to leave the Auto CREATE menu. The data will only be saved to the RAM - permanently only
when saving the complete Show to disk or floppy.
1111111111
Saving and Loading a Show
2.12
2.12
2.12
2.12
2.12 Settings in the Setup Menu
Settings in the Setup Menu
Settings in the Setup Menu
Settings in the Setup Menu
Settings in the Setup Menu
By pressing this key MSDBOX Mode, you can set the confirmation menus (e.g. STORE) to be displayed on just the
right-side TFT touchscreen or on all displays.
- Using the Executor Layout button on the grandMA light, ultralight or RPU, simulate the numbering of the
grandMA’s executors (Executor Fader 1 - 20, Executor Button 21 - 60; the additional executors can only be
triggered from the Command Line. This is the easier way to use shows created on the grandMA on smaller
consoles.
- By setting the soft key „Executor Layout“ to „Wide“, a grandMA light, ultralight oder RPU will use the same
executor numbering as the „big brother“ grandMA does. Therefore the first button executor has number 21.
Please have in mind, that in wide mode the printed labels on the consoles surface are wrong. The advantage of
wide mode is, that all executors can be accessed by the command line. This is useful when porting shows from a
grandMA into a smaller console.
- By clicking this key, four calibrating keys, numbered 1 to 4, will be displayed on the respective TFT display.
Touch the keys using your finger or the supplied pen (special pen with soft rubber core). The display will
automatically switch back after the last key is touched. The touchscreen is now calibrated and the settings will
automatically be stored.


