LCD panel assembly
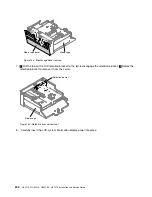
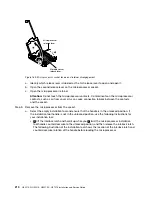
Figure 150. LCD panel assembly installation
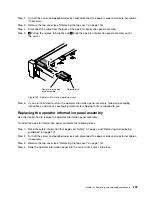
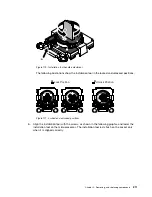
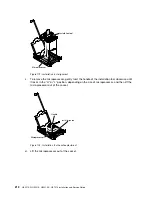
10. Connect the LCD panel assembly cable to the system board. The following illustration shows the cable
routing for the LCD panel assembly.
0000000000000000000
LCD panel connector
Operator information /
LCD panel connector
Operator information /
LCD panel cable
Figure 151. LCD panel assembly cable routing
Note:
To connect the LCD panel assembly cable on the system board, press evenly on the cable.
Pressing on one side of the cable might cause damage to the cable or connector.
11. Replace the top cover (see “Replacing the top cover” on page 118).
198
HX3510-G, HX5510, HX5510-C, HX7510 Installation and Service Guide
Содержание HX3510-G
Страница 1: ...HX3510 G HX5510 HX5510 C HX7510 Installation and Service Guide Machine Type 8695 ...
Страница 6: ...iv HX3510 G HX5510 HX5510 C HX7510 Installation and Service Guide ...
Страница 62: ...50 HX3510 G HX5510 HX5510 C HX7510 Installation and Service Guide ...
Страница 102: ...90 HX3510 G HX5510 HX5510 C HX7510 Installation and Service Guide ...
Страница 112: ...100 HX3510 G HX5510 HX5510 C HX7510 Installation and Service Guide ...
Страница 1222: ...1210 HX3510 G HX5510 HX5510 C HX7510 Installation and Service Guide ...
Страница 1229: ...People s Republic of China Class A electronic emission statement Taiwan Class A compliance statement Appendix E Notices 1217 ...
Страница 1230: ...Taiwan BSMI RoHS declaration 1218 HX3510 G HX5510 HX5510 C HX7510 Installation and Service Guide ...
Страница 1238: ...1226 HX3510 G HX5510 HX5510 C HX7510 Installation and Service Guide ...
Страница 1239: ......
Страница 1240: ......


