• The hypervisor cannot detect SSDs and HDDs or the red LEDs on the drives are illuminated.
• The CVM won't start because no storage controller resources are detected.
• The hypervisor or BIOS does not detect the HBA card.
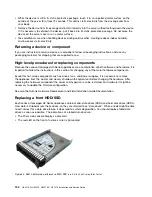
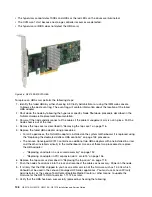
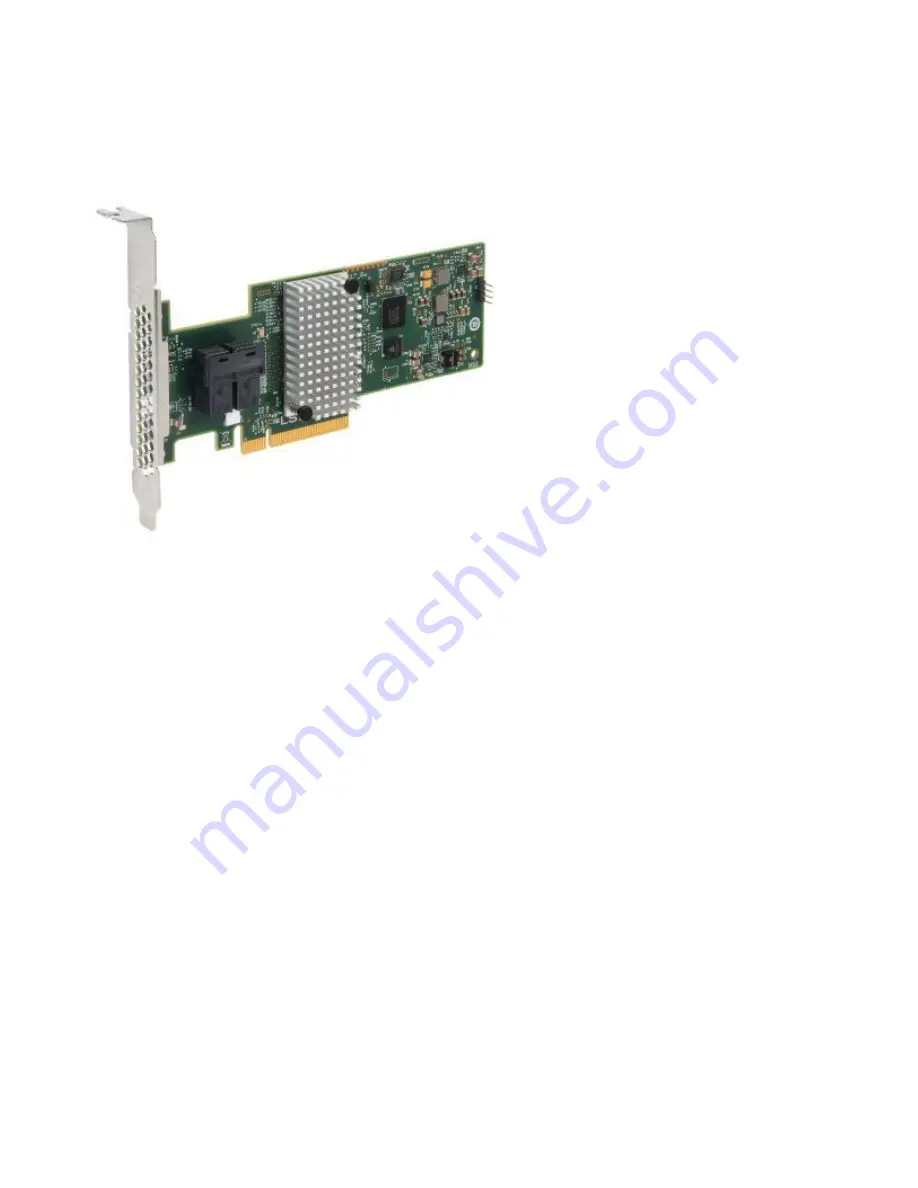
Figure 36. N2215 SAS/SATA HBA
To replace an HBA card, perform the following steps:
1. Identify the failed HBA by either checking in XClarity Administrator or using the IMM web console
to browse the post event log. The event log will contain information about the location of the failed
HBA adapter.
2. Shut down the node by following the hypervisor specific Node Shutdown procedure described in the
Nutanix Hardware Replacement Documentation.
3. Power off the node and disconnect all the cables if the cable management arm is not in place. Pull the
node chassis out of the rack.
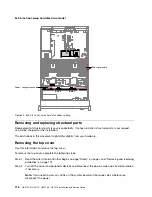
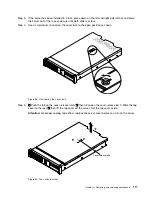
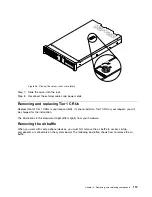
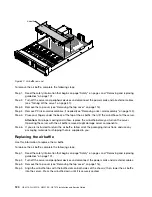
4. Remove the top cover as described in “Removing the top cover” on page 116.
5. Replace the failed HBA adapter using procedures:
• For all 3 appliances, the first HBA adapter is installed on the system motherboard. It is replaced using
the “Replacing the dedicated slotless HBA controller” on page 148 procedure.
• The Lenovo Converged HX7510 contains an additional two HBA adapters with one installed in a riser
and the other installed vertically in the motherboard. Use one of these two procedures to replace
the HBA adapter:
–
“Replacing an adapter in a riser-card assembly” on page 152
–
“Replacing an adapter in PCI expansion slot 4 or slot 5” on page 156
6. Replace the top cover as described in “Replacing the top cover” on page 118.
7. Push the node chassis back into the rack and reconnect the cables as necessary. Power on the node.
8. It is likely that the CRU shipped to you has an earlier version of the firmware such as 1.04.04 which
sbhould not be used in the Lenovo Converged HX Series appliances. You must use Lenovo XClarity
Administrator, or the Lenovo ToolsCenter Bootable Media Creator or other means, to update the
firmware for the N2215 HBA to version 1.11.125 or later.
9. Verify that the HBA has been successfully replaced by checking the following:
108
HX3510-G, HX5510, HX5510-C, HX7510 Installation and Service Guide
Содержание HX3510-G
Страница 1: ...HX3510 G HX5510 HX5510 C HX7510 Installation and Service Guide Machine Type 8695 ...
Страница 6: ...iv HX3510 G HX5510 HX5510 C HX7510 Installation and Service Guide ...
Страница 62: ...50 HX3510 G HX5510 HX5510 C HX7510 Installation and Service Guide ...
Страница 102: ...90 HX3510 G HX5510 HX5510 C HX7510 Installation and Service Guide ...
Страница 112: ...100 HX3510 G HX5510 HX5510 C HX7510 Installation and Service Guide ...
Страница 1222: ...1210 HX3510 G HX5510 HX5510 C HX7510 Installation and Service Guide ...
Страница 1229: ...People s Republic of China Class A electronic emission statement Taiwan Class A compliance statement Appendix E Notices 1217 ...
Страница 1230: ...Taiwan BSMI RoHS declaration 1218 HX3510 G HX5510 HX5510 C HX7510 Installation and Service Guide ...
Страница 1238: ...1226 HX3510 G HX5510 HX5510 C HX7510 Installation and Service Guide ...
Страница 1239: ......
Страница 1240: ......


