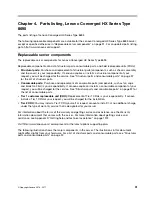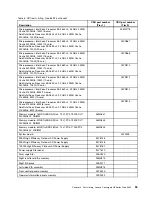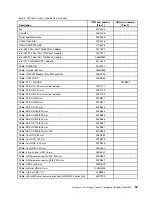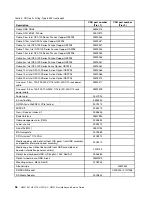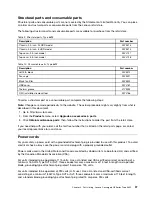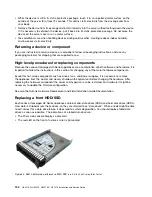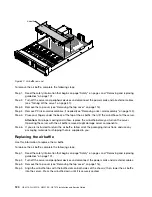
To replace a SSD or HDD in the front of the appliance, perform the following steps:
1. To identify and prepare for replacing a failed data drive, use the Data Drive Failure procedure in the
Nutanix Hardware Replacement Documentation.
2. During the process, replace the hot swap drive as described in “Replacing a hot-swap hard disk drive”
3. Bring the data drive online by using the Completing Drive Replacement procedure in the Nutanix
Hardware Replacement Documentation.
Replacing a power supply unit (PSU)
The Lenovo Converged HX Series appliances use two power supply units. If you are using 208V input power,
the two power supplies are redundant. One power supply can meet the needs of the node. Although losing
one of the two power supplies does not impact the operation of a node, you should replace a failed power
supply unit as soon as possible to restore redundancy.
To replace a power supply, perform the following steps:
1. The Lenovo Converged HX Series appliances contain two power supplies. Identify the failed power
supply by checking in Prism, XClarity Administrator or the indicator lights on the power supply units.
2. Disconnect the power cable for the power supply to be replaced being careful not to dislodge the
other power cable.
3. Remove the power supply as described in “Removing a hot-swap ac power supply” on page 179.
4. Replace the power supply as described in “Replacing a hot-swap ac power supply” on page 181.
5. Reconnect the power cable.
6. Verify that the power supply has been successfully replaced by checking the following:
• Orange warning light on the server front panel is extinguished.
• Verify indicator lights on the power supply (two green LEDs).
• No error shown in Lenovo XClarity Administrator.
• No error shown in Prism.
Replacing a chassis fan
Failed or failing chassis fans can cause the system to overheat and shutdown. You should replace a failed
chassis fan as soon as possible. The indications of a failed chassis fan include:
• An error in Lenovo XClarity Administrator
• An error in the Prism web console
.
Removing, and replacing components
105
Содержание HX3510-G
Страница 1: ...HX3510 G HX5510 HX5510 C HX7510 Installation and Service Guide Machine Type 8695 ...
Страница 6: ...iv HX3510 G HX5510 HX5510 C HX7510 Installation and Service Guide ...
Страница 62: ...50 HX3510 G HX5510 HX5510 C HX7510 Installation and Service Guide ...
Страница 102: ...90 HX3510 G HX5510 HX5510 C HX7510 Installation and Service Guide ...
Страница 112: ...100 HX3510 G HX5510 HX5510 C HX7510 Installation and Service Guide ...
Страница 1222: ...1210 HX3510 G HX5510 HX5510 C HX7510 Installation and Service Guide ...
Страница 1229: ...People s Republic of China Class A electronic emission statement Taiwan Class A compliance statement Appendix E Notices 1217 ...
Страница 1230: ...Taiwan BSMI RoHS declaration 1218 HX3510 G HX5510 HX5510 C HX7510 Installation and Service Guide ...
Страница 1238: ...1226 HX3510 G HX5510 HX5510 C HX7510 Installation and Service Guide ...
Страница 1239: ......
Страница 1240: ......

