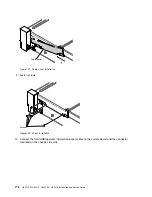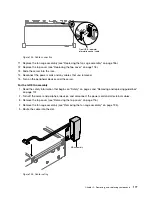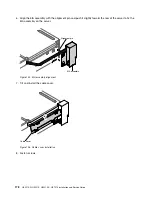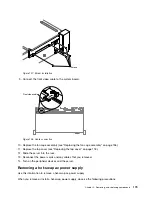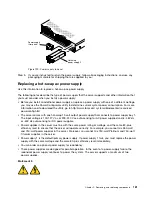
Step 9.
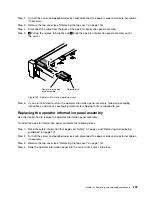
If you are instructed to return the backplane, follow all packaging instructions, and use any
packaging materials for shipping that are supplied to you.
Replacing the 3.5-inch hot-swap hard disk drive backplane
Use this information to replace the 3.5-inch hot-swap hard disk drive backplane.
To install the 3.5-inch hot-swap hard disk drive backplane, complete the following steps:
Step 1.
Read the safety information that begins on “Safety” on page v and “Removing and replacing
guidelines” on page 101.
Step 2.
Turn off the server, and disconnect all power cords and external cables.
Step 3.
Remove the top cover (see “Removing the top cover” on page 116).
Step 4.
Pull the hard disk drives or fillers out of the server slightly to disengage them from the backplane.
See “Removing a hot-swap hard disk drive” on page 125.
Step 5.
Remove the fan cage assembly (see “Removing the fan cage assembly” on page 135).
Step 6.
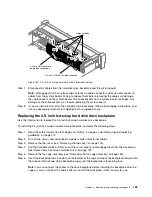
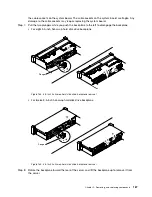
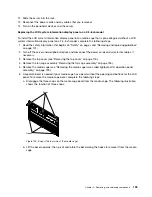
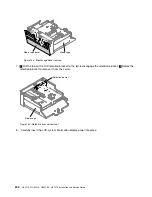
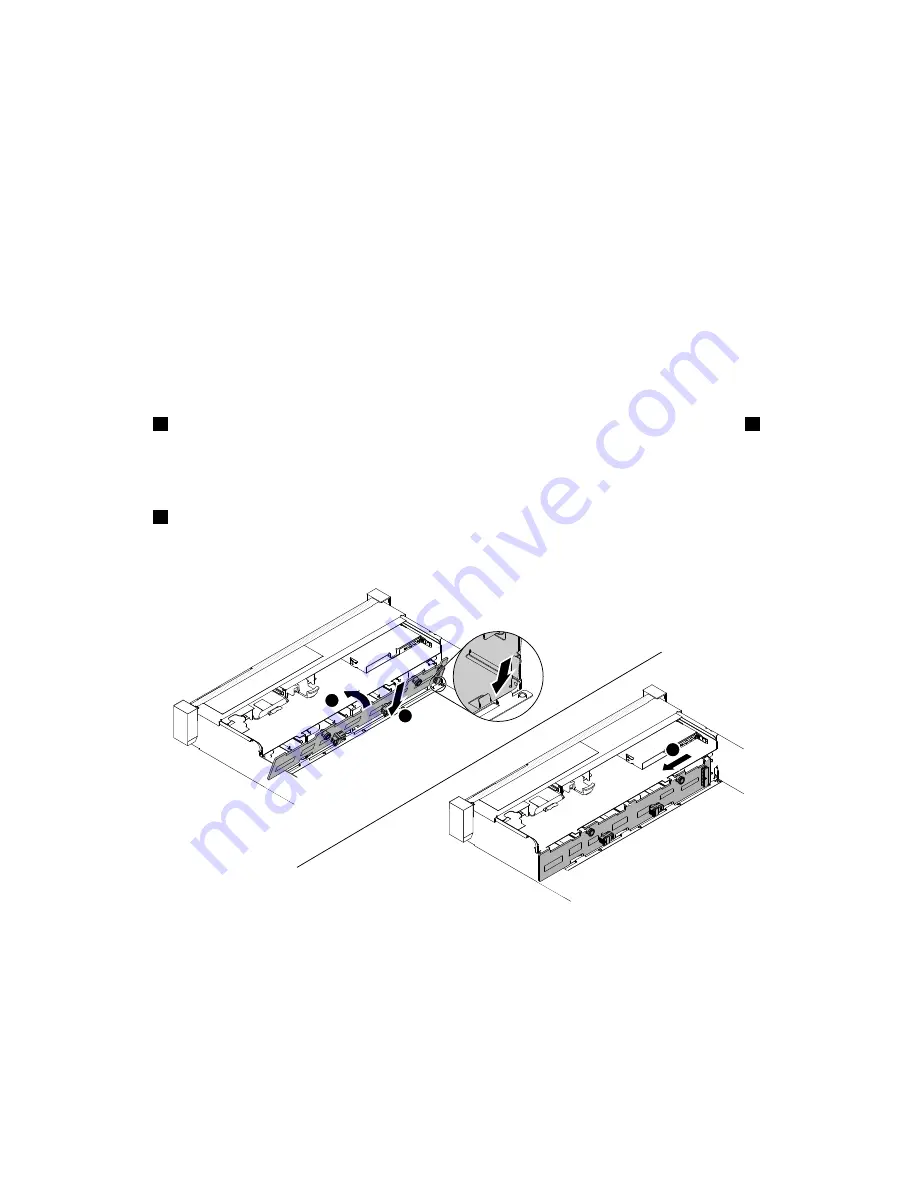
1
Insert the backplane tabs into slots on the bottom of the drive cage at an angle; then,
2
rotate
the backplane toward the front the server.
Note:
You can connect the cables to the drive backplane before installing the backplane onto the
cage or you can connect the cables after you install the backplane, if that is easier for you.
Step 7.
3
Push the b backplane to the left to engage the assembly into place.
• For eight 3.5-inch hot-swap hard disk drive backplane
00000000000000000
00000000000000000
00000000000000000
00000000000000000
00000000000000000
00000000000000000
00000000000000000
00000000000000000
00000000000000000
00000000000000000
00000000000000000
00000000000000000
00000000000000000
00000000000000000
00000000000000000
00000000000000000
00000000000000000
00000000000000000
00000000000000000
00000000000000000
00000000000000000
3
2
1
Figure 136. Eight 3.5-inch hot-swap hard disk drive backplane
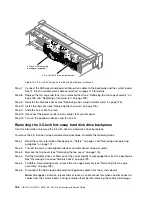
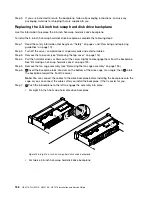
• For twelve 3.5-inch hot-swap hard disk drive backplane
188
HX3510-G, HX5510, HX5510-C, HX7510 Installation and Service Guide
Содержание HX3510-G
Страница 1: ...HX3510 G HX5510 HX5510 C HX7510 Installation and Service Guide Machine Type 8695 ...
Страница 6: ...iv HX3510 G HX5510 HX5510 C HX7510 Installation and Service Guide ...
Страница 62: ...50 HX3510 G HX5510 HX5510 C HX7510 Installation and Service Guide ...
Страница 102: ...90 HX3510 G HX5510 HX5510 C HX7510 Installation and Service Guide ...
Страница 112: ...100 HX3510 G HX5510 HX5510 C HX7510 Installation and Service Guide ...
Страница 1222: ...1210 HX3510 G HX5510 HX5510 C HX7510 Installation and Service Guide ...
Страница 1229: ...People s Republic of China Class A electronic emission statement Taiwan Class A compliance statement Appendix E Notices 1217 ...
Страница 1230: ...Taiwan BSMI RoHS declaration 1218 HX3510 G HX5510 HX5510 C HX7510 Installation and Service Guide ...
Страница 1238: ...1226 HX3510 G HX5510 HX5510 C HX7510 Installation and Service Guide ...
Страница 1239: ......
Страница 1240: ......


