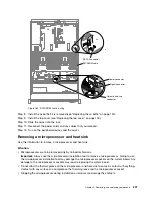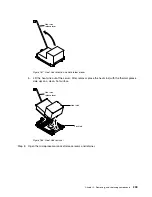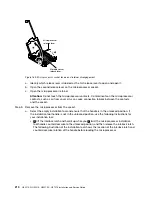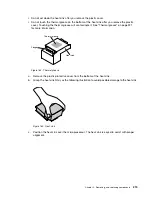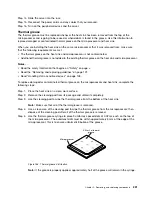
Step 14. Slide the server into the rack.
Step 15. Reconnect the power cords and any cables that you removed.
Step 16. Turn on the peripheral devices and the server.
Thermal grease
The thermal grease must be replaced whenever the heat sink has been removed from the top of the
microprocessor and is going to be reused or when debris is found in the grease. Use this information to
replace damaged or contaminated thermal grease on the microprocessor and heat sink.
When you are installing the heat sink on the same microprocessor that it was removed from, make sure
that the following requirements are met:
• The thermal grease on the heat sink and microprocessor is not contaminated.
• Additional thermal grease is not added to the existing thermal grease on the heat sink and microprocessor.
Notes:
• Read the safety information that begins on “Safety” on page v.
• Read the “Removing and replacing guidelines” on page 101.
• Read “Handling static-sensitive devices” on page 103.
To replace damaged or contaminated thermal grease on the microprocessor and heat sink, complete the
following steps:
Step 1.
Place the heat sink on a clean work surface.
Step 2.
Remove the cleaning pad from its package and unfold it completely.
Step 3.
Use the cleaning pad to wipe the thermal grease from the bottom of the heat sink.
Note:
Make sure that all of the thermal grease is removed.
Step 4.
Use a clean area of the cleaning pad to wipe the thermal grease from the microprocessor; then,
dispose of the cleaning pad after all of the thermal grease is removed.
Step 5.
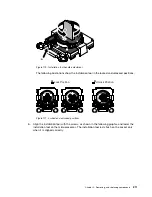
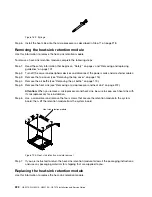
Use the thermal-grease syringe to place 9 uniformly spaced dots of 0.02 mL each on the top of
the microprocessor. The outermost dots must be within approximately 5 mm of the edge of the
microprocessor; this is to ensure uniform distribution of the grease.
Microprocessor
0.02 mL of thermal
grease
Figure 188. Thermal grease distribution
Note:
If the grease is properly applied, approximately half of the grease will remain in the syringe.
.
Removing, and replacing components
221
Содержание HX3510-G
Страница 1: ...HX3510 G HX5510 HX5510 C HX7510 Installation and Service Guide Machine Type 8695 ...
Страница 6: ...iv HX3510 G HX5510 HX5510 C HX7510 Installation and Service Guide ...
Страница 62: ...50 HX3510 G HX5510 HX5510 C HX7510 Installation and Service Guide ...
Страница 102: ...90 HX3510 G HX5510 HX5510 C HX7510 Installation and Service Guide ...
Страница 112: ...100 HX3510 G HX5510 HX5510 C HX7510 Installation and Service Guide ...
Страница 1222: ...1210 HX3510 G HX5510 HX5510 C HX7510 Installation and Service Guide ...
Страница 1229: ...People s Republic of China Class A electronic emission statement Taiwan Class A compliance statement Appendix E Notices 1217 ...
Страница 1230: ...Taiwan BSMI RoHS declaration 1218 HX3510 G HX5510 HX5510 C HX7510 Installation and Service Guide ...
Страница 1238: ...1226 HX3510 G HX5510 HX5510 C HX7510 Installation and Service Guide ...
Страница 1239: ......
Страница 1240: ......

