9-27
User Authentication and Accounting (User Login, Job Accounting) > Setting User Login Administration
Obtain NW User Property
Set the required information to obtain the network user property from the LDAP server. The user name and E-mail
address obtained with this setting is shown in the user information, the status confirmation screen, and the header of
E-mail.
1
Display the screen.
1
[
System Menu
] key > [
User Login/Job Accounting
]
2
[
User Login Setting
] > [
Obtain NW User Property
] > [
On
]
2
Configure the settings.
[
On
] > Add information on each item > [
OK
]
NOTE
To obtain the network user property from the LDAP server, [
Network Authentication
] must be selected for the
authentication method in "Enabling User Login Administration". Select "On" for "LDAP" in "Protocol Detail".
Enabling User Login Administration (page 9-3)
Protocol Settings (page 8-44)
NOTE
If the login user name entry screen appears during operations, enter a login user name
and password, and select [
Login
]. For this, you need to login with administrator
privileges.
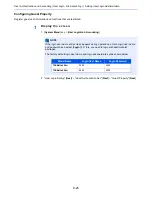
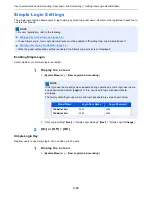
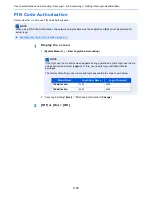
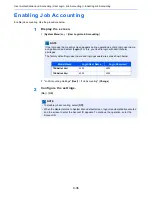
The factory default login user name and login password are set as shown below.
Item
Descriptions
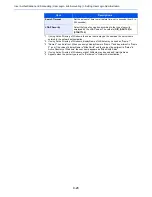
Server Name
*1
Enter the LDAP server name or the IP address (up to 64
characters). If a server name is not entered, user information will be
acquired from the server set for Network Authentication.
Port
Port number for LDAP server. The default port number is 389.
Name 1
*2
Enter the LDAP Attribute to obtain the user name to be displayed
from the LDAP server (up to 32 characters).
Name 2
*3
Enter the LDAP Attribute to obtain the user name to be displayed
from the LDAP server (up to 32 characters).
E-mail Address
*4
Enter the LDAP Attribute to obtain the E-mail address from the
LDAP server (up to 32 characters).
Authentic at Type
*5
Set the authentication method. Select [
Simple
] or [
SASL
]. After
changing the setting, restart the system or turn the power off and
then on.
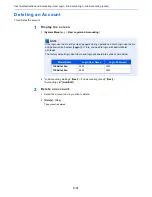
Model Name
Login User Name
Login Password
TASKalfa 356ci
3500
3500
TASKalfa 406ci
4000
4000
Содержание TASKalfa 356ci
Страница 1: ...OPERATION GUIDE q PRINT q COPY q SCAN q FAX TASKalfa 356ci TASKalfa 406ci ...
Страница 461: ...10 20 Troubleshooting Regular Maintenance 3 Empty the Punch Waste Box 4 Install the Punch Waste Box 5 Close the cover ...
Страница 463: ...10 22 Troubleshooting Regular Maintenance 4 Install the Punch Waste Box 5 Close the cover ...
Страница 498: ...10 57 Troubleshooting Clearing Paper Jams 4 Remove any jammed paper 5 Push Right Cover 2 and Cassette 3 back in ...
Страница 504: ...10 63 Troubleshooting Clearing Paper Jams 8 Remove any jammed paper 9 Push Right Cover 1 ...
Страница 564: ......

