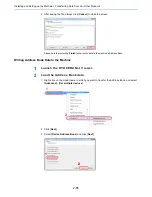
3-12
Preparation before Use > Preparation for Sending a Document to a Shared Folder in a PC
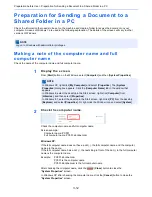
Preparation for Sending a Document to a
Shared Folder in a PC
Check the information that needs to be set on the machine and create a folder to receive the document on your
computer. Screens of Windows 7 are used in the following explanation. The details of the screens will vary in other
versions of Windows.
Making a note of the computer name and full
computer name
Check the name of the computer name and full computer name.
1
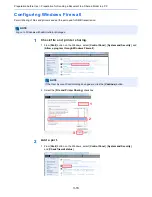
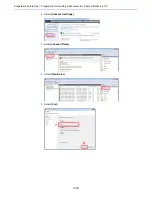
Display the screen.
From [
Start
] button on the Windows, select [
Computer
] and then [
System Properties
].
2
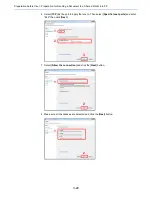
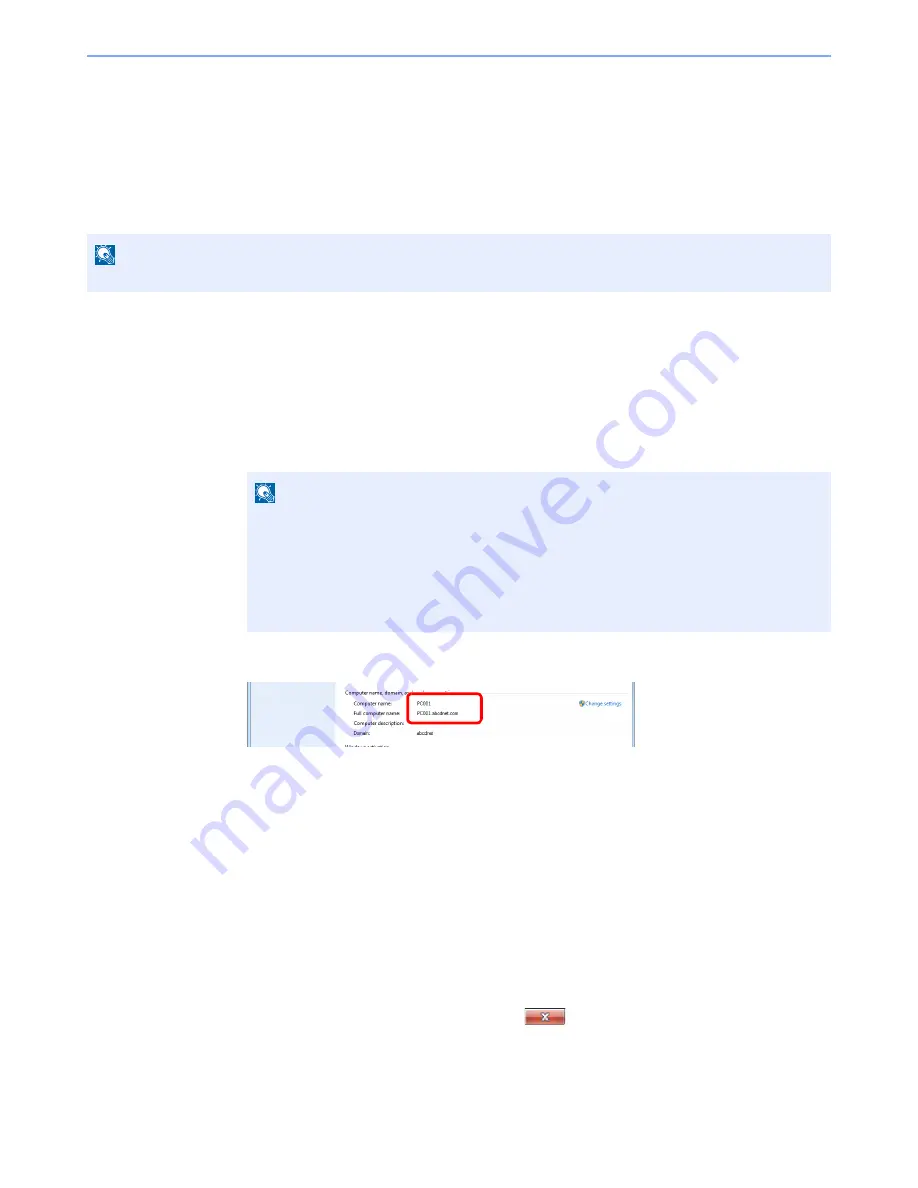
Check the computer name.
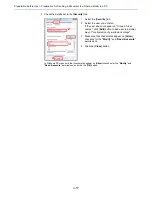
Check the computer name and full computer name.
Screen example:
Computer name: PC001
Full computer name: PC001.abcdnet.com
Windows XP:
If the full computer name does not have a dot (.), the full computer name and the computer
name are the same.
If the full computer name has a dot (.), the text string in front of the dot (.) in the full computer
name is the computer name.
Example:
PC001.abcdnet.com
PC001 is the computer name
PC001.abcdnet.com is the full computer name
After checking the computer name, click the
[
Close
] button to close the
"
System Properties
" screen.
In Windows XP, after checking the computer name, click the [
Cancel
] button to close the
"
System Properties
" screen.
NOTE
Log on to Windows with administrator privileges.
NOTE
In Windows XP, right-click [
My Computer
] and select [
Properties
]. The [
System
Properties
] dialog box appears. Click the [
Computer Name
] tab in the window that
appears.
In Windows 8, select the desktop in the Start screen, right-click [
Computer
] from
[
Libraries
], and then select [
Properties
].
In Windows 8.1, select the desktop in the Start screen, right-click [
PC
] from the desktop
[
Explorer
] and select [
Properties
]. Or, right-click the Window icon and select [
System
].
Содержание TASKalfa 356ci
Страница 1: ...OPERATION GUIDE q PRINT q COPY q SCAN q FAX TASKalfa 356ci TASKalfa 406ci ...
Страница 461: ...10 20 Troubleshooting Regular Maintenance 3 Empty the Punch Waste Box 4 Install the Punch Waste Box 5 Close the cover ...
Страница 463: ...10 22 Troubleshooting Regular Maintenance 4 Install the Punch Waste Box 5 Close the cover ...
Страница 498: ...10 57 Troubleshooting Clearing Paper Jams 4 Remove any jammed paper 5 Push Right Cover 2 and Cassette 3 back in ...
Страница 504: ...10 63 Troubleshooting Clearing Paper Jams 8 Remove any jammed paper 9 Push Right Cover 1 ...
Страница 564: ......


