5-43
Operation on the Machine > Handling Destination
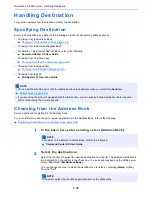
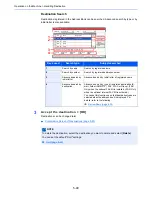
Confirmation Screen of Destinations
When selecting [
On
] for Destination Check before Send, the confirmation screen of destinations appears after pressing
the [
Start
] key.
Dest. Check before Send (page 8-28)
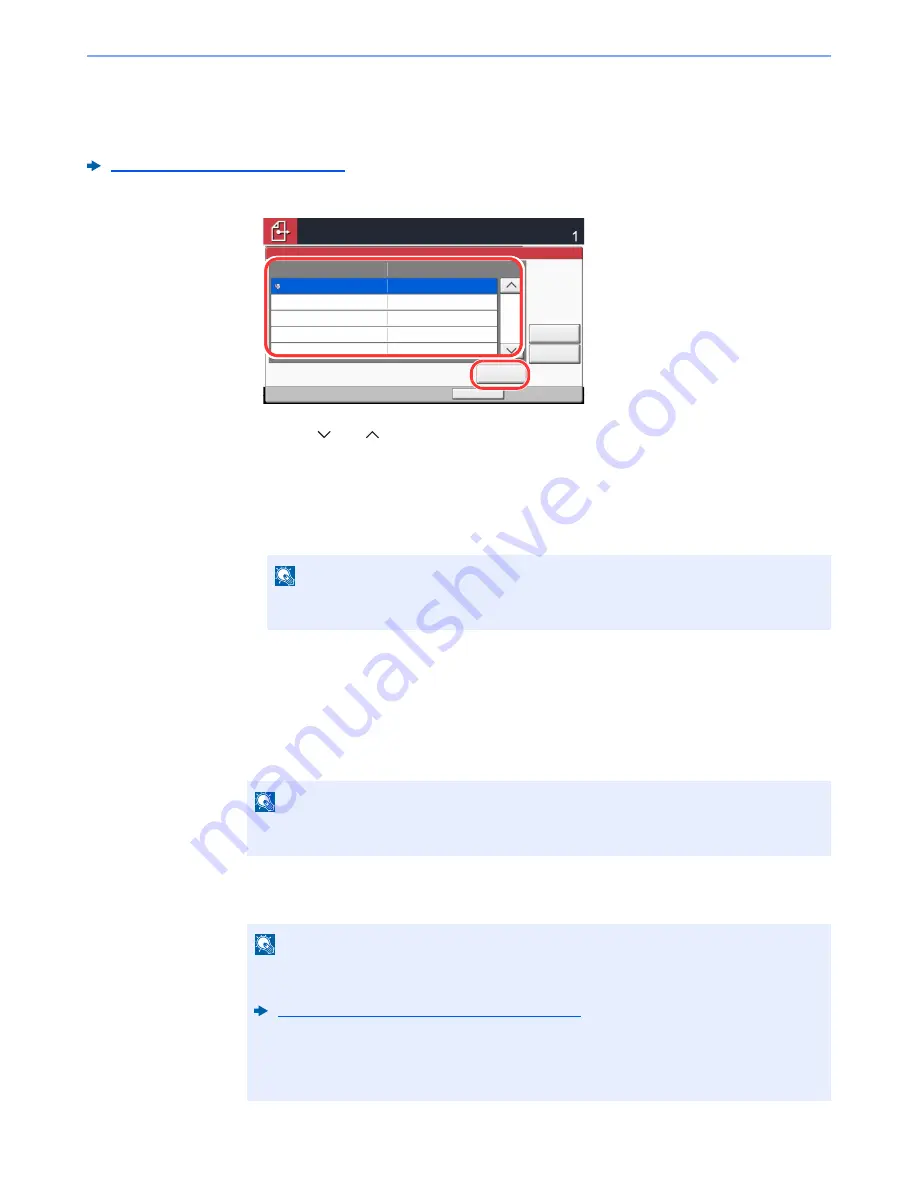
Follow the steps below to confirm the destinations.
1
Select [
] or [
] to confirm all destination.
Selecting [
Detail
] shows the detailed information of the selected destination.
To delete the destination, select the destination you want to delete > [
Delete
] > [
Yes
]
To add the destination, select [
Cancel
] and then return to the destination screen.
2
Select [
Check
].
Recall
Recall is a function allowing you to send the last entered destination once again. When you want to send the image to
the same destination, select [
Recall
], and you can call the destination you sent on the destination list.
1
Select [Recall].
The destination you sent is displayed on the destination list.
2
Press the [Start] key.
Sending starts.
NOTE
Be sure to confirm all destination by displaying them on the touch panel. You cannot
select [
Check
] unless you have confirmed all destination.
NOTE
When the last sending included FAX, folders and E-mail destinations, they are also
displayed. If necessary, add or delete the destination.
NOTE
• When [
On
] is selected in "Dest. Check before Send", a destination confirmation screen is
displayed when you press the [
Start
] key.
Confirmation Screen of Destinations (page 5-43)
• Recall information is canceled in the following conditions.
- When you turn the power off
- When you send a next image (new recall information is registered)
- When you log out
Check
Cancel
Check the destination list through the last page.
Destination
Detail
Delete
Destination
Detail
A OFFICE
1234567890
After checking the list, press [Check] and then Start key.
1
2
Содержание TASKalfa 356ci
Страница 1: ...OPERATION GUIDE q PRINT q COPY q SCAN q FAX TASKalfa 356ci TASKalfa 406ci ...
Страница 461: ...10 20 Troubleshooting Regular Maintenance 3 Empty the Punch Waste Box 4 Install the Punch Waste Box 5 Close the cover ...
Страница 463: ...10 22 Troubleshooting Regular Maintenance 4 Install the Punch Waste Box 5 Close the cover ...
Страница 498: ...10 57 Troubleshooting Clearing Paper Jams 4 Remove any jammed paper 5 Push Right Cover 2 and Cassette 3 back in ...
Страница 504: ...10 63 Troubleshooting Clearing Paper Jams 8 Remove any jammed paper 9 Push Right Cover 1 ...
Страница 564: ......


