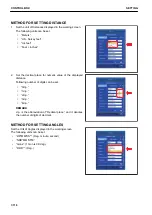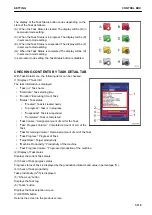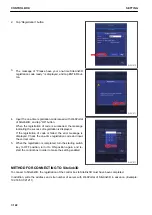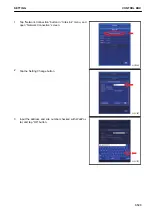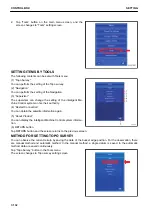
(1) “Network Connection”
You can perform the setting for connecting the control box to
Sitelink3D.
(2) “Operator” (*)
You can select the operator.
(3) “Activity” (*)
You can select the name of activity.
(4) “Delay” (*)
You can select the delay information.
(5) “Material” (*)
You can select the material information.
(6) “Export Data”
You can send the Surface file via network to the devices (con-
trol box, 3D-Office, etc.) which are connected to Sitelink3D.
(7) “Message”
You can send the message to the devices (control box, 3D-Office, etc.) connected to the same site of Site-
link3D.
(*): The list of information set at WebPortal is displayed, and the item is selected from the list. For the item which
is not set at WebPortal, only “<none>” is displayed.
METHOD FOR REGISTERING ON Sitelink3D
In order to register on Sitelink3D, issue the one-time registration code with WebPortal of Sitelink3D in advance.
After issuing the one-time registration code, register the control box on Sitelink3D according to the following pro-
cedure.
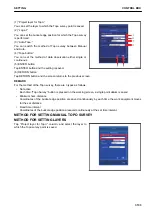
1.
Tap “Network Connection” button in “Site-Link” menu, and
open “Network Connection” screen.
$-'
SETTING
CONTROL BOX
7-121
Содержание A31001
Страница 12: ...LOCATION OF SAFETY LABELS Options are shown with marks in the figure SAFETY LABELS SAFETY 2 4...
Страница 103: ...MAINTENANCE Please read and make sure that you understand the SAFETY section before reading this section 4 1...
Страница 106: ......
Страница 107: ...SPECIFICATIONS 5 1...
Страница 110: ......
Страница 111: ...ATTACHMENTS AND OPTIONS Please read and make sure that you understand the SAFETY section before reading this section 6 1...
Страница 116: ......
Страница 117: ...SETTING 7 1...
Страница 311: ...EXECUTIONS 8 1...
Страница 376: ...PC360LCi 11 PC390LCi 11 HYDRAULIC EXCAVATOR Form No CEAM032703...

