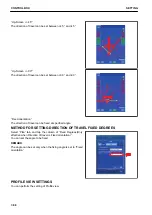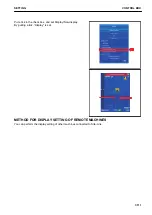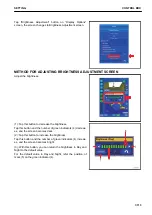
2.
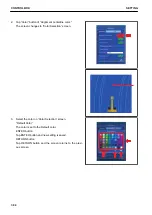
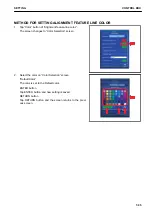
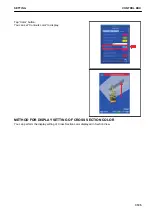
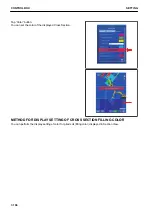
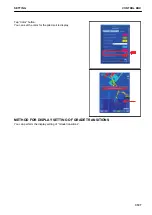
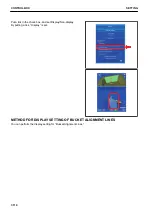
Select the color on “Color Selection” screen.
“Default Color”
The color is set to the Default color.
ENTER button
Tap ENTER button and new setting is saved.
RETURN button
Tap RETURN button and the screen returns to the previ-
ous screen.
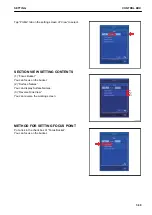
METHOD FOR DISPLAY SETTING BY POINT OPTION TAB
You can perform the display setting of Topo survey point, Control point, and Points.
For the items explained below, by putting a tick in the check box, "Display" is set. If a tick is not put, "Non-dis-
play" is set.
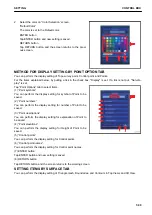
Tap “Point Options” tab to select items.
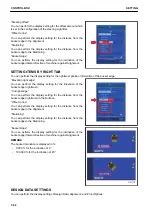
(1) “Point symbols”
You can perform the display setting for symbol of Point to be
saved.
(2) “Point numbers”
You can perform the display setting for number of Point to be
saved.
(3) “Point descriptions”
You can perform the display setting for explanation of Point to
be saved.
(4) “Point elevations”
You can perform the display setting for Height of Point to be
saved.
(5) “Control points”
You can perform the display setting for Control points.
(6) “Control point names”
You can perform the display setting for Control point names.
(7) ENTER button
Tap ENTER button and new setting is saved.
(8) RETURN button
Tap RETURN button and the screen returns to the working screen.
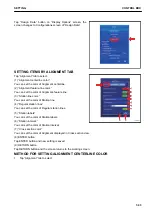
SETTING ITEMS BY SURFACE TAB
You can perform the display setting of Triangle mesh, Boundaries, and Contours in Top Views and 3D View.
SETTING
CONTROL BOX
7-99
Содержание A31001
Страница 12: ...LOCATION OF SAFETY LABELS Options are shown with marks in the figure SAFETY LABELS SAFETY 2 4...
Страница 103: ...MAINTENANCE Please read and make sure that you understand the SAFETY section before reading this section 4 1...
Страница 106: ......
Страница 107: ...SPECIFICATIONS 5 1...
Страница 110: ......
Страница 111: ...ATTACHMENTS AND OPTIONS Please read and make sure that you understand the SAFETY section before reading this section 6 1...
Страница 116: ......
Страница 117: ...SETTING 7 1...
Страница 311: ...EXECUTIONS 8 1...
Страница 376: ...PC360LCi 11 PC390LCi 11 HYDRAULIC EXCAVATOR Form No CEAM032703...


