v
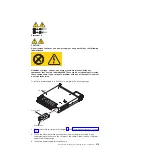
Do not touch the thermal material on the bottom of the heat sink or on
top of the microprocessor. Touching the thermal material will
contaminate it.
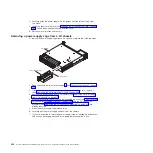
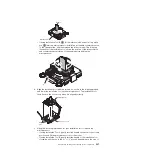
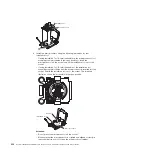
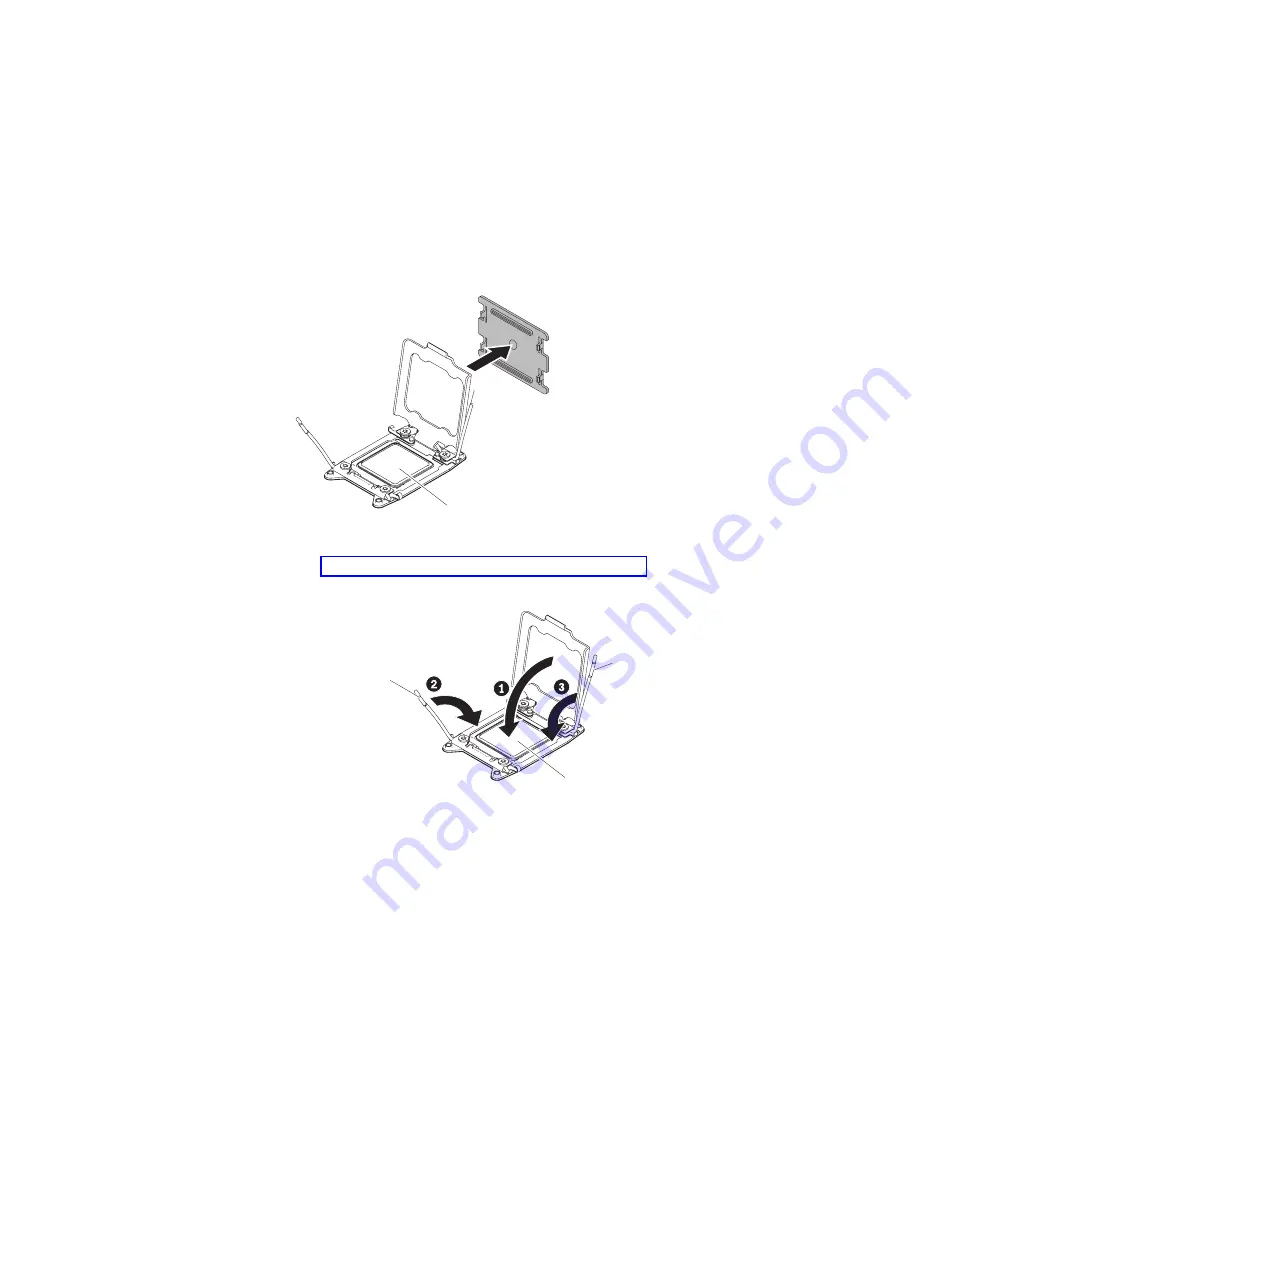
6. Remove the microprocessor socket cover, tape, or label from the surface of
the microprocessor socket, if one is present. Store the socket cover in a safe
place.
Microprocessor
Attention:
When you handle static-sensitive devices, take precautions to
avoid damage from static electricity. For details about handling these devices,
see “Handling static-sensitive devices” on page 277.
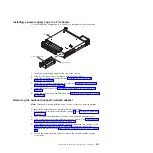
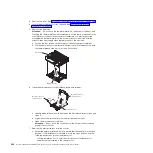
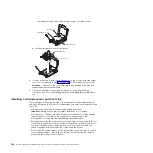
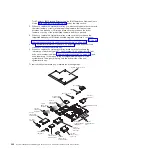
7. Close the microprocessor socket release levers and retainer:
Microprocessor
Microprocessor
release lever
Microprocessor
release lever
a. Close the microprocessor retainer on the microprocessor socket.
b. Identify which release lever is labeled as the first release lever to close and
close it.
c. Close the second release lever on the microprocessor socket.
Note:
If you are installing microprocessor Intel E5-2690 or Intel E5-2643.
Attach the microprocessor information label on the front of the system-board
tray.
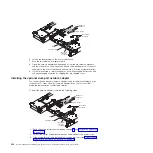
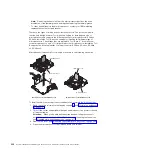
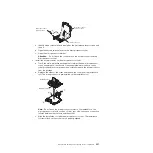
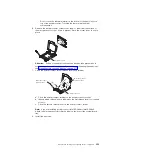
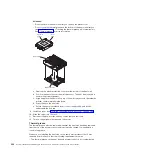
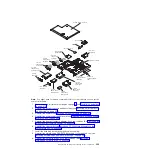
8. Install the heat sink:
Chapter 5. Removing and replacing server components
333
Содержание System x iDataPlex dx360 M4 7912
Страница 1: ...System x iDataPlex dx360 M4 Types 7912 and 7913 Problem Determination and Service Guide...
Страница 2: ......
Страница 3: ...System x iDataPlex dx360 M4 Types 7912 and 7913 Problem Determination and Service Guide...
Страница 22: ...4 System x iDataPlex dx360 M4 Types 7912 and 7913 Problem Determination and Service Guide...
Страница 278: ...260 System x iDataPlex dx360 M4 Types 7912 and 7913 Problem Determination and Service Guide...
Страница 292: ...274 System x iDataPlex dx360 M4 Types 7912 and 7913 Problem Determination and Service Guide...
Страница 392: ...374 System x iDataPlex dx360 M4 Types 7912 and 7913 Problem Determination and Service Guide...
Страница 399: ......
Страница 400: ...Part Number 46W8218 Printed in USA 1P P N 46W8218...

