


4.
Click
OK
. The
Cluster Settings
screen appears again.
5.
Click
Next
to continue to the
DNS/NTP
screen.
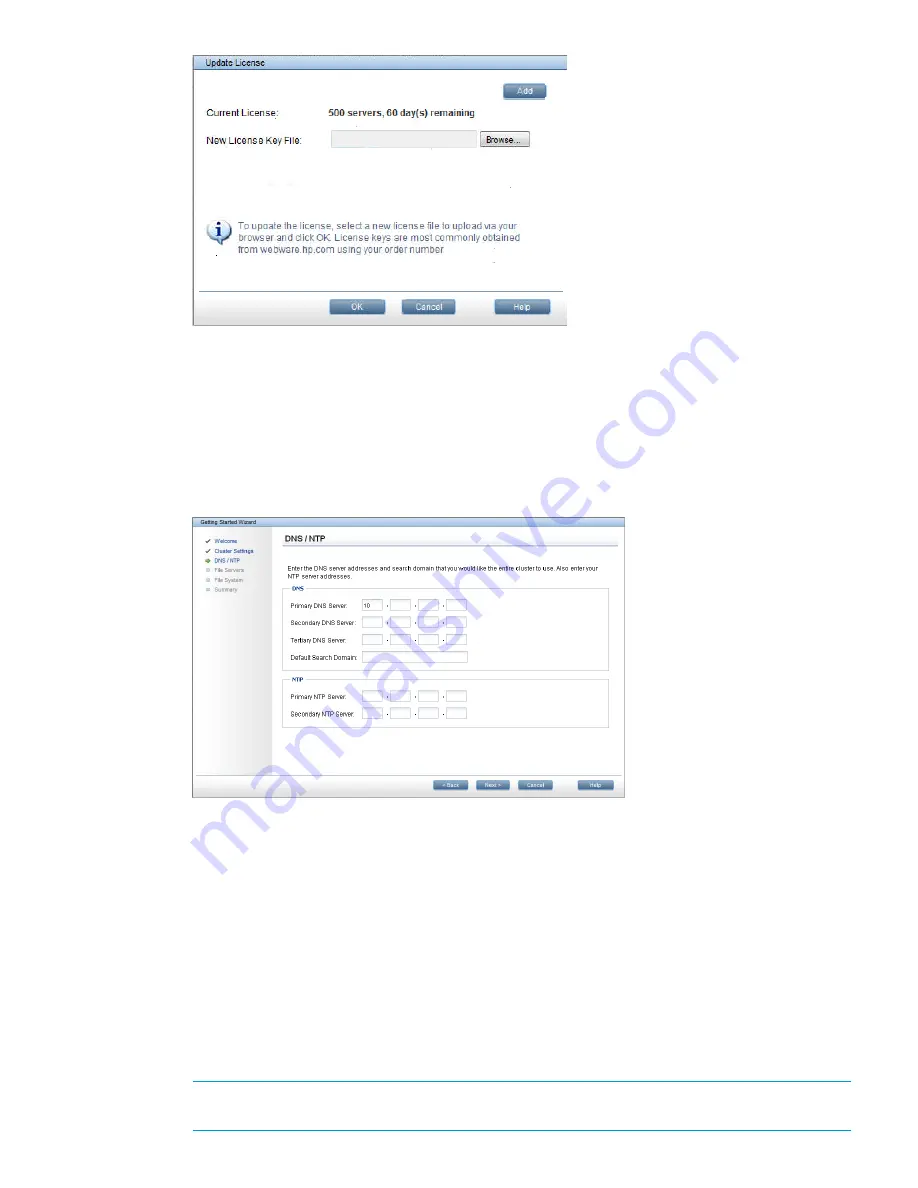
Step 2 - Designating IP addresses for DNS/NTP servers
1.
On the
DNS/NTP
screen, enter the DNS server addresses and search for the domain that is
to be used by the cluster and the NTP server addresses. HP recommends that you enter a DNS
server address, the domain for your cluster, and then NTP server addresses.
After you make
DNS/NTP
screen entries, the wizard attempts to access the addresses that you
have specified. If it cannot reach an address, a message, such as
Primary DNS Server
Unreachable
, is displayed. See
“Troubleshooting the Getting Started Wizard” (page 114)
for additional information on solutions to common problems.
2.
After the addresses are successfully entered, click
Next
to continue. The system runs its discovery
process, and then the
File Servers
screen appears. This discovery process can take several
minutes.
Step 3 - Reviewing servers listed on the File Servers screen and designating
which servers to be included in the cluster
1.
Review the servers listed on the
File Servers
screen. Select servers that do not belong in the
cluster, and click
Remove
.
NOTE:
Do not click on the
HA Pair
text that is blue and underlined. Click anywhere else on
the line that contains the server you are selecting.
Step 2 - Designating IP addresses for DNS/NTP servers 109
Содержание StoreAll 8200
Страница 40: ...40 Setting up and installing HP StoreAll hardware ...
Страница 80: ...Procedure 2 80 Installing the HP StoreAll OS Software and configuring the HP StoreAll Storage system ...
Страница 206: ...206 Creating an IMG file from an ISO in Windows ...
Страница 219: ...Expanding an HP StoreAll Storage 8800 9320 10 GbE cluster with an HP StoreAll 9730 module 219 ...