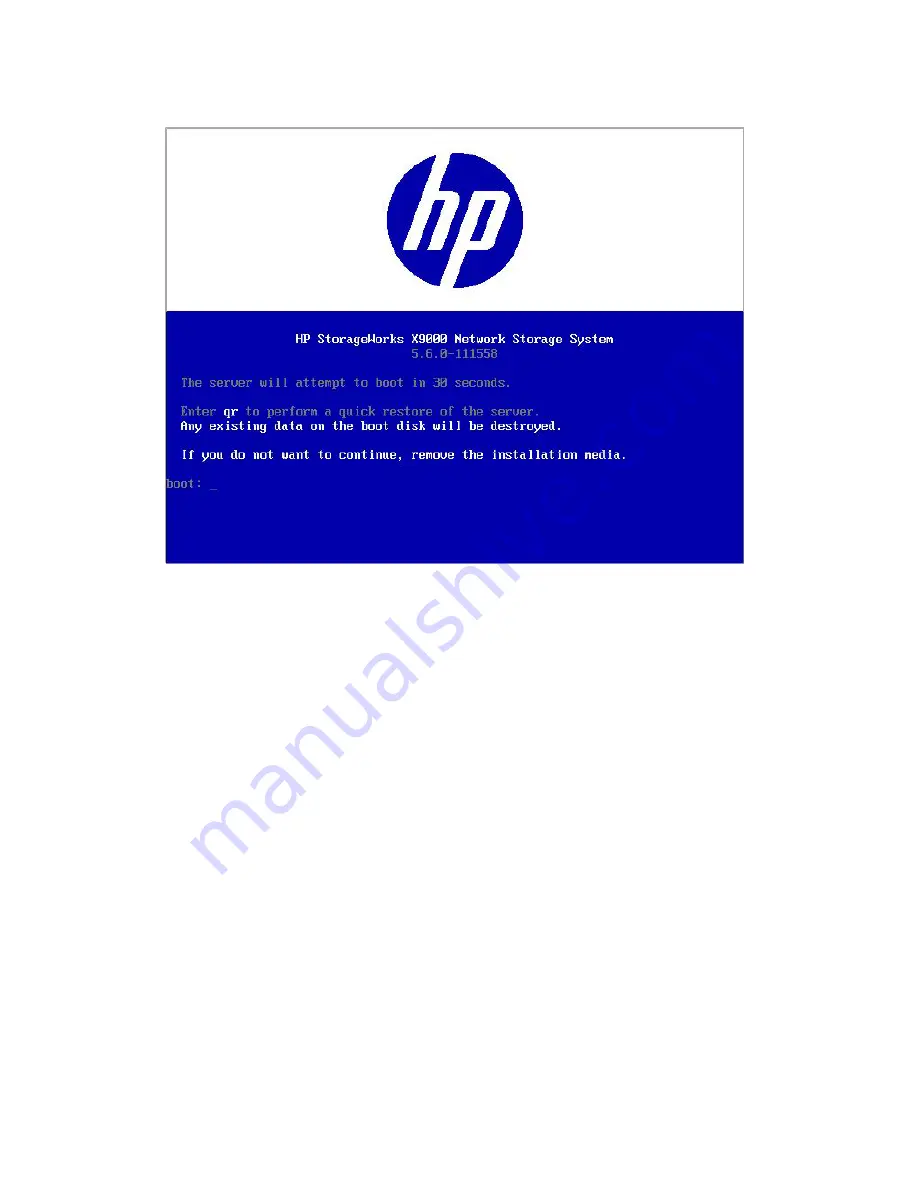
5.
When the following screen appears, enter
qr
to install the X9000 software on the file serving
node.
The server reboots automatically after the software is installed. Remove the DVD from the
DVD-ROM drive.
Restoring the node configuration
Complete the following steps on each node, starting with the previous active management console:
1.
Log in to the node. The configuration wizard should pop up. Escape out of the configuration
wizard.
2.
Attach the external storage media containing the saved node configuration information.
3.
Restore the configuration. Run the following restore script and pass in the
tgz
file containing
the node's saved configuration information as an argument:
/usr/local/ibrix/setup/restore <saved_config.tgz>
4.
Reboot the node.
Completing the upgrade
Complete the following steps:
1.
Remount all X9000 Software file systems:
<ibrixhome>/bin/ibrix_mount -f <fsname> -m </mountpoint>
2.
Remount all previously mounted X9000 Software file systems on Windows X9000 clients using
the Windows client GUI.
3.
If automated failover was enabled before the upgrade, turn it back on from the node hosting
the active management console:
<ibrixhome>/bin/ibrix_server -m
74
Upgrading the X9000 Software
Содержание StorageWorks X9720
Страница 137: ...13 When the Configure Network dialog box reappears select bond0 Configuring a file serving node 137 ...
Страница 178: ...English notice Estonian notice Finnish notice French notice 178 Regulatory compliance and safety ...
Страница 179: ...German notice Greek notice Hungarian notice Italian notice Waste Electrical and Electronic Equipment directive 179 ...
Страница 180: ...Latvian notice Lithuanian notice Polish notice Portuguese notice 180 Regulatory compliance and safety ...
Страница 181: ...Slovakian notice Slovenian notice Spanish notice Swedish notice Waste Electrical and Electronic Equipment directive 181 ...


