118
_____________________________________________________________________________________________
5.3 Creating Comparison Area
______________________________________________________________________________________________
"
CIRCLE
"
"
CIRCLE
"
<<Related Issues>>
In step 3 above, pressing the
STOP
key after
setting the center point cancels the task of
drawing a circle. Pressing the
STOP
key again
exits the "CIRCLE" command.
Press the
CURSOR SCROLL
key to make the
+ cursor move fast (1 DIV each movement).
Pressing the
CURSOR SCROLL
key once
again switches modes to low-speed motion (dot-
by-dot movement).
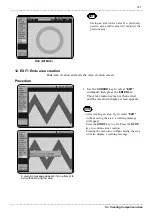
8-4. CIRCLE
: Draws a circle and does not fill it in.
Draws a circle with the radius specified by two points: center point and
circumferential point. The circle will not be filled in.
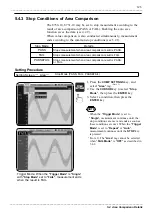
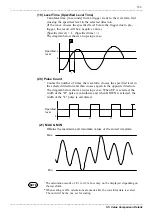
8-5. CIRCLE
:Draws a circle and fills it in.
Draws a circle with the radius specified by two points: center point and
circumferential point. The circle will be filled in.
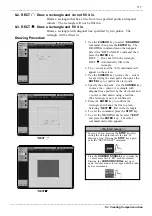
Drawing Procedure
1.Use the
CURSOR
key to select "
DRAWING
"
command, then press the
ENTER
key. The
DRAWING command menu then appears.
Select the "CIRCLE" command, then press
the
ENTER
key.
CIRCLE
: Does not fill in the circle.
CIRCLE
: Automatically fills in the circle.
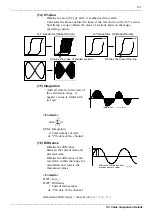
2. The + cursor and the X-Y coordinates will
appear on the screen.
3. Use the
CURSOR
key to move the + cursor
to a point specifying the center of the circle.
Press the
ENTER
key to confirm the center
point.
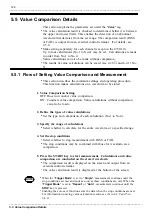
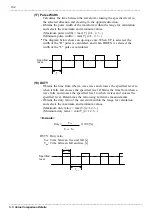
4. Specify a point on the periphery of the circle.
Use the
CURSOR
key to move the + cursor,
and a circle with the radius specified by the
center point and + cursor will be drawn
using a red line. (The circle is not yet
confirmed.) A circle cannot be drawn
beyond the screen size.
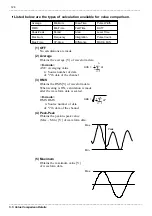
5. Press the
ENTER
key to confirm the circle
and change the line to green.
"
CIRCLE
" is selecting, the circle will be
filled in.
6. To exit the command, press the
STOP
key.
7. To exit the DRAWING menu, select "
EXIT
"
and press the
ENTER
key. The editor
command menu then appears.

