


GE
P
ART
N
UMBER
FN091065, R
EVISION
2
VS5 N
AND
VS6 N
S
ERVICE
M
ANUAL
Chapter 3 - System Setup
3-59
P R E L I M I N A R Y
NOTE:
In the following step, you are required to type the printer’s IP address. In Peer-to-Peer mode,
the address will be: 10.0.0.2.
When installing the printer on a hospital/client network, type the IP address supplied by the
institution’s IT manager.
4.) In
Printer Name or IP Address
field, type the printer IP Address.
5.) Click
OK
, then click
Apply
.
6.) Print a test page to confirm the printer is properly installed.
Defining the Paper Size
1.) From Windows Desktop, navigate to
Printers and Faxes
and select the HP-CP2020 printer.
2.) From the console, press
Update/Menu
and from the context menu select
Properties
.
3.) Select the required settings and click
OK
.
4.) Print a test page to confirm that the printer is properly installed.
NOTE:
After connecting the printer to the Vivid S5 N/ Vivid S6 N system, proceed to the following procedures,
as required:
•
‘Configuring Printing Buttons P1 and P2” on page 3-27
•
‘Setting Printing Orientation (Portrait or Landscape) and Paper Size” on page 3-33
3-5-1-5-2
Installing the HP LaserJet CP2025 Color Printer on a Network
To install the printer on a network, follow the procedure for
‘Driver Installation” on page 3-57
3-5-1-6
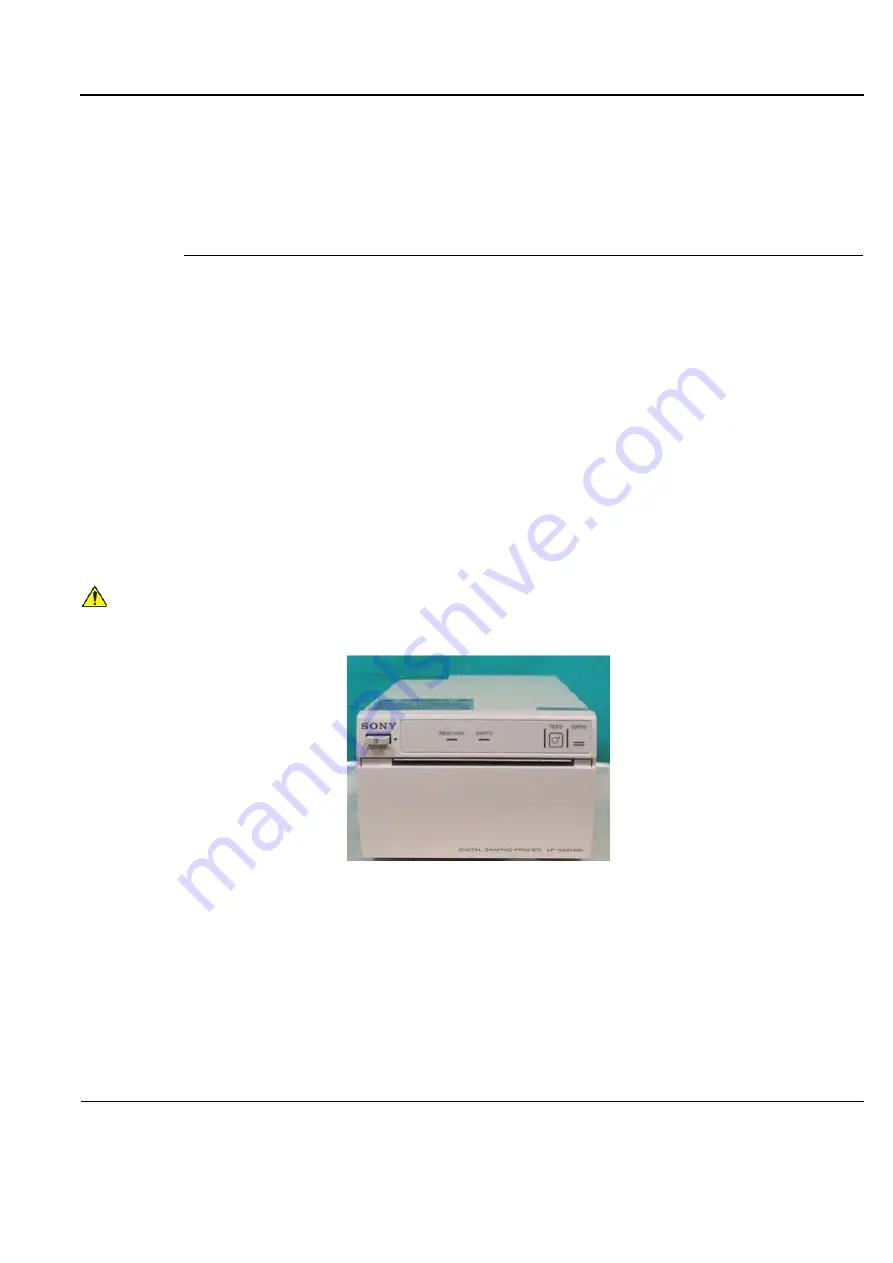
Sony UP-D897 B/W Video Printer
The B/W Video Printer connection in the different scenarios is explained below.
NOTE:
After physical connection of the printer to the system, to configure the appropriate hot keys to activate
printing direct from the control panel, follow the instructions in
‘P1 and P2 Hot Key Configuration via
Vivid S5 N/ Vivid S6 N Connectivity Settings” on page 3-28
The ultrasound scanner has a designated B&W printer compartment located on the right side of the
system. When using a B&W printer with the scanner, after installation make sure the correct side cover
kits have been order for the Vivid S5 N or Vivid S6 N system, as appropriate:
•
Vivid S6 N = P/N S2421612
•
Vivid S5 N = P/N S2421611
NOTICE
IMPORTANT
During Stand-by mode, it is NOT recommended to
introduce
or
remove
USB
devices; this may cause the system to lock-up during the boot-up procedure
.
Figure 3-68 Black and White Printer
Содержание Vivid S5 N
Страница 2: ......
Страница 4: ...GE PART NUMBER FN091065 REVISION 2 VS5 N AND VS6 N SERVICE MANUAL ii P R E L I M I N A R Y ...
Страница 5: ...GE PART NUMBER FN091065 REVISION 2 VS5 N AND VS6 N SERVICE MANUAL iii P R E L I M I N A R Y ...
Страница 6: ...GE PART NUMBER FN091065 REVISION 2 VS5 N AND VS6 N SERVICE MANUAL iv P R E L I M I N A R Y ...
Страница 7: ...GE PART NUMBER FN091065 REVISION 2 VS5 N AND VS6 N SERVICE MANUAL v P R E L I M I N A R Y ...
Страница 8: ...GE PART NUMBER FN091065 REVISION 2 VS5 N AND VS6 N SERVICE MANUAL vi P R E L I M I N A R Y ...
Страница 9: ...GE PART NUMBER FN091065 REVISION 2 VS5 N AND VS6 N SERVICE MANUAL vii P R E L I M I N A R Y ...
Страница 10: ...GE PART NUMBER FN091065 REVISION 2 VS5 N AND VS6 N SERVICE MANUAL viii P R E L I M I N A R Y ...
Страница 11: ...GE PART NUMBER FN091065 REVISION 2 VS5 N AND VS6 N SERVICE MANUAL ix P R E L I M I N A R Y ...
Страница 12: ...GE PART NUMBER FN091065 REVISION 2 VS5 N AND VS6 N SERVICE MANUAL x P R E L I M I N A R Y ...
Страница 13: ...GE PART NUMBER FN091065 REVISION 2 VS5 N AND VS6 N SERVICE MANUAL xi P R E L I M I N A R Y ...
Страница 14: ...GE PART NUMBER FN091065 REVISION 2 VS5 N AND VS6 N SERVICE MANUAL xii P R E L I M I N A R Y ...
Страница 833: ......
Страница 834: ... 2013 and 2015 General Electric Company GE Vingmed Ultrasound AS P O Box 141 NO 3191 HORTEN NORWAY www gehealthcare com ...


