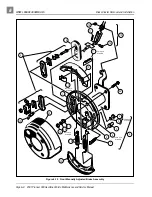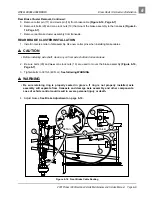
ACCELERATOR AND BRAKE PEDAL GROUP
Accelerator Pedal
Page 5-6 2001 Pioneer 900 Gasoline Vehicle Maintenance and Service Manual
5
Accelerator Pedal Removal, Continued:
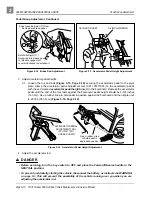
7. Use a marker to mark the position of the park brake ratchet (25) on the accelerator pivot rod (6) (Figure
5-18, Page 5-12). See following NOTE.
NOTE: Failure to mark position of the ratchet could cause it to be reinstalled improperly, resulting in
improper adjustment and possible failure of the park brake.
8. Remove the lock nut (20) from the accelerator pivot rod (Figure 5-18, Page 5-12).
9. Depress the brake pedal slightly and then slide the park brake ratchet (25) (Figure 5-18, Page 5-12)
toward the end of the accelerator pivot rod. Rotate the ratchet and remove it from the pivot rod.
10. Remove the pivot rod (6) and spacer (7) from the accelerator pivot rod supports (23) (Figure 5-18,
11. Inspect the accelerator pivot rod supports (23) for wear or damage and replace as necessary. If the
pivot rod supports do not require replacement, loosen (but do not remove) the four bolts (24) and lock
nuts (21) to make installation of the pivot rod easier.
12. Remove the accelerator pedal (1) from the vehicle (Figure 5-18, Page 5-12).
ACCELERATOR PEDAL INSTALLATION
1. If the accelerator pivot rod supports were replaced, position the supports (21) on the vehicle frame and
install the four bolts (24), flat washers (22), and lock nuts (21). Tighten the nuts with fingers only at this
time (Figure 5-18, Page 5-12).
2. Insert the lower end of the accelerator pedal (1) through the floorboard and install the accelerator pivot
rod (6) through the uppermost hole in the pedal (Figure 5-18, Page 5-12).
3. Install the plastic spacer (7) on the pivot rod (6) (Figure 5-18, Page 5-12).
4. Insert the pivot rod through the pivot rod supports on the vehicle frame.
5. Tighten the four bolts (22) (Figure 5-18, Page 5-12) attaching the pivot rod supports to the frame to 75
in-lb (8.5 N·m).
6. Install the bolt (4), two washers (5), and nut (20) through the lower hole in the pedal and through the
pivot rod. Tighten the nut with fingers only at this time.
7. Install the ball stud (8) through the pivot rod. Using needle-nose pliers, install the pivot support bearing
(9) and the spring retainer (11) onto the ball stud. Secure these parts with the nut (10) (Figure 5-18,
Page 5-12). Tighten the nut to 50 in-lb (5.7 N·m).
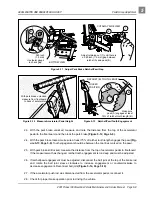
8. Depress the brake pedal slightly, and with the park brake ratchet oriented so that the tip of the ratchet is
pointed toward the rear of vehicle, slide the ratchet onto the pivot rod (do not slide the ratchet onto the
pivot rod splines). Release the brake pedal and allow the ratchet to rotate until its tip is pointed down-
ward (Figure 5-6, Page 5-7). The ratchet should now rotate freely on the rod.
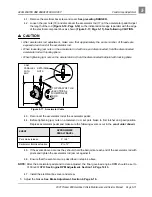
9. Rotate the ratchet clockwise until it touches the park brake pawl, then slide the ratchet onto the splines
of the pivot rod (it may be necessary to push the pivot rod toward the driver side of the vehicle to make
the splines accessible). The ratchet may have to be rotated counterclockwise slightly to align the
splines.
Содержание Pioneer 900
Страница 1: ......
Страница 2: ......
Страница 22: ...3...
Страница 88: ...7...
Страница 92: ...8...
Страница 100: ...9...
Страница 108: ...10...
Страница 188: ...12...
Страница 268: ...14...
Страница 272: ...15...
Страница 316: ...16...
Страница 332: ...17...
Страница 341: ......
Страница 342: ......
Страница 343: ......


