ELECTRICAL COMPONENTS
Solenoid
Page 12-16 2001 Pioneer 900 Gasoline Vehicle Maintenance and Service Manual
12
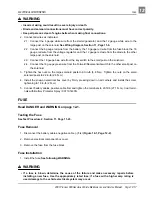
Key Switch Installation, Continued:
2. Connect battery cables, positive cable first and tighten the terminals to 20 ft-lb (27.1 N·m). Coat termi-
nals with Battery Protector Spray (CCI 1014305).
SOLENOID
Read DANGER and WARNING on page 12-1.
Testing the Solenoid
See Test Procedure 6, Section 11, Page 11-26.
Solenoid Removal
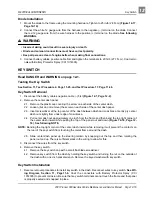
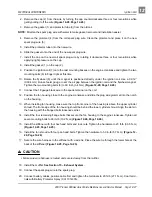
1. Disconnect the battery cables, negative cable (–) first (Figure 12-1, Page 12-2).
2. Remove electrical component box cover.
3. Disconnect all the wires from the solenoid.
4. Remove the two screws securing the solenoid in place.
5. Remove the solenoid.
Solenoid Installation
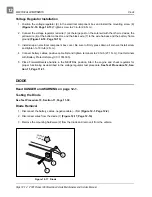
1. Install the solenoid in the electrical component box. Use two screws to secure the solenoid to the box
and tighten to 14 in-lb (1.6 N·m). See following WARNING.
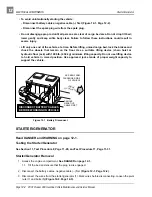
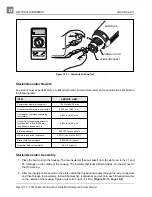
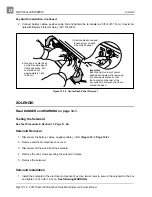
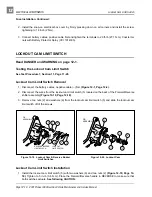
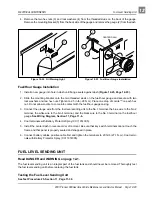
Figure 12-18 Center Dash Panel Removal
OFF ON
Gently pry center dash
out from under edge of
front body brace. Pull
center dash out
approximately 1 inch
(2.54 cm).
Important
Bend top right corner of center
dash panel inward while removing
it to provide clearance so that
the contacts on the rear of the
key switch do not touch the frame
around the dash.
2.
Remove plastic cap and
loosen screw on each
side of dash panel.
1.
Содержание Pioneer 900
Страница 1: ......
Страница 2: ......
Страница 22: ...3...
Страница 88: ...7...
Страница 92: ...8...
Страница 100: ...9...
Страница 108: ...10...
Страница 188: ...12...
Страница 268: ...14...
Страница 272: ...15...
Страница 316: ...16...
Страница 332: ...17...
Страница 341: ......
Страница 342: ......
Страница 343: ......

