FUEL SYSTEM
Choke and Air Intake System
Page 14-16 2001 Pioneer 900 Gasoline Vehicle Maintenance and Service Manual
14
Intake Duct Installation, Continued:
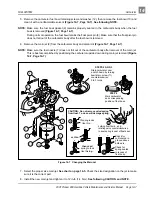
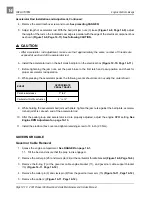
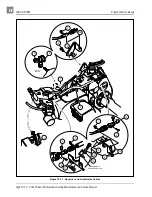
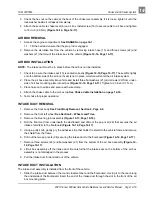
2. Secure the front of the duct to the underside of the floorboard with two pop rivets (24) and flat washers
(25) (Figure 14-14, Page 14-17).
3. Place a piece of double-sided adhesive tape on the intake shield and remove the adhesive backing.
4. Install the shield to the frame with the adhesive strip and a pop rivet (28).
5. Install air box. See Air Box Installation on page 14-15.
6. Install steering joint assembly. See following NOTE.
NOTE: Make sure steering wheel and front wheels are properly aligned before installing steering joint.
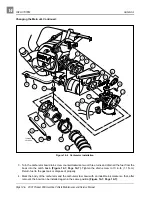
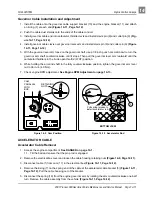
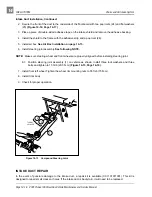
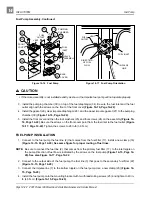
6.1. Position steering joint assembly (1) on vehicle as shown. Install three lock washers and three
bolts and tighten to 15 ft-lb (20.3 N·m) (Figure 14-13, Page 14-16).
7. Install front left wheel. Tighten the wheel rim mounting nuts to 55 ft-lb (75 N·m).
8. Install front body.
9. Check for proper operation.
INTAKE DUCT REPAIR
In the event of puncture damage to the intake duct, a repair kit is available (CCI 101971001). This kit is
designed to repair small cracks or holes. If the intake duct is badly torn, it will need to be replaced.
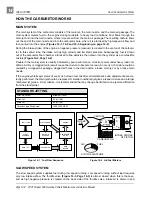
Figure 14-13 Compound Steering Joint
1
3
2
TYPICAL
3 PLACES
Содержание Pioneer 900
Страница 1: ......
Страница 2: ......
Страница 22: ...3...
Страница 88: ...7...
Страница 92: ...8...
Страница 100: ...9...
Страница 108: ...10...
Страница 188: ...12...
Страница 268: ...14...
Страница 272: ...15...
Страница 316: ...16...
Страница 332: ...17...
Страница 341: ......
Страница 342: ......
Страница 343: ......

