


182
Chapter 5 Appendix
4
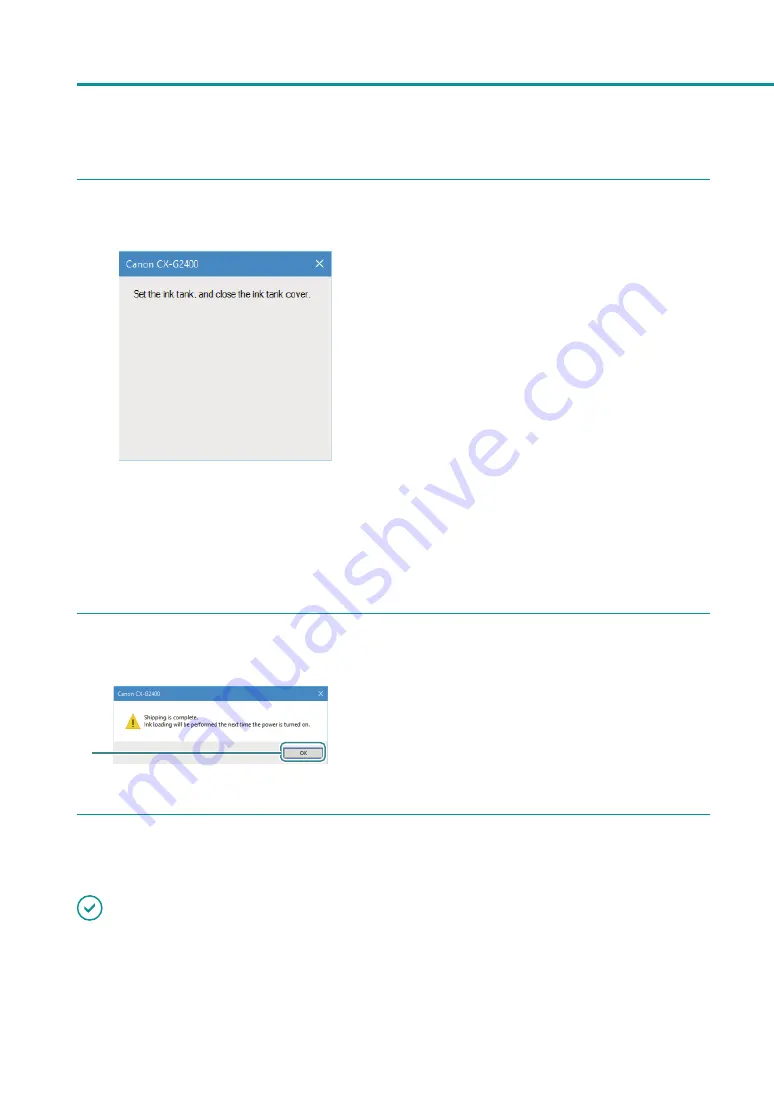
When the following message appears, install the ink tank.
1. Open the ink tank cover.
2. Install all ink tanks.
Press on the top of the ink tank until the ink
tank clicks.
Prior to installing each ink tank, verify the color
matches up with the color indicated on the
label.
3. Close the ink tank cover.
Closing the ink tank cover will automatically
start bleeding ink.
Do not operate the printer until after the
message indicating that removal of ink is
completed appears.
5
Check that [Shipping The Printer] is completed.
1
1. Click [OK].
6
IMPORTANT
• When the Power lamp is lit or blinking, do not remove the power plug from the outlet. A printer failure could
result.
Содержание CX-G2400
Страница 1: ...CX G2400 COLOR CARD PRINTER User s Guide CANON FINETECH NISCA INC 2017 4Y1 8613 010 ...
Страница 90: ...85 Changing Special Settings 5 Finish updating the special settings 1 1 Click Close ...
Страница 95: ...90 Chapter 2 Printing ...
Страница 149: ...144 Chapter 3 Maintenance 2 Remove the paper from the printer 1 Open the auxiliary tray 2 Remove the paper ...
Страница 152: ...Chapter 4 Troubleshooting For Troubleshooting Operations 148 List of Error Messages Warning Messages 165 ...
Страница 179: ...174 Chapter 4 Troubleshooting ...
Страница 180: ...Chapter 5 Appendix Moving the Printer 176 Uninstall Printer Driver 185 About Network Utility 187 ...


