Section 8. Working with Data Files on the PC
screen is opened, all selected rainflow histogram records will be listed on the
left side of the Rainflow Histogram screen. A rainflow histogram record can
then be displayed by clicking on it in the list. Once the Rainflow Histogram
screen is opened, additional rainflow histogram records can be added to the
Rainflow Histogram screen by selecting them in the data file as described
above.
All rainflow histogram records from the same rainflow histogram
will have the same default name in the list. They can be
distinguished by the colored boxes next to their names. Each box
is the same color with which that rainflow histogram record is
highlighted in the data file. It is also the color with which that
rainflow histogram record is displayed. The color associated with
a histogram record can be changed from the Selection Properties
dialog box. (The Selection Properties dialog box is opened by
clicking on the rainflow histogram record in the list and then
pressing the
Edit
button.)
NOTE
Deleting Records from a Rainflow Histogram Display
A Rainflow Histogram can be deleted from a graph by selecting it in the list of
values being graphed (on the left side of the graph window) and then pressing
the
Delete
button, by right-clicking on this name and choosing
Delete
Selection
, or by right-clicking on the record in the data panel and choosing
Clear Selection
.
8.1.7.4.2 Options
From the main Rainflow Histogram screen, you can use the arrow buttons to
the right of
X
to scroll through records of the Rainflow Histogram.
8.1.7.4.3 Rainflow Histogram Toolbar
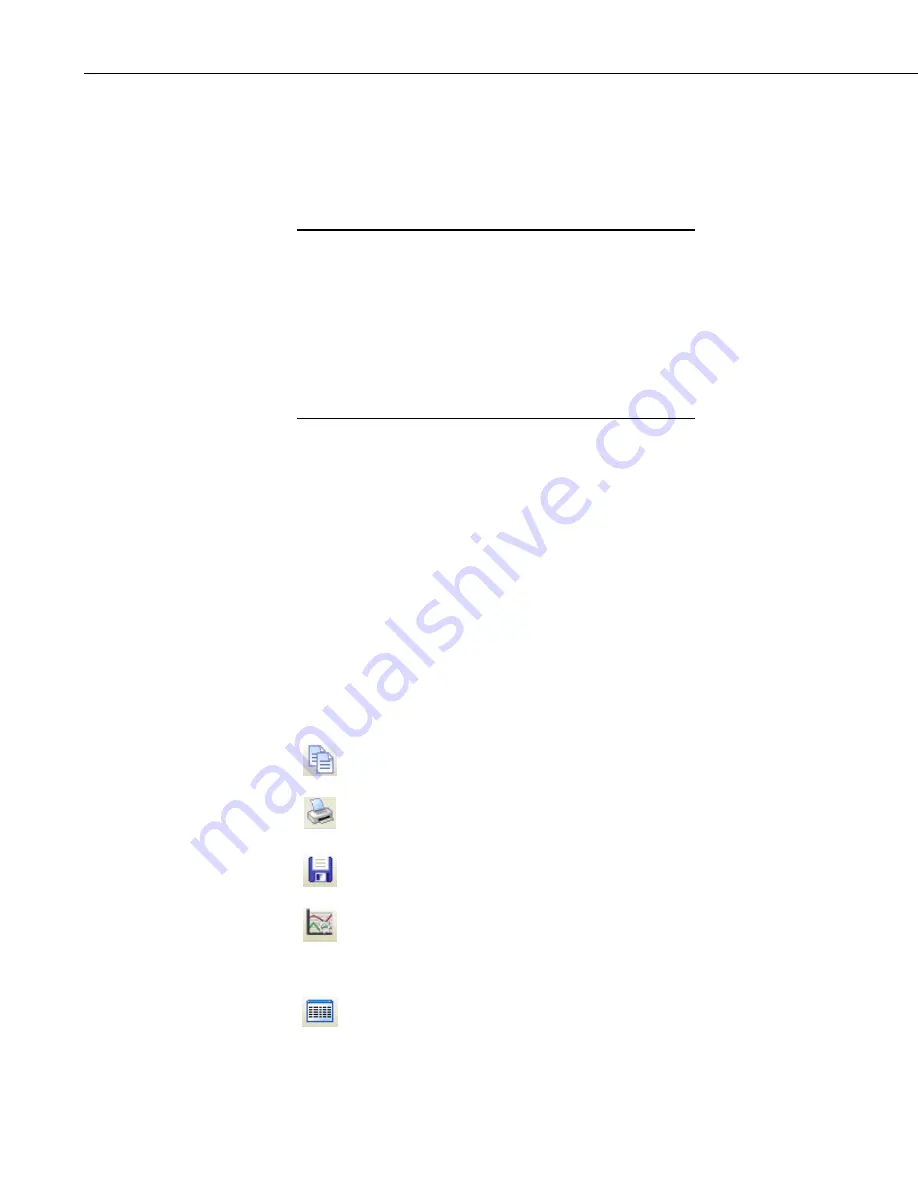
The Rainflow Histogram includes the following toolbar icons:
Copy to Clipboard
. Places the Rainflow Histogram graphic on the
Windows clipboard. It can then be pasted into other applications.
. Prints the Rainflow Histogram. Print options can be set before
printing begins.
Export
. Allows the Rainflow Histogram to be exported in a choice of
text or graphical formats.
Graph Options
. Opens a dialog box from which you can set
properties for the Rainflow Histogram including scaling, colors,
margins, titles, etc. This dialog box can also be brought up by
pressing the
Options
button.
Show Table
. Brings the main View Pro window in front of other
windows, making the data file(s) visible.
8-26
Содержание LoggerNet
Страница 2: ......
Страница 30: ...Preface What s New in LoggerNet 4 xxvi...
Страница 32: ...Section 1 System Requirements 1 2...
Страница 44: ...Section 2 Installation Operation and Backup Procedures 2 12...
Страница 136: ...Section 4 Setting up Datalogger Networks 4 80...
Страница 227: ...Section 7 Creating and Editing Datalogger Programs 7 9...
Страница 298: ...Section 7 Creating and Editing Datalogger Programs 7 80...
Страница 402: ...Section 9 Automating Tasks with Task Master 9 12...
Страница 406: ...Section 9 Automating Tasks with Task Master 9 16...
Страница 450: ...Section 11 Utilities Installed with LoggerNet Admin and LoggerNet Remote 11 22...
Страница 454: ...Section 12 Optional Client Applications Available for LoggerNet 12 4...
Страница 462: ...Section 13 Implementing Advanced Communications Links 13 8...
Страница 482: ...Section 14 Troubleshooting Guide 14 20...
Страница 570: ...Appendix F Calibration and Zeroing F 16...
Страница 578: ...Appendix G Importing Files into Excel G 8...
Страница 579: ......


