Xerox 4112/4127 Copier/Printer System Administration Guide
3-8
3. Using CentreWare Internet Services
4.
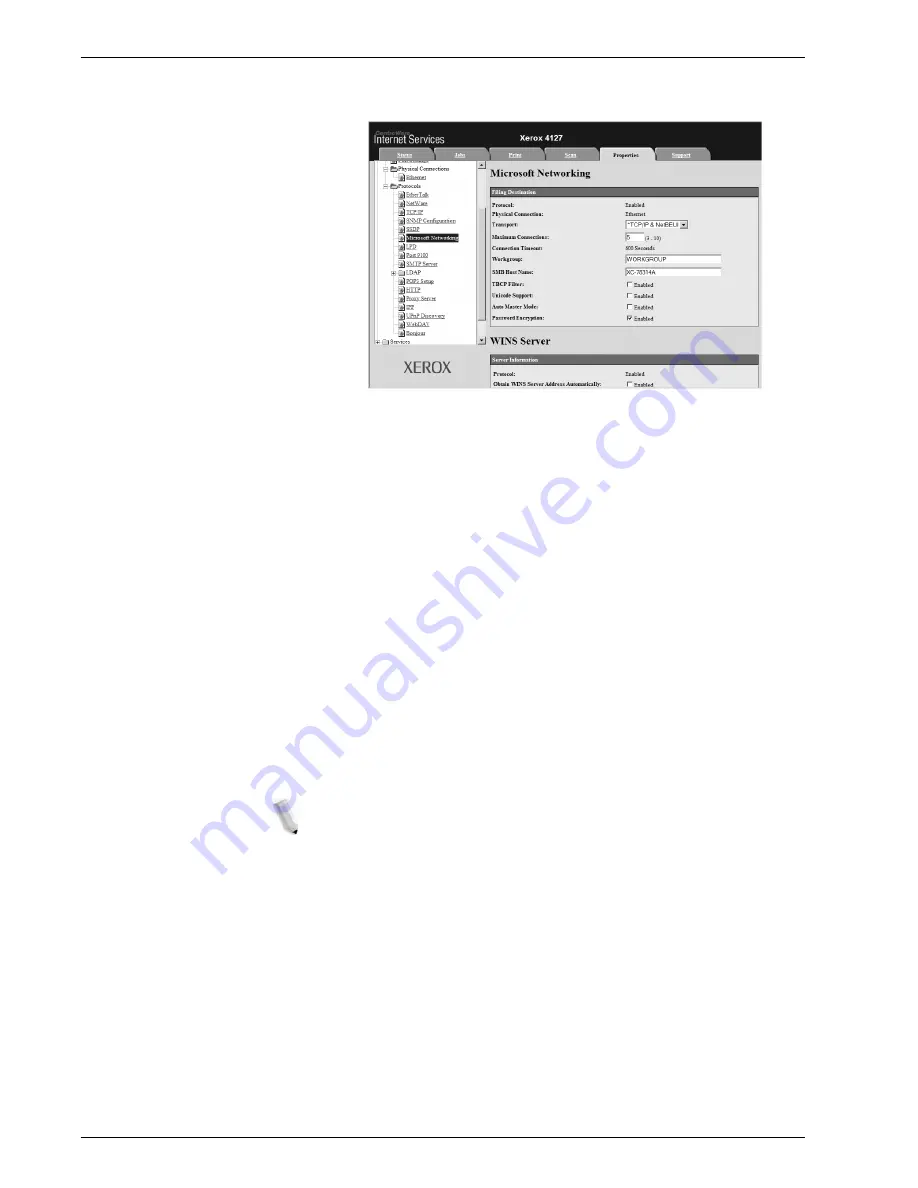
Click
+
on the left of
Connectivity
and
+
on the left of
Protocols
to display the items in the folder.
5.
Click
Microsoft Networking
.
6.
Set the
Workgroup Name
.
7.
Set the
SMB
Host Name
.
8.
Set the
Maximum Connections
.
9.
Select the
Enable
check box to enable the
TBCP Filter
.
10.
Select the
Enable
check box to enable
Unicode Support
.
11.
Select the
On
check box when using
Automatic Master
Mode
.
12.
Select the
On
check box when using
Encryption Password
.
13.
Reflect the values as the machine's setting values.
a. Click the
Apply New Settings
. A screen to enter the user
name and password will be displayed.
b. Enter the System Administrator UserID and password into
User Name
and
Password
, and then click
OK
.
NOTE: The default User ID value is 11111 and password is
x-admin.
c. The right frame on the web browser will change to the
machine reboot display.
d. Click
Reboot
. The machine will reboot and the setting
value will be reflected.
Summary of Contents for Legacy 4112
Page 38: ...Xerox 4112 4127 Copier Printer System Administration Guide 1 26 1 Product Overview ...
Page 88: ...Xerox 4112 4127 Copier Printer System Administration Guide 4 8 4 E mail ...
Page 322: ...Xerox 4112 4127 Copier Printer System Administration Guide 8 182 8 Setups ...
Page 340: ...Xerox 4112 4127 Copier Printer System Administration Guide 9 18 9 Troubleshooting ...
Page 354: ...Xerox 4112 4127 Copier Printer System Administration Guide 10 14 10 Addendum ...
Page 362: ...Xerox 4112 4127 Copier Printer System Administration Guide I 8 ...
Page 363: ......
Page 364: ......


