Power Supply/RF Board
Replacement Procedures
Force EZ-C Series Service Manual
8-29
5.
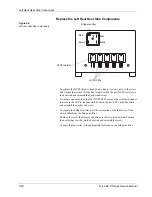
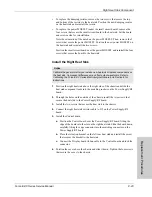
Disconnect the cables listed below from the Power Supply/RF board.
a.
Footswitch board from J1.
b.
Power entry module from J8.
c.
Low voltage power supply (2 cables) from J4 and J7.
d.
Serial port cable connection (if necessary) from the Serial Port connector,
J9.
e.
Any cable connection (if necessary) from the RF Activation Port
connector, J11.
6.
Remove the two screws that secure the left rear heat sink to the chassis.
7.
Remove the two screws that secure the right heat sink to the chassis.
8.
Remove the three screws that secure the Power Supply/RF board to the
chassis.
9.
Slide the Power Supply/RF board (and attached heat sinks) slightly forward to
unlock it from the slotted standoffs and lift it out of the chassis.
Install the Power Supply/RF Board and Heat Sinks
1.
Slide the Power Supply/RF board (and attached heat sinks) into the chassis
until it drops into place. Slide it slightly toward the back of the chassis to lock
it in place. Verify that all five standoffs are properly engaged.
2.
Install the three screws that secure the board to the chassis.
3.
Install the two screws that secure the right heat sink to the chassis.
4.
Install the two screws that secure the left rear heat sink to the chassis.
5.
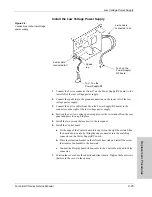
Connect the cables listed below to the Power Supply/RF board.
a.
Footswitch board cable to J1.
b.
Power entry module cable to J8.
c.
Low voltage power supply 4-pin connector to J4.
d.
Low voltage power supply 6-pin connector to J7.
6.
Install the Control board.
a.
Fit the edge of the Control board into the slot on the right heat sink. Slide
the board down, carefully fitting the edge connector into the connector on
the Power Supply/RF board.
b.
Place the retention bracket on the left rear heat sink and install the screw
that secures the bracket to the heat sink.


