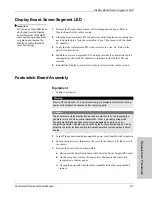
Display Board Seven-Segment LED
Replacement Procedures
Force EZ-C Series Service Manual
8-7
Important
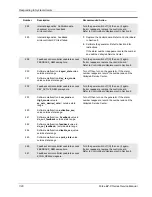
Display Board Seven-Segment LED
Do not remove the REM lever
and spring from the Display
board. Removal of the REM
lever and spring is necessary
only when you replace the
Display board (or the REM
lever and spring).
1.
Remove the Display board (observe all warnings and cautions). Refer to
Display Board
earlier in this section.
2.
Grasp the seven-segment LED and pull it out of the Display board, taking care
not to bend the pins. Note the orientation of pin 1 (the corner with the small
45° chamfer).
3.
Verify that the replacement LED is the correct color, size, etc. Refer to the
parts list in Section 10.
4.
Install the new seven-segment LED, making sure that the orientation of pin 1
(designated by the small 45° chamfer) is the same as that of the LED you
removed.
5.
Reinstall the Display board. Refer to
Display Board
earlier in this section.
Footswitch Board Assembly
Equipment
•
Phillips screwdriver
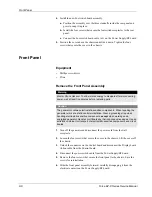
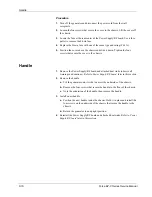
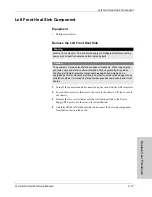
1.
Turn off the generator and disconnect the power cord from the wall receptacle.
2.
Loosen the four screws that secure the cover to the chassis. Lift the cover off
the chassis.
3.
Remove the Footswitch board assembly.
a.
Disconnect the Footswitch board cable from the Power Supply/RF board.
b.
On the rear panel, remove the four screws that secure the footswitch
receptacles to the rear panel.
c.
Unsnap the assembly from the three standoffs inside the rear panel and
remove.
Warning
Electric Shock Hazard
– To allow stored energy to dissipate after disconnecting
power, wait at least five minutes before replacing parts.
Caution
The generator contains electrostatic-sensitive components. When repairing the
generator, work at a static-control workstation. Wear a grounding strap when
handling electrostatic-sensitive components,
except
when working on an
energized generator. Handle circuit boards by their nonconductive edges. Use an
antistatic container for transport of electrostatic-sensitive components and circuit
boards.


