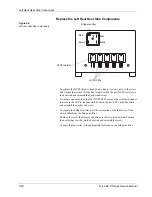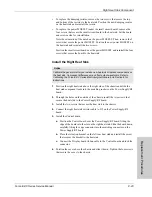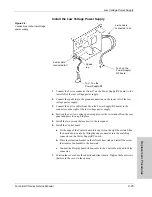
Front Panel Footswitch Receptacle
8-10
Force EZ-C Series Service Manual
Important
4.
Install the Display board and knobs on the new front panel.
a.
Position the Display board inside the front panel and connect the
Footswitch receptacle cable to the connector on the Display board.
b.
Place the Display board over the standoffs, ensuring that the REM lever is
correctly positioned in the grooves. Carefully install the eight screws and
ground clips that secure the board to the front panel (avoid cutting new
threads).
c.
Slip the knob shafts into the openings on the new front panel and push a
new clip onto each shaft.
Install the Front Panel Assembly
1.
Position the front panel assembly in front of the chassis and carefully slide it
into the electrical contacts on the Power Supply/RF board.
2.
Install the four screws that secure the front panel to the chassis.
3.
Connect the power switch cable to J14 on the Power Supply/RF board.
4.
Connect the Display board ribbon cable to the Control board and lock the
connector.
5.
Position the cover above the chassis and slide it down. Tighten the four
screws that secure the cover to the chassis.
Front Panel Footswitch Receptacle
Do not remove the REM lever
and spring from the Display
board. Removal of the REM
lever and spring is necessary
only when you replace the
Display board (or the REM
lever and spring).
1.
Remove the Display board (observe all warnings and cautions). Refer to
Display Board
earlier in this section.
2.
Note the location of the ground wire. Then, remove the four screws that
secure the Footswitch receptacle (and ground wire) to the front panel. Save
the screws for reinstallation.
3.
Note the orientation of the Footswitch receptacle. Slide it out the front of the
panel.
4.
Position the new Footswitch receptacle over the opening, orienting the
receptacle and ground wire as you noted earlier. Press to fit the receptacle into
the opening.
5.
Install the screw that secures the ground wire (and Footswitch receptacle) to
the front panel. Install the remaining three screws that secure the Footswitch
receptacle to the front panel.
6.
Reinstall the Display board. Refer to
Display Board
earlier in this section.

