Calibrating the Force EZ-C Series Electrosurgical Generator
Setup, T
e
st
s, and Adjustment
s
Force EZ-C Series Service Manual
6-37
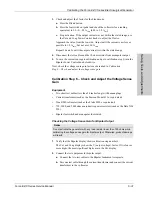
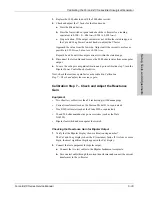
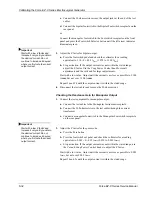
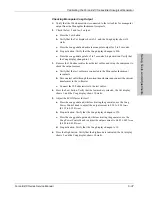
Checking Monopolar Coag Output
1.
Verify that the 100 ohm resistor is connected to the test cables for monopolar
output from the Monopolar Instrument receptacle.
2.
Check the low 2 and low 3 output.
a.
Press the Low button.
b.
Verify that the Cut display shows 2-3, and the Coag display shows 10
watts.
c.
Press the coag pedal and activate monopolar output for 2 to 5 seconds.
d.
Stop activation. Verify that the Coag display changed to 300.
e.
Press the coag pedal again for 2 to 5 seconds. Stop activation. Verify that
the Coag display changed to 10.
3.
Remove the 100 ohm resistor from the test cables and set up the equipment to
check the output current.
a.
Verify that the test cables are connected to the Monopolar Instrument
receptacle.
b.
Pass one test cable through the current transformer and connect the current
transformer to the voltmeter.
c.
Connect the 500 ohm resistor to the test cables.
4.
Press the Low button. Verify that the low mode is selected, the Cut display
shows 1, and the Coag display shows 10 watts.
5.
Adjust the ECON factor for low 1.
a.
Press the coag pedal and, while activating the generator, use the Coag
Power Control knob to adjust the output current to 0.141 ±.009 A
rms
(0.132 to 0.150 A
rms
).
b.
Stop activation. Verify that the Coag display changed to 120.
c.
Press the coag pedal again and, while activating the generator, use the
Coag Power Control knob to adjust the output current to 0.489 ±.005 A
rms
(0.484 to 0.494 A
rms
).
d.
Stop activation. Verify that the Coag display changed to 10.
6.
Press the High button. Verify that the high mode is indicated, the Cut display
shows 2, and the Coag display shows 10 watts.

