


Using the Operation Panel
2-65
5
Press
[MENU]
. The display returns to
Ready
.
Auto Error Clear (Auto error clear setting)
If an error that still allows you to continue printing occurs, the next
received data is automatically printed after a set period of time elapses.
For example, if the printer is shared over a network as a network printer
and one person causes one of the above errors, after the set period of
time elapses, the data sent from the next person is printed. The default
setting is
Off
(Auto Error Clear disabled).
The auto clear errors are:
• Memory overflow Press GO
• KPDL error ## Press GO
• RAM disk error## Press GO
• Duplex disabled Press GO
• Job not stored Press GO
• No multi copies Press GO
• USB memory error ## Press GO
For setting the auto error clear recovery time, refer to the next section
Error Clear Timer (Setting the error clear time)
.
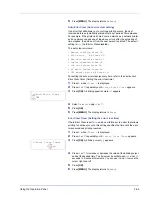
1
Press
Z
while
>Timer >
is displayed.
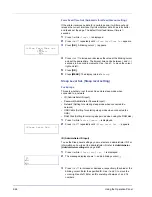
2
Press
U
or
V
repeatedly until
>>Auto Error Clear
appears.
3
Press
[OK]
. A blinking question mark (
?
) appears.
4
Select
On
or
Off
using
U
or
V
.
5
Press
[OK]
.
6
Press
[MENU]
. The display returns to
Ready
.
Error Clear Timer (Setting the error clear time)
If Auto Error Clear is set to
On
and a non-fatal error (an error that allows
printing to continue) occurs, this setting specifies the time until the error
is recovered and printing resumes.
1
Press
Z
while
>Timer >
is displayed.
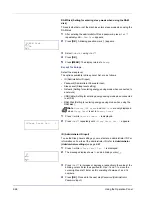
2
Press
U
or
V
repeatedly until
>>Error Clear Timer
appears.
3
Press
[OK]
. A blinking cursor (
_
) appears.
4
Press
U
or
V
to increase or decrease the value at the blinking cursor
and set the desired time. The time must be set between
005
and
495
seconds, in 5-second increments. You can use
Y
and
Z
to move the
cursor right and left.
5
Press
[OK]
.
6
Press
[MENU]
. The display returns to
Ready
.
>>Auto Error Clear
? Off
>>Error Clear Timer
030sec.
Summary of Contents for P-3521DN
Page 1: ...Advanced Operation Guide P 3521DN ...
Page 2: ......
Page 4: ...1 ii ...
Page 8: ...vi ...
Page 20: ...1 12 Paper Handling ...
Page 108: ...2 88 Using the Operation Panel ...
Page 114: ...3 6 Option ...
Page 122: ...5 4 ...
Page 126: ...Index 4 ...
Page 129: ......
Page 130: ......