Using the Operation Panel
2-57
3
Press
[OK]
. The Date settings screen appears.
Date (date setting)
1
After entering the administrator ID and password, press
U
or
V
repeatedly until
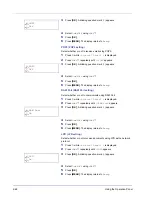
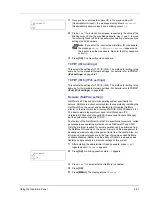
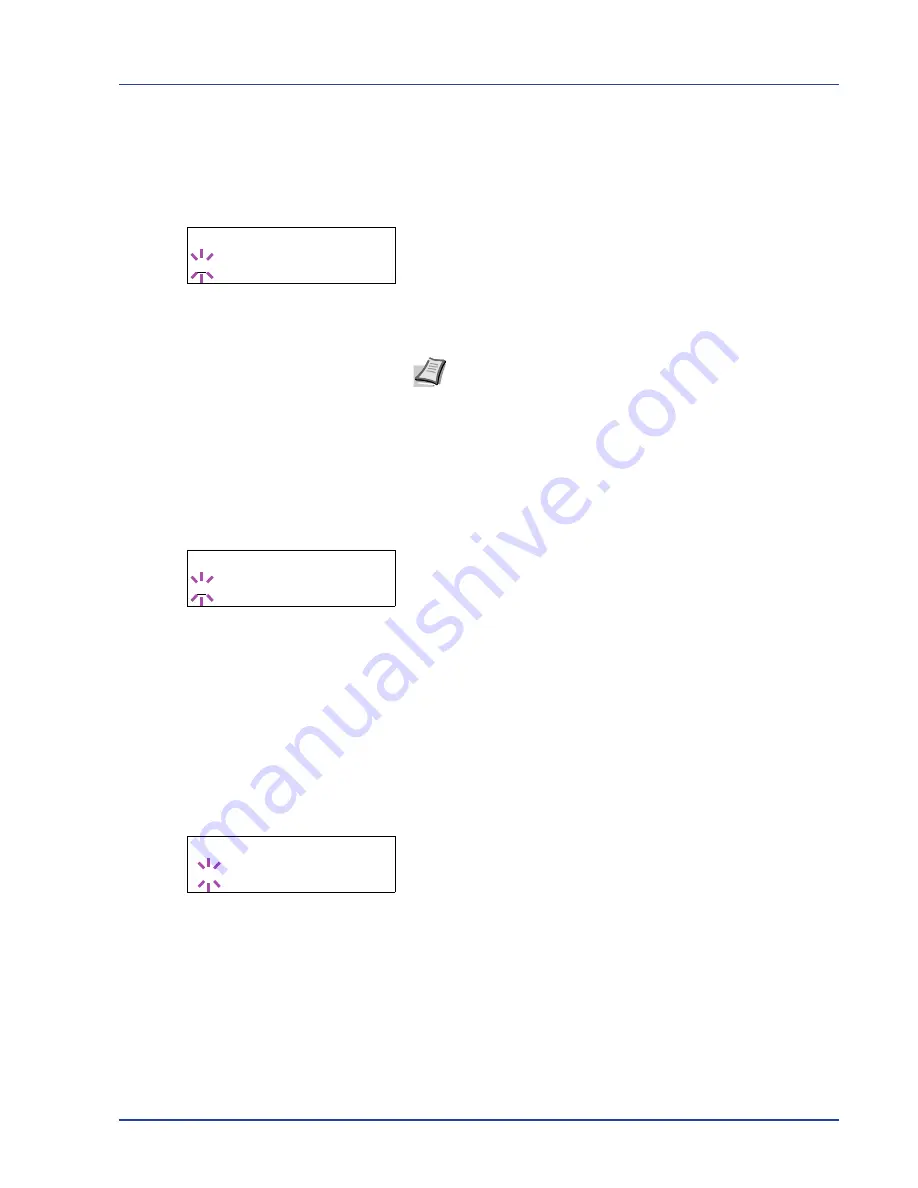
>>Date (Year/Mon/Day)
appears.
2
Press
[OK]
. A blinking cursor (
_
) appears.
3
Use the arrow keys to set the year, month, and day. Press
U
or
V
to
increase or decrease, respectively, the value at the blinking cursor.
Use
Y
and
Z
to move the cursor right and left.
4
Press
[OK]
.
5
Press
[MENU]
. The display returns to
Ready
.
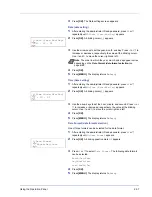
Time (time setting)
1
After entering the administrator ID and password, press
U
or
V
repeatedly until
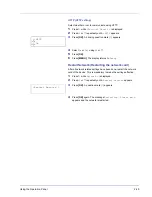
>>Time (Hour:Min:Sec)
appears.
2
Press
[OK]
. A blinking cursor (
_
) appears.
3
Use the arrow keys to set the hour, minute, and second. Press
U
or
V
to increase or decrease, respectively, the value at the blinking
cursor. Use
Y
and
Z
to move the cursor right and left.
4
Press
[OK]
.
5
Press
[MENU]
. The display returns to
Ready
.
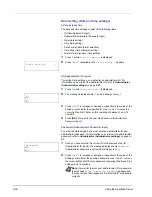
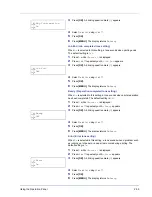
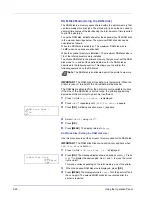
Date Format (date format selection)
One of three formats can be selected for the date format.
1
After entering the administrator ID and password, press
U
or
V
repeatedly until
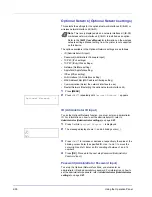
>>Date Format
appears.
2
Press
[OK]
. A blinking question mark (
?
) appears.
3
Press
U
or
V
to select
Date Format
. The following date formats
can be selected:
Month/Day/Year
Day/Month/Year
Year/Month/Day
4
Press
[OK]
.
5
Press
[MENU]
. The display returns to
Ready
.
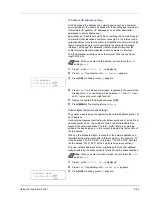
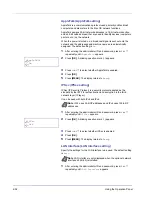
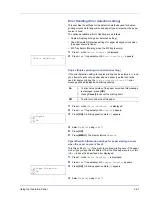
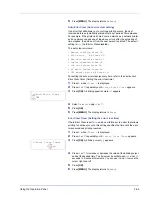
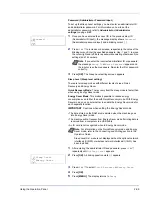
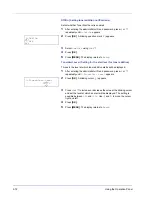
>>Date (Year/Mon/Day)
2013 / 01 / 01
Note
The order in which the year, month, and day appear varies
depending on the
Date Format (date format selection)
on
page
2-57
.
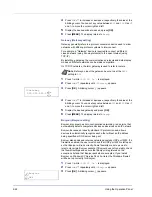
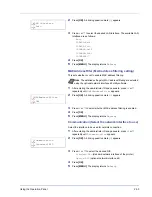
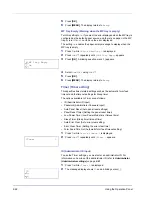
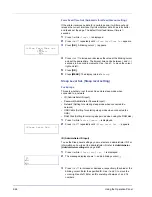
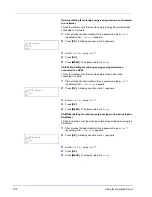
>>Time (Hour:Min:Sec)
11 : 19 : 21
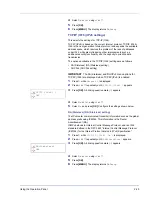
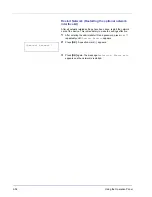
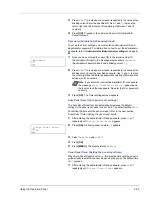
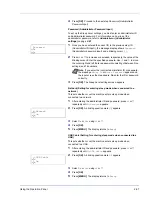
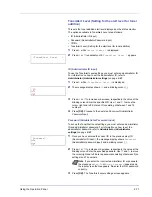
>>Date Format
? Month/Day/Year
Summary of Contents for P-3521DN
Page 1: ...Advanced Operation Guide P 3521DN ...
Page 2: ......
Page 4: ...1 ii ...
Page 8: ...vi ...
Page 20: ...1 12 Paper Handling ...
Page 108: ...2 88 Using the Operation Panel ...
Page 114: ...3 6 Option ...
Page 122: ...5 4 ...
Page 126: ...Index 4 ...
Page 129: ......
Page 130: ......

