Connecting Hardware Devices
Installing a hard disk drive
89
4
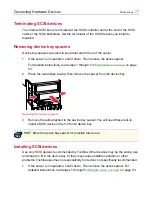
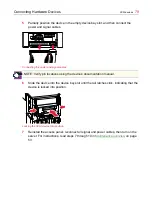
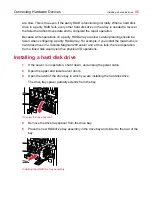
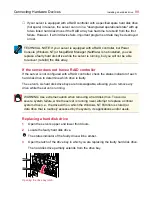
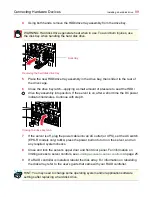
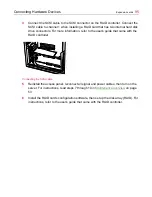
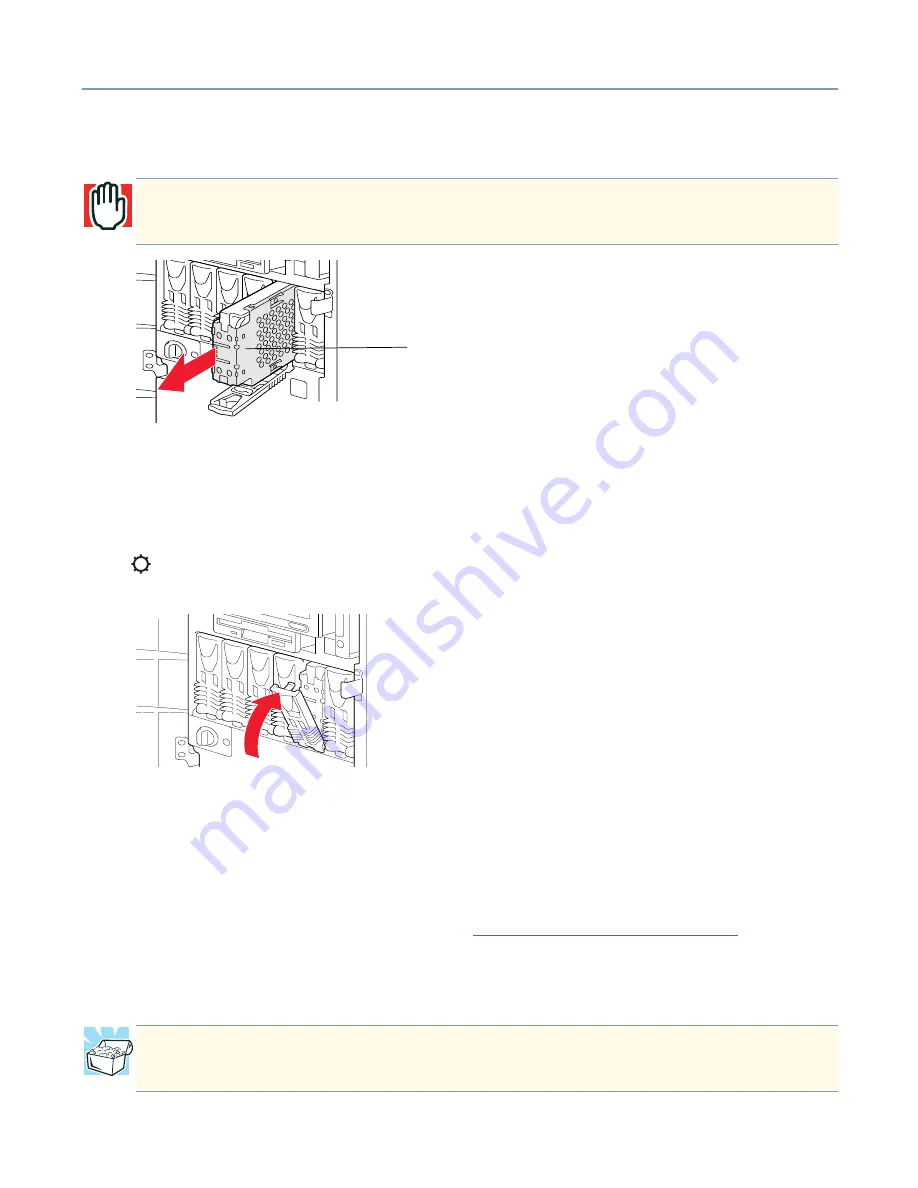
Using both hands, remove the HDD/drive tray assembly from the drive bay.
Removing the hard disk drive tray
5
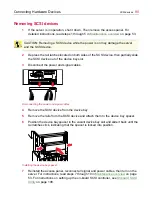
Place the new HDD/drive tray assembly in the drive bay, then slide it to the rear of
the drive cage.
6
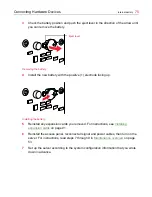
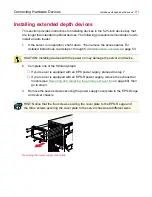
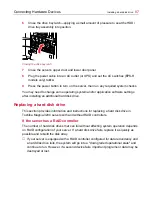
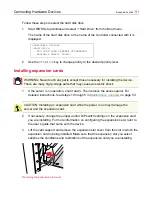
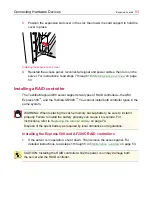
Close the drive bay latch—applying a small amount of pressure to seat the HDD/
drive tray assembly into position. If the server is on, after a short time the DC power
indicator illuminates. Continue with step 8.
Closing the drive bay latch
7
If the server is off, plug the power cable into an AC outlet (or UPS), set the AC switch
(EPS-R models only) to On, press the power button to turn on the server, and run
any required system checks.
8
Close and lock the server’s upper door and front door panel. For information on
limiting access to server controls, see
Limiting access to server controls
on page 25.
9
If a RAID controller is installed, rebuild the disk array. For information on rebuilding
the disk array, refer to the user’s guide that came with your RAID controller.
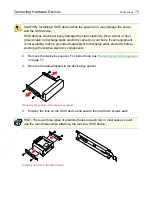
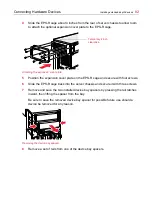
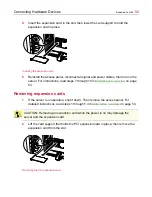
WARNING: Hard disk drives generate heat when in use. To avoid burn injuries, use
the disk tray when handling the hard disk drive.
HINT: You may need to change some operating system and/or application software
settings after replacing a hard disk drive.
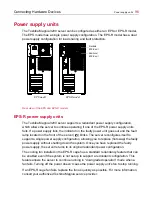
Disk tray
Summary of Contents for 3200
Page 1: ... ...
Page 309: ...309 ...

