Connecting Hardware Devices
Installing extended depth devices
83
9
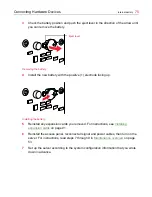
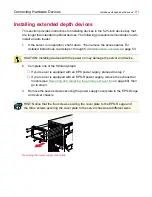
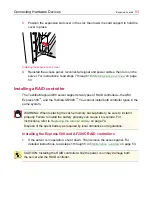
Position the rails on the auto loader and secure with two screws.
Attaching rails to the auto loader
10
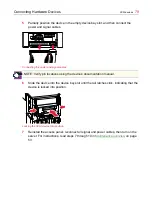
Position the auto loader half-way into the empty device bays, then connect the power
and signal cables.
11
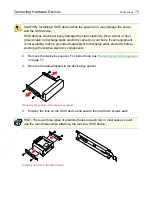
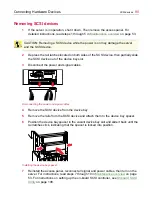
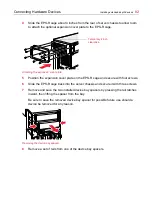
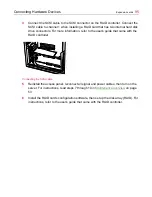
Slide the auto loader into the device bay until the rail latches click, indicating that the
device is locked into position.
Inserting the auto loader
12
If your server is equipped with an EPS-R power supply, reinstall the exhaust fan
module removed in step 2. For instructions, see
Removing and replacing the primary
exhaust fan
on page 60.
13
Reinstall the access panel, reconnect all signal and power cables, then turn on the
server. For instructions, read steps 7 through 10 in
Maintenance overview
on page
53.
HINT: There are three types of predrilled holes on each rail. In most cases you will
use the round holes when securing the rails to the auto loader.
CAUTION: Be careful not to pinch any cables as you slide the auto loader into
position.
Summary of Contents for 3200
Page 1: ... ...
Page 309: ...309 ...


