4-5
4
F-CODE POLLING MEMORY
■
■
■
■
■
Checking and clearing document data in a memory box
The procedure for checking document data in an F-code polling memory box by printing it and the procedure for
clearing data from a box are almost the same as the procedures for printing and clearing document data from the
Public Box. Instead of touching the PUBLIC BOX key in Step 3 on page 3-8, touch the memory box key of the data
you wish to print or clear.
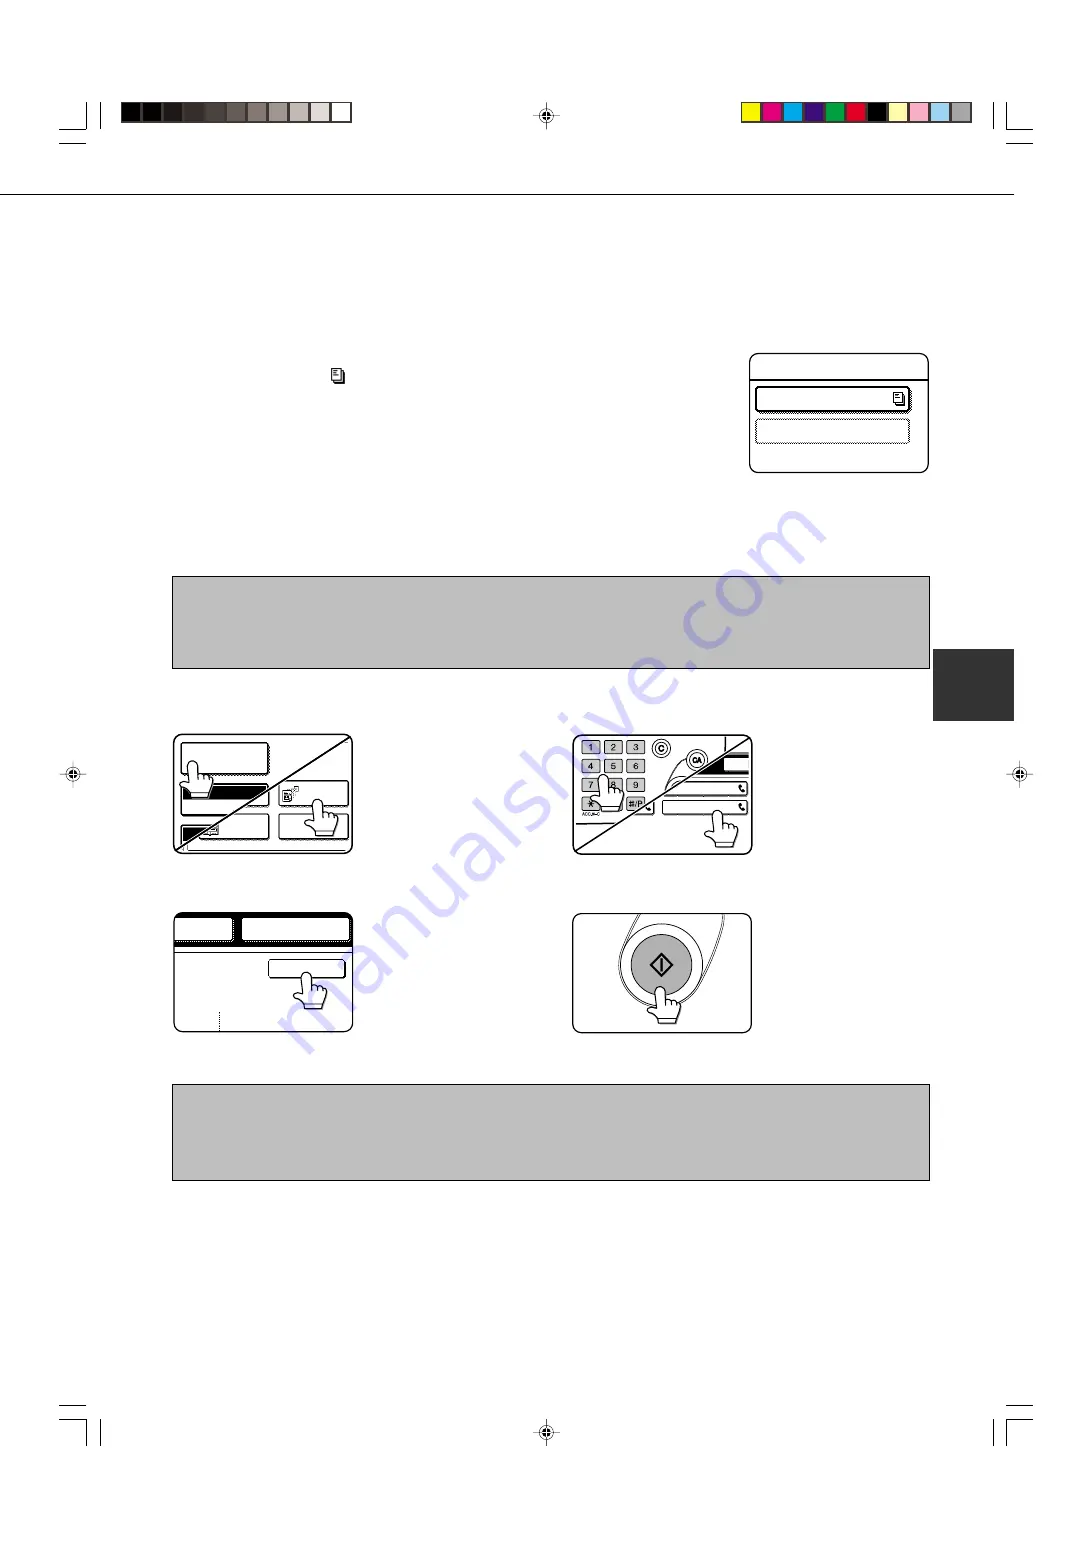
If a document icon (
) appears to the right of a memory box key, document data
has been stored in that box and you can print it out.
Note that you cannot check or clear the contents of a memory box while it is being
used for transmission.
DATA
MARKETING GROUP
SHARP BRANCH EX
PROCEDURE FOR F-CODE POLLING
Make sure that a document has not been loaded in the auto document feeder or on the document glass, and then
follow the steps below.
NOTES
•
You must know the sub-address (SEP) and passcode (PWD) of the other machine's F-code polling memory box.
•
Serial polling (selecting multiple fax machines to be polled using a group key or by touching the NEXT ADDRESS key) is not
possible with F-code polling.
1
In fax mode, touch the SPECIAL MODES key
and then the POLLING key.
POLLING
EXPOSURE
DUAL PAGE
SCAN
SPECIAL MODES
STANDARD
RESOLUTION
The POLLING key is
highlighted and the polling
icon is displayed.
To cancel the polling selection,
press the POLLING key once
again so that it is no longer
highlighted.
2
Touch the OK key.
OK
REDIAL
AKER
You will return to the initial
screen.
3
Enter the fax number, sub-address, and
passcode of the other fax machine.
CORPO.TPS
SHARP CORPORATION
SPE
Refer to steps 2 through 5
on page 4-3 for the
procedure for entering sub-
addresses and passcodes.
4
Press the Start key.
JOB STORED appears on
the screen.
After communicating with
the other machine, your
machine prints the received
document data.
NOTES
•
To cancel the operation
Press the JOB STATUS key and then cancel the operation as explained on page 2-6.
•
Only one polling operation with a timer setting (page 3-4) can be stored.
Summary of Contents for AR-M350 Imager
Page 2: ......
Page 10: ......
Page 18: ...1 8 Part names and functions of peripheral units PART NAMES AND FUNCTIONS ...
Page 36: ......
Page 56: ......
Page 117: ......
Page 118: ......
Page 120: ...cover1 p65 2 04 01 19 17 2 ...
Page 155: ...cover4 p65 2 04 01 19 18 1 ...
Page 176: ......
Page 184: ......
Page 206: ......
Page 212: ......
Page 245: ...9 3 9 NOTE ...
Page 246: ...9 4 NOTE ...
Page 247: ......
Page 250: ......
Page 279: ......


