


Understanding the copy screen
125
6. Copying
2
Advanced tab
•
Original Size:
Selects the actual paper size of the originals.
•
Original Orientation:
Selects the orientation of the originals.
•
N-Up:
Prints 2 or more original images, reduced to fit onto one sheet of
paper.
•
ID Copy:
Prints 2-sided originals on one sheet of paper. This feature is
helpful for copying a small-sized item, such as a business card (see "ID card
copying" on page 130).
•
Book Copy:
Allows you to copy the left or/and right pages of book on
separate output paper.
•
Booklet:
Allows you to create booklets.
•
Watermark:
Allows you to print a watermark on printouts.
•
Stamp:
Allows you to print with some information such as date and time.
•
Build Job:
After the scanning is finished, the
Scan More Pages
window
appears to ask if you want to scan another page. If you select
Yes
, then you
can scan another page in the current job. If you select
No
, then the scanning
process is completed and the remainder of the job is performed.
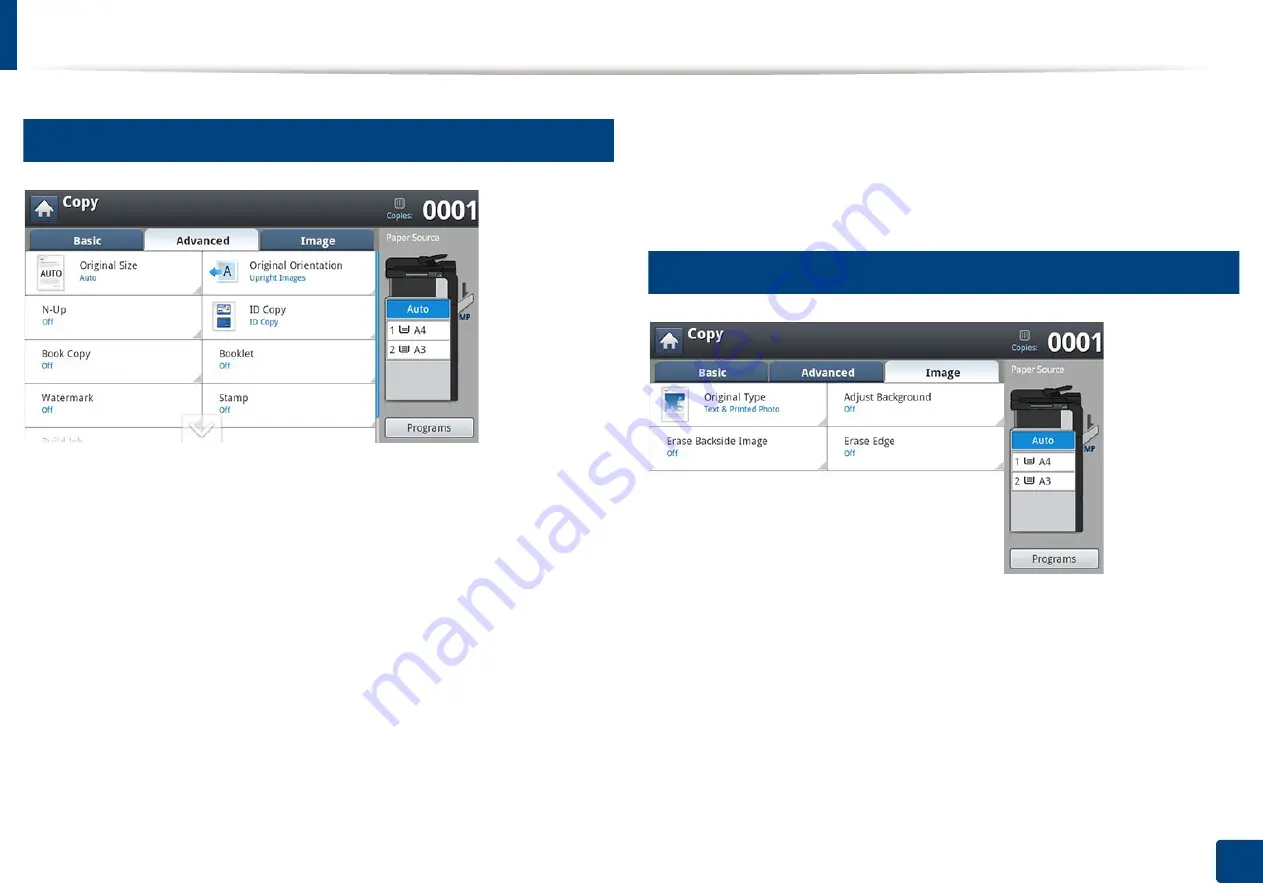
3
Image tab
•
Original Type:
Improves the copy quality by selecting the original’s type for
the current copy job.
•
Adjust Background:
Prints an image with a lighter background.
•
Erase Backside Image:
Prevents copying the original’s image shown
through on the backside.
•
Erase Edge:
Allows you to erase spots, drill holes, fold creases and staple marks
along any of the four edges of a document
.
Summary of Contents for Multifunction MultiXpress K325 Series
Page 295: ...Redistributing toner 295 14 Maintenance 4 X322x X328x series ...
Page 296: ...Redistributing toner 296 14 Maintenance 5 K325x K330x series ...
Page 298: ...Replacing the toner cartridge 298 14 Maintenance 6 X322x X328x series ...
Page 299: ...Replacing the toner cartridge 299 14 Maintenance 7 K325x K330x series ...
Page 301: ...Replacing the imaging unit 301 14 Maintenance 8 X322x X328x series ...
Page 302: ...Replacing the imaging unit 302 14 Maintenance 9 K325x K330x series ...
Page 303: ...Replacing the imaging unit 303 14 Maintenance ...
Page 305: ...Replacing the waste toner container 305 14 Maintenance 10 X322x X328x series ...
Page 306: ...Replacing the waste toner container 306 14 Maintenance 11 K325x K330x series ...
Page 312: ...Cleaning the machine 312 14 Maintenance X322x X328x series ...
Page 313: ...Cleaning the machine 313 14 Maintenance K325x K330x series ...
Page 315: ...Cleaning the machine 315 14 Maintenance X322x X328x series ...
Page 316: ...Cleaning the machine 316 14 Maintenance ...
Page 317: ...Cleaning the machine 317 14 Maintenance K325x K330x series ...
Page 318: ...Cleaning the machine 318 14 Maintenance ...
Page 320: ...Cleaning the machine 320 14 Maintenance K325x K330x series ...
Page 324: ...Cleaning the machine 324 14 Maintenance X322x X328x series ...
Page 325: ...Cleaning the machine 325 14 Maintenance ...
Page 326: ...Cleaning the machine 326 14 Maintenance K325x K330x series ...
Page 327: ...Cleaning the machine 327 14 Maintenance ...
Page 339: ...Clearing paper jams 339 15 Troubleshooting 3 In the multi purpose tray ...
Page 341: ...Clearing paper jams 341 15 Troubleshooting Jam feed 1 Jam feed 2 ...
Page 342: ...Clearing paper jams 342 15 Troubleshooting Jam feed 3 Jam feed 4 Optional device only ...
Page 357: ...Clearing paper jams 357 15 Troubleshooting 8 In the optional finisher area ...


