58
3. Using a Network-Connected Machine
Wireless network setup (Optional)
•
If you want to add wireless feature to the machine, check the option lists
and contact the purchasing point to order (see "Available accessories" on
page 290). When you purchase a Wireless/NFC kit (Optional), install the
kit by following the steps described in the Wireless/NFC kit (Optional)
Installation Guide which is enclosed in the kit. After installing the
Wireless/NFC kit (Optional), set the machine to use this feature.
•
Make sure your machine supports wireless networking. Wireless
networking may not be available depending on the model (see "Features
by model" on page 9).
Wireless networks require higher security, so when an access point is first set up,
a network name (SSID), the type of security used, and a Network Password are
created for the network. Ask your network administrator about this information
before proceeding with the machine installation.
9
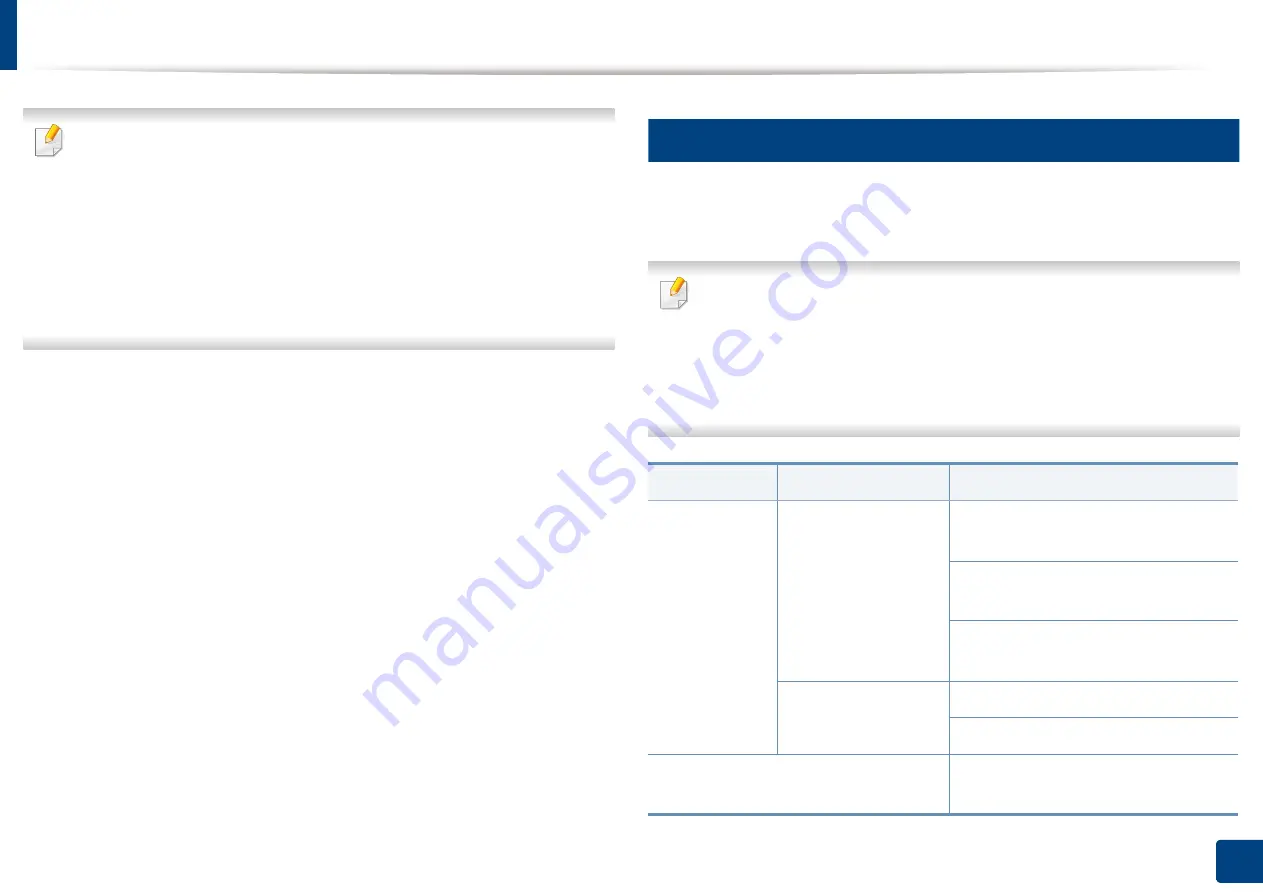
Introducing wireless set up methods
You can set wireless settings either from the machine or the computer. Choose
the setting method from the below table.
•
Some wireless network installation types may not be available
depending on the model or country.
•
It is strongly recommended that you set the password on Access Points.
If you do not set the password on Access Points, they might be exposed
to illegal access from unknown machines including PCs, smart phones
and printers. Refer to the Access Point user' guide for password settings.
Set up method
Connecting method
Description & Reference
With Access
Point
From the computer
See "Setting up via USB cable" on page 62
for Window.
See "Setting up via USB cable" on page
64 for Mac.
See "Using a network cable" on page
66.
From the machine’s
control panel
See "Using the WPS menu" on page 59.
See "Using the Wi-Fi Networks" on page 61.
Wi-Fi Direct setup
See "Setting the Wi-Fi Direct for mobile
printing" on page 68.
Summary of Contents for Multifunction MultiXpress K325 Series
Page 295: ...Redistributing toner 295 14 Maintenance 4 X322x X328x series ...
Page 296: ...Redistributing toner 296 14 Maintenance 5 K325x K330x series ...
Page 298: ...Replacing the toner cartridge 298 14 Maintenance 6 X322x X328x series ...
Page 299: ...Replacing the toner cartridge 299 14 Maintenance 7 K325x K330x series ...
Page 301: ...Replacing the imaging unit 301 14 Maintenance 8 X322x X328x series ...
Page 302: ...Replacing the imaging unit 302 14 Maintenance 9 K325x K330x series ...
Page 303: ...Replacing the imaging unit 303 14 Maintenance ...
Page 305: ...Replacing the waste toner container 305 14 Maintenance 10 X322x X328x series ...
Page 306: ...Replacing the waste toner container 306 14 Maintenance 11 K325x K330x series ...
Page 312: ...Cleaning the machine 312 14 Maintenance X322x X328x series ...
Page 313: ...Cleaning the machine 313 14 Maintenance K325x K330x series ...
Page 315: ...Cleaning the machine 315 14 Maintenance X322x X328x series ...
Page 316: ...Cleaning the machine 316 14 Maintenance ...
Page 317: ...Cleaning the machine 317 14 Maintenance K325x K330x series ...
Page 318: ...Cleaning the machine 318 14 Maintenance ...
Page 320: ...Cleaning the machine 320 14 Maintenance K325x K330x series ...
Page 324: ...Cleaning the machine 324 14 Maintenance X322x X328x series ...
Page 325: ...Cleaning the machine 325 14 Maintenance ...
Page 326: ...Cleaning the machine 326 14 Maintenance K325x K330x series ...
Page 327: ...Cleaning the machine 327 14 Maintenance ...
Page 339: ...Clearing paper jams 339 15 Troubleshooting 3 In the multi purpose tray ...
Page 341: ...Clearing paper jams 341 15 Troubleshooting Jam feed 1 Jam feed 2 ...
Page 342: ...Clearing paper jams 342 15 Troubleshooting Jam feed 3 Jam feed 4 Optional device only ...
Page 357: ...Clearing paper jams 357 15 Troubleshooting 8 In the optional finisher area ...


