39
2. Software Installation
Reinstalling the driver
If the printer driver does not work properly, follow the steps below to reinstall
the driver.
4
Windows
1
Make sure that the machine is connected to your computer and
powered on.
2
From the
Start
menu, select
Programs
or
All Programs
>
Samsung
Printers
>
Uninstall Samsung Printer Software
.
•
For Windows 8,
1
From Charms, select
Search
>
Apps
.
2
Search and click
Control Panel
.
3
Click
Programs and Features
.
4
Right-click the driver you want to uninstall and select
Uninstall
.
•
For Windows 10 / Windows Server 2016
1
From task bar, type in
Programs and Features
in
Search
input
area. Press the Enter key.
OR
From the
Start
(
) icon, select
All apps
>
Search
> type in
Programs and Features
.
2
Right-click the driver you want to uninstall and select
Uninstall
.
3
Follow the instructions in the installation window.
4
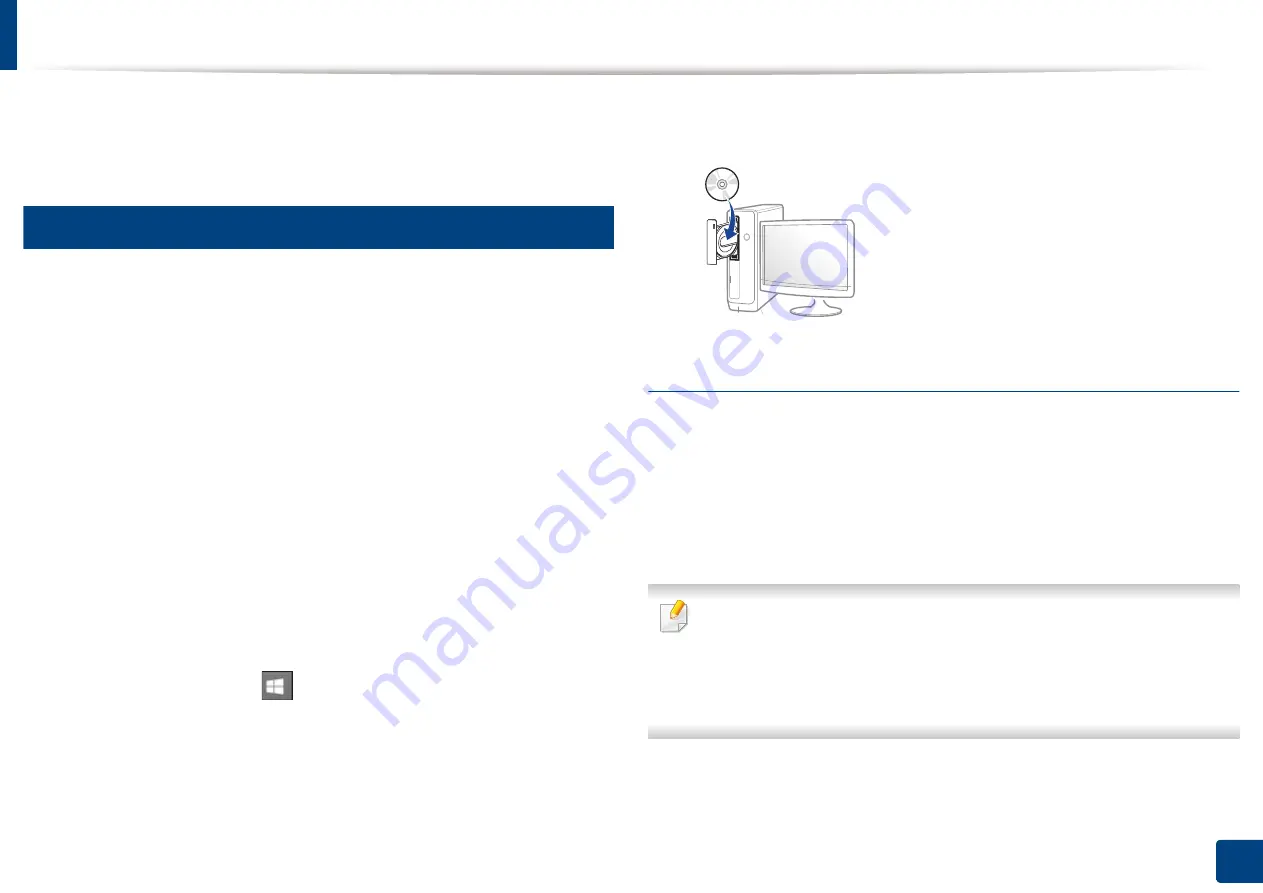
Insert the software CD into your CD-ROM drive and install the driver
again (see "Installing the driver" on page 36).
From the Windows 8 Start Screen
1
Make sure that the machine is connected to your computer and
powered on.
2
Click on the
Uninstall Samsung Printer Software
tile in the
Start
screen.
3
Follow the instructions in the window.
•
If you cannot find a Samsung Printer Software tile, uninstall from the
desktop screen mode.
•
If you want to uninstall Samsung’s printer management tools, from the
Start
screen, right-click the app >
Uninstall
> right-click the program
you want to delete >
Uninstall
and follow the instruction in the window.
Summary of Contents for Multifunction MultiXpress K325 Series
Page 295: ...Redistributing toner 295 14 Maintenance 4 X322x X328x series ...
Page 296: ...Redistributing toner 296 14 Maintenance 5 K325x K330x series ...
Page 298: ...Replacing the toner cartridge 298 14 Maintenance 6 X322x X328x series ...
Page 299: ...Replacing the toner cartridge 299 14 Maintenance 7 K325x K330x series ...
Page 301: ...Replacing the imaging unit 301 14 Maintenance 8 X322x X328x series ...
Page 302: ...Replacing the imaging unit 302 14 Maintenance 9 K325x K330x series ...
Page 303: ...Replacing the imaging unit 303 14 Maintenance ...
Page 305: ...Replacing the waste toner container 305 14 Maintenance 10 X322x X328x series ...
Page 306: ...Replacing the waste toner container 306 14 Maintenance 11 K325x K330x series ...
Page 312: ...Cleaning the machine 312 14 Maintenance X322x X328x series ...
Page 313: ...Cleaning the machine 313 14 Maintenance K325x K330x series ...
Page 315: ...Cleaning the machine 315 14 Maintenance X322x X328x series ...
Page 316: ...Cleaning the machine 316 14 Maintenance ...
Page 317: ...Cleaning the machine 317 14 Maintenance K325x K330x series ...
Page 318: ...Cleaning the machine 318 14 Maintenance ...
Page 320: ...Cleaning the machine 320 14 Maintenance K325x K330x series ...
Page 324: ...Cleaning the machine 324 14 Maintenance X322x X328x series ...
Page 325: ...Cleaning the machine 325 14 Maintenance ...
Page 326: ...Cleaning the machine 326 14 Maintenance K325x K330x series ...
Page 327: ...Cleaning the machine 327 14 Maintenance ...
Page 339: ...Clearing paper jams 339 15 Troubleshooting 3 In the multi purpose tray ...
Page 341: ...Clearing paper jams 341 15 Troubleshooting Jam feed 1 Jam feed 2 ...
Page 342: ...Clearing paper jams 342 15 Troubleshooting Jam feed 3 Jam feed 4 Optional device only ...
Page 357: ...Clearing paper jams 357 15 Troubleshooting 8 In the optional finisher area ...


