


Chapter 5: Using the Web Interface
126
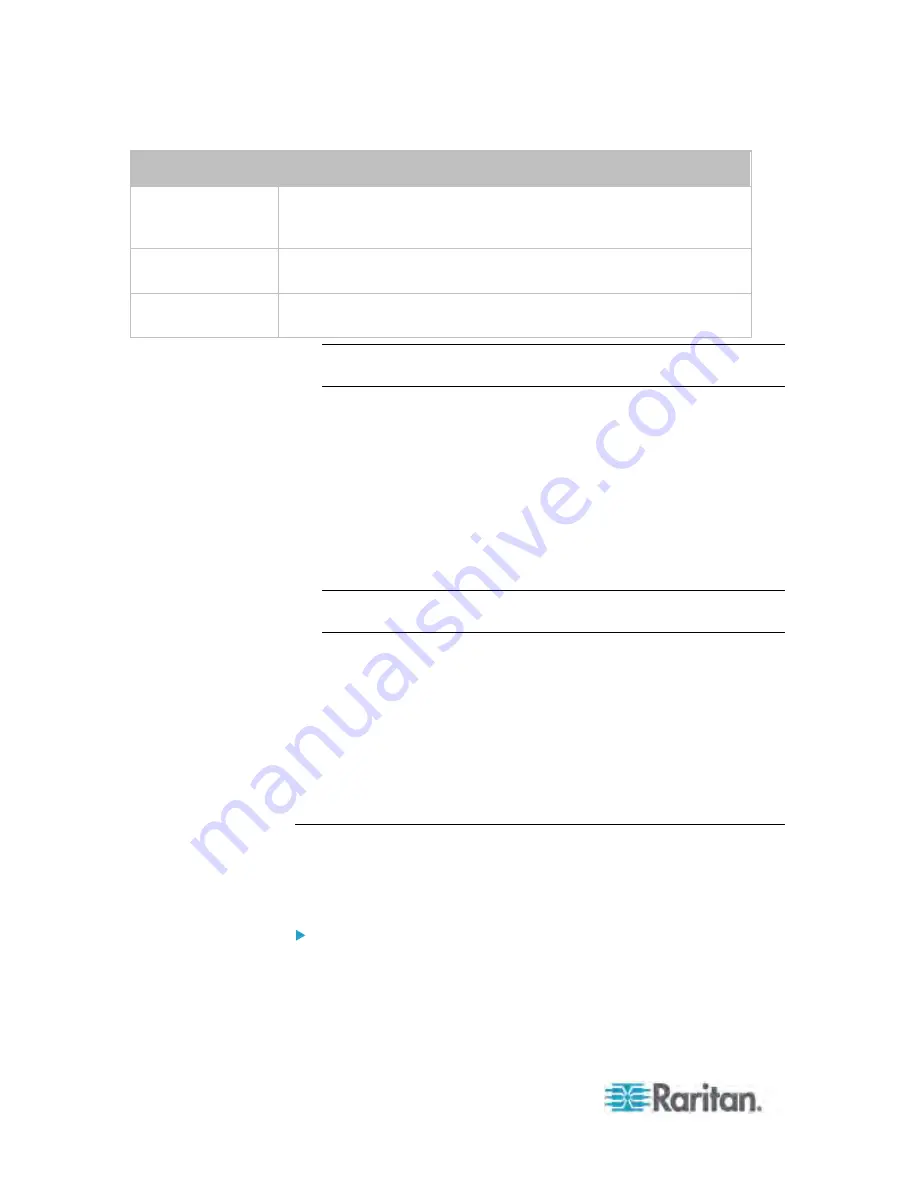
Field
Type this information
Key Length
Select the key length (bits) from the drop-down list in this field. A larger
key length enhances the security, but slows down the Dominion PX
device's response.
Self Sign
Ensure this checkbox is selected, which indicates that you are
creating a self-signed certificate.
Validity in days
This field appears after the Self Sign checkbox is selected. Type the
number of days for which the self-signed certificate is valid in this field.
Note: All fields in the Subject section are mandatory, except for the
Organization, Organizational Unit and Email Address fields.
A password is not required for a self-signed certificate so the
Challenge and Confirm Challenge fields disappear after the Self Sign
checkbox is selected.
4. Click Create New SSL Key to create both the self-signed certificate
and private key. This may take several minutes to complete.
5. You can also do any of the following:
Click "Install Key and Certificate" to immediately install the
self-signed certificate and private key. When any confirmation and
security messages appear, click Yes to continue.
Tip: To verify whether the certificate has been installed successfully,
click the Active SSL Certificate tab later.
To download the self-signed certificate or private key, click
Download Certificate or Download Key. You are prompted to open
or save the file. Click Save to save it on your computer.
To remove the self-signed certificate and private key permanently
from the Dominion PX device, click "Delete Key and Certificate".
6. If you installed the self-signed certificate in Step 5, after the installation
completes, the Dominion PX device resets and the login page
re-opens.
Installing Existing Key and Certificate Files
If the SSL certificate and private key files are already available, you can
install them directly without going through the process of creating a CSR
or a self-signed certificate.
To install the existing key and certificate files:
1. Choose Device Settings > Security > SSL Certificate. The Manage
SSL Certificate dialog appears.
2. Click the New SSL Certificate tab.


