56
7
Ableton Live (MCU)
7.5
Automation Controls
FaderPort™ Multichannel Production Controllers
Owner’s Manual
7.5
Automation Controls
3
4
2
5
1
6
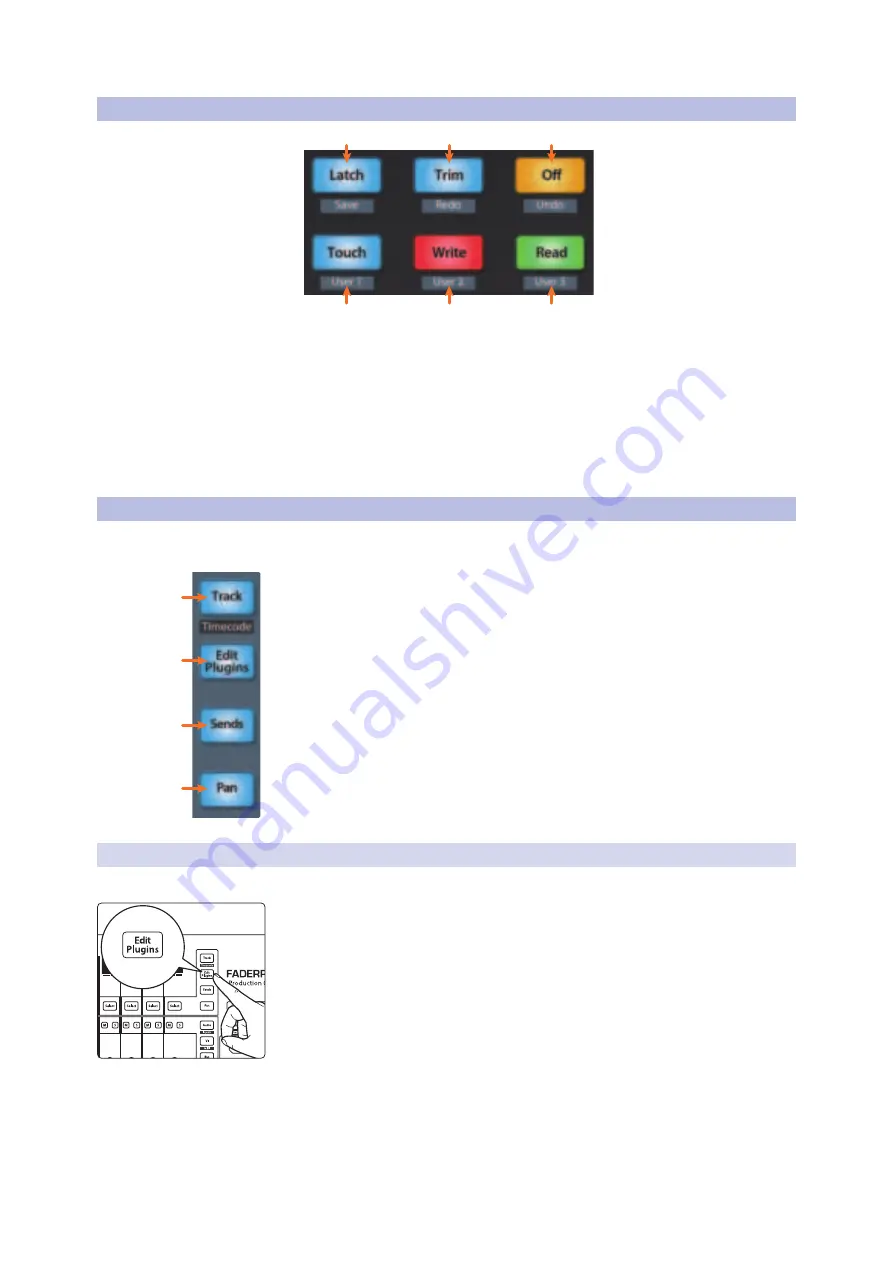
1.
Latch / Save.
At the time of publication, this function is not available in Live.
2.
Trim / Redo.
Press to redo the last action.
3.
Undo.
Press to undo the last action.
4.
Read.
Enables Follow Mode.
Note: At the time of publication, this button
does not illuminate when Follow Mode is enabled or disabled.
5.
Write.
Enables Draw Mode.
6.
Touch.
At the time of publication, this function is not available in Live.
7.6
Fader Modes
The faders on the FaderPort can be used to set levels, control plug-
in parameters, set send levels, and panning for every channel.
1.
Track.
When Track mode is active, the motorized faders will display and control
channel levels. Press Shift and Track simultaneously to display Timecode on the
scribble strips.
See Section 7.6.2 for more information
.
Power User Tip:
Press the Shift and All buttons simultaneously to toggle the time
code display between beats instead of time.
2.
Edit Plug-ins.
When Edit Plug-ins mode is active, the motorized faders
will control the parameter settings. The scribble strip will display the
parameter each fader controls.
See Section 7.6.1 for more information
.
3.
Sends.
When Sends mode is active, the motorized faders
will control the send levels for the selected channel.
4.
Pan.
When Pan mode is active, the motorized faders will display and
control channel pan. When not active, the Pan/Param knob to the left of the
scribble strips controls the panning for the currently selected channel.
7.6.1
Edit Plug-ins
Your FaderPort can be used to control your favorite plug-ins in Live as follows:
1. Press Edit Plugins once. This will display every device for the currently selected
channel in the scribble strips.
1
2
3
4
kick
1
<C>
kick
1
<C>
kick
1
<C>
Vox 1
16
<C>


