32
4
Logic (MCU)
4.5
Automation Controls
FaderPort™ Multichannel Production Controllers
Owner’s Manual
4.5
Automation Controls
3
4
2
5
1
6
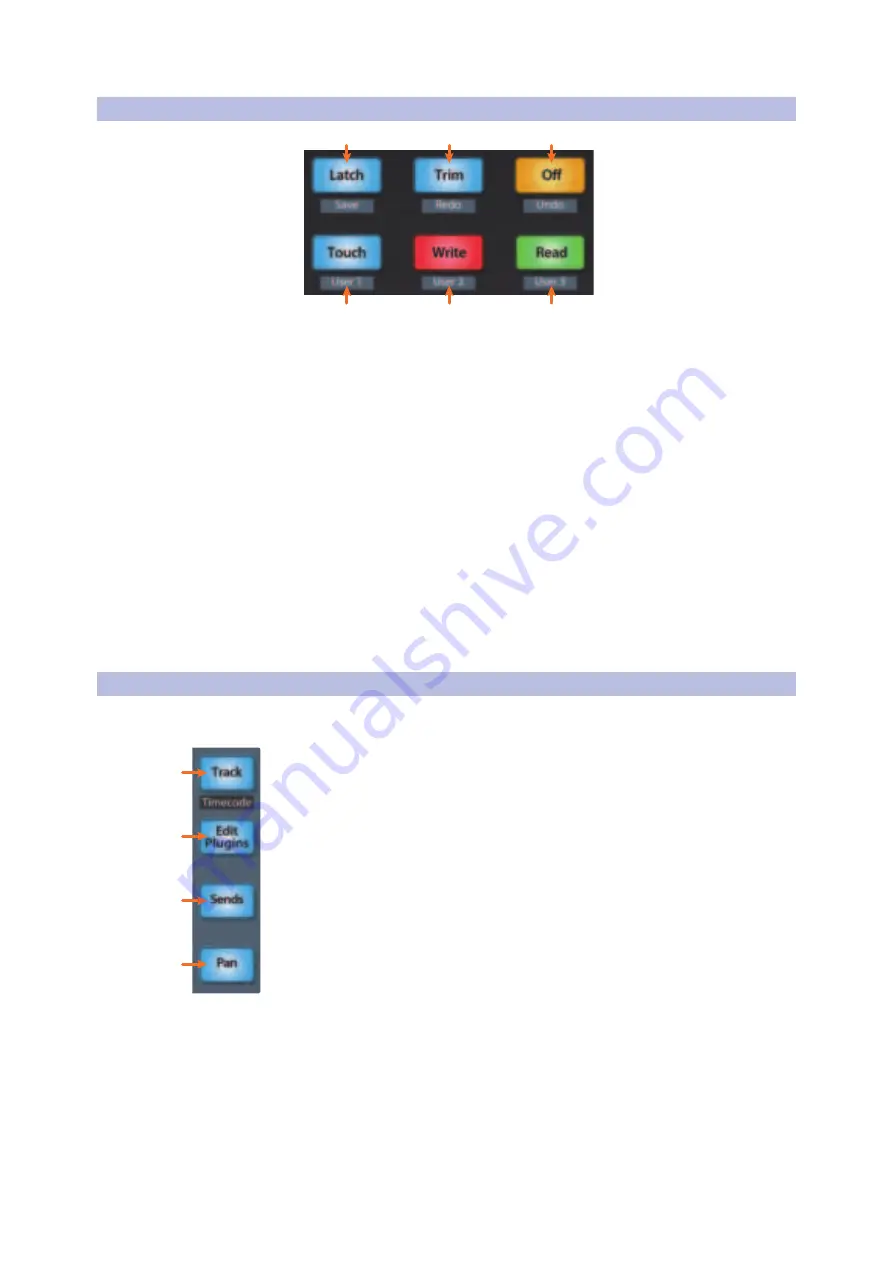
1.
Latch / Save.
Engages Latch Automation on currently selected track.
Press the SHIFT and Latch buttons simultaneously to save your session.
Press the Shift, Macro, and Latch buttons to open the Save As menu.
2.
Trim / Redo.
Toggles Trim when Latch or Touch modes are active. Press
the SHIFT and Trim buttons simultaneously to redo the last action.
3.
Undo.
Press the SHIFT and Off buttons simultaneously to
undo the last action. Press the Shift, Macro, and Off buttons
to open the Undo History window in Logic.
4.
Read.
Engages Read Automation on currently selected track. Press
again to turn automation off on currently selected track.
5.
Write.
Engages Write Automation on currently selected track. Press Shift
and Write simultaneously to select Cancel in any contextual menu.
6.
Touch.
Engages Touch Automation on currently selected track/ Press Shift
and touch simultaneously to select Enter in any contextual menu.
Power User Tip:
To change the automation mode across all channels, press and hold the
Macro button while engaging the desired automation mode.
4.6
Fader Modes
The faders on the FaderPort can be used to set levels, control plug-
in parameters, set send levels, and panning for every channel.
1.
Track.
When Track mode is active, the motorized faders will display and
control channel levels. Press Shift and Track simultaneously to display
Timecode on the scribble strips.
See Section 4.6.2 for more information
.
2.
Edit Plug-ins.
When Edit Plug-ins mode is active, the motorized faders
will control plug-in parameter settings. The scribble strip will display the
parameter each fader controls.
See Section 4.6.1 for more information
.
3.
Sends.
When Sends mode is active, the motorized faders will control
send parameters.
See Section 4.6.3 for more information
.
4.
Pan.
When Pan mode is active, the motorized faders will display and
control channel pan. When not active, the Pan/Param knob to the left of the
scribble strips controls the panning for the currently selected channel.
Press the left Shift button with the Pan button to activate Swap mode. While
Swap mode is active, the volume for the selected track will be controlled
by the Pan/Param knob and Panning will be controlled by the fader.
Press and hold the Link button with Pan to activate Zero mode. In this
mode, all faders will set to infinity and
will not move
. This is useful in
situations when the FaderPort is located close to microphones and you
don’t want to capture the mechanical noise of the faders moving.
1
2
3
4


