42
5
Cubase / Nuendo (MCU)
5.5
Automation Controls
FaderPort™ Multichannel Production Controllers
Owner’s Manual
5.5
Automation Controls
3
4
2
5
1
6
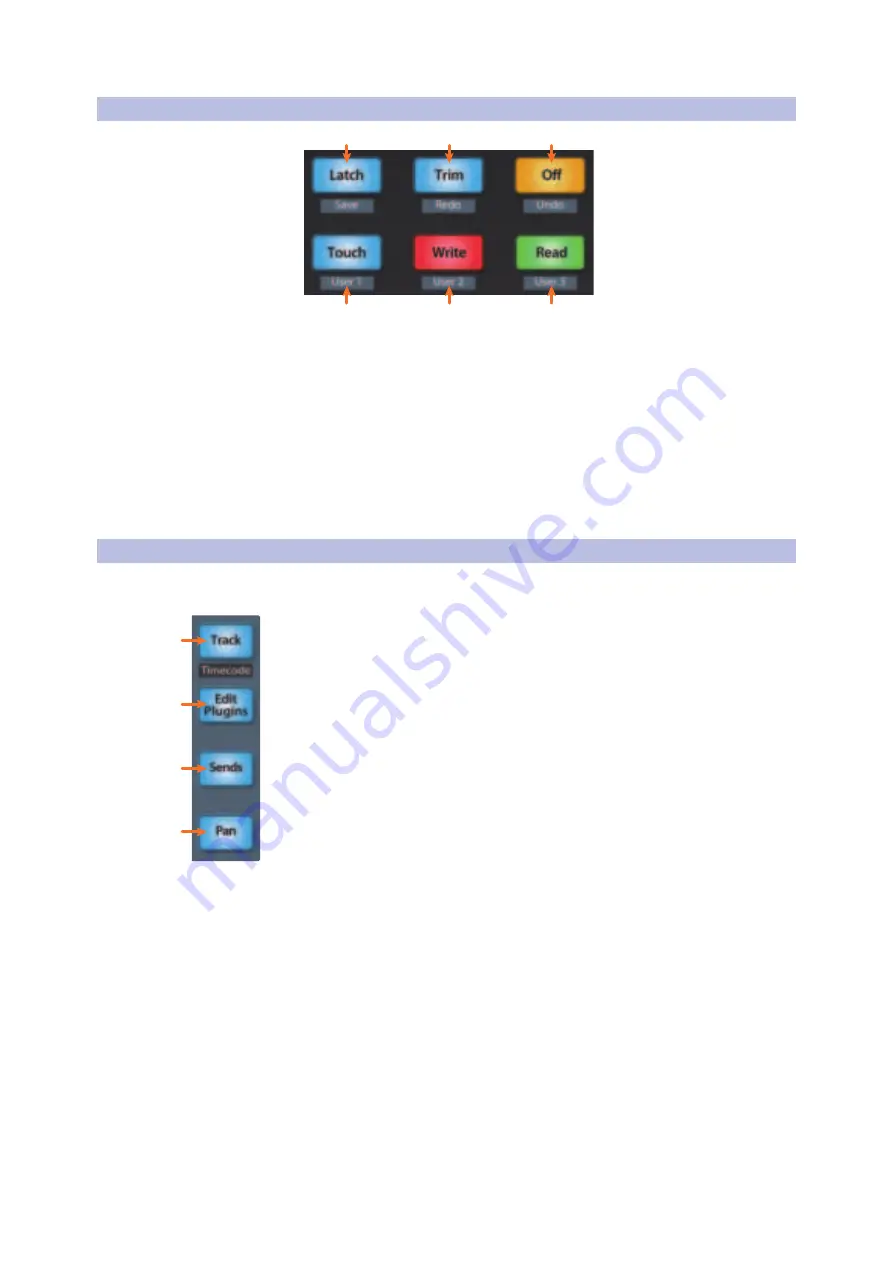
1.
Latch / Save.
Press to save session, with or without SHIFT enabled.
2.
Trim / Redo.
Press to redo last action, with or without SHIFT enabled.
3.
Off / Undo.
Press to undo last action, with or without SHIFT engaged.
4.
Read.
Engages Read Automation on currently selected track. Press
again to turn automation off on currently selected track.
5.
Write.
Engages Write Automation on currently selected
track. Press again to engage Read Automation.
6.
Touch.
Triggers Revert command, returning your song to the last saved
version and discarding all changes that have been introduced.
5.6
Fader Modes
The faders on the FaderPort can be used to set levels, control
plug-in parameters, set send levels, and panning.
1.
Track.
When Track mode is active, the motorized faders
will display and control channel levels. Press Shift and Track
simultaneously to display Timecode on the scribble strips.
Note:
At the time of publication, timecode display is not available in Cubase.
2.
Edit Plug-ins.
When Edit Plug-ins mode is active, the motorized faders will allow
you to select plug-in inserts and bypass insert slots. The scribble strip will display
the parameter each fader controls.
See Section 5.6.1 for more information
.
3.
Sends.
When Sends mode is active, the motorized faders will
control the send levels for the currently selected channel.
4.
Pan.
When Pan mode is active, the motorized faders will display and control
channel pan. When not active, the Pan/Param knob to the left of the scribble
strips controls the panning for the currently selected channel.
1
2
3
4


